Table of Contents
Advertisement
Quick Links
Advertisement
Table of Contents

Related Manuals for DeLonghi ESAM3500


Summary of Contents for DeLonghi ESAM3500
- Page 1 Coffee Maker ESAM3500 Please retain instructions for future reference...
- Page 2 Electrical requirements Green and Yellow to Earth Before using this appliance ensure that the voltage indicated on the product corresponds with the main voltage in your home, if you are in any doubt 13 amp about your supply contact your local electricity company. Fuse The flexible mains lead is supplied connected to a B.S.
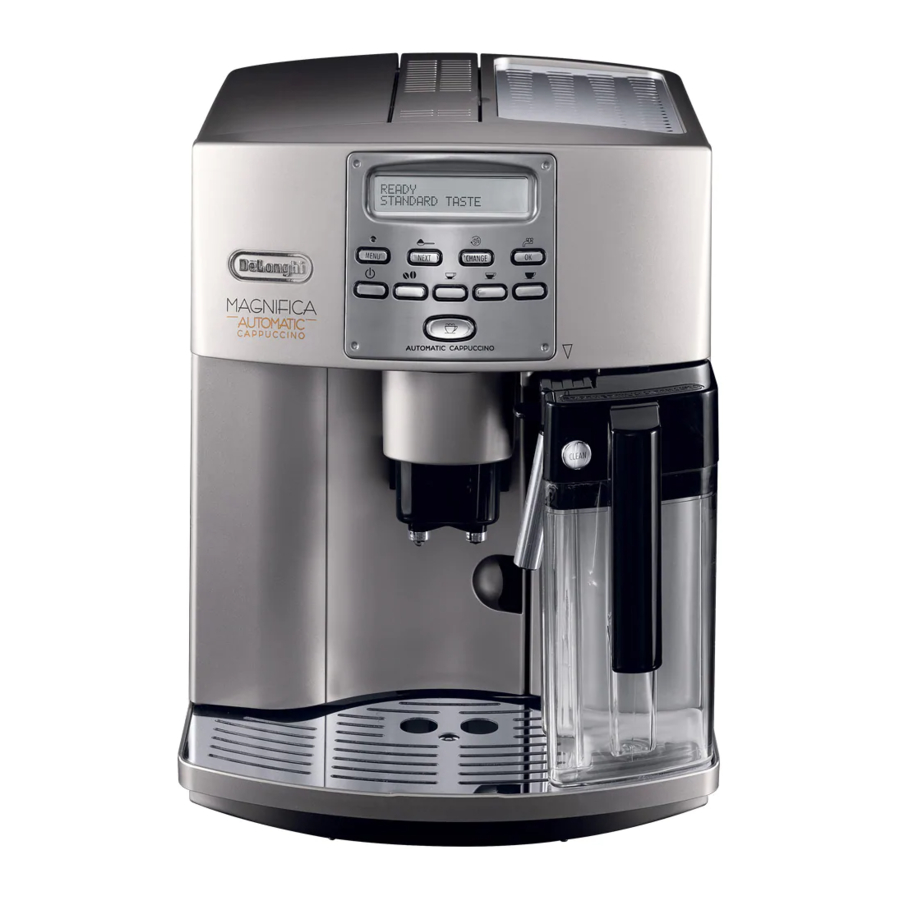
- Page 3 Bean container lid Centre lid for ground coffee Container for coffee beans Compartment for the measure (for pre-ground coffee) Grinding coarseness adjustment knob Cup warmer tray Container for pre-ground coffee Milk container lid/ Infuser milk frother Mobile drawer Frothed milk spout Milk intake tube Coffee spout, adjustable in height...
-
Page 4: Table Of Contents
1 INDEX SAFETY WARNINGS … … … … … … … … … … … … … … … … …Page no. 5 INSTALLATION … … … … … … … … … … … … … … … … … … …Page no. 5 USING FOR THE FIRST TIME …... -
Page 5: Safety Warnings
2 SAFETY WARNINGS READ THESE INSTRUCTIONS CAREFULLY AND KEEP FOR FUTURE CONSULTATION! • This appliance is designed to make espresso coffee and heat drinks. Use with care to avoid scalds from the water and steam jets or through incor- rect use. •... -
Page 6: Using For The First Time
To correctly learn how to use the appliance, when starting it for the first time, carefully follow the step-by-step instructions described in the following paragraphs. 4 USING FOR THE FIRST TIME 1. The first time you use the appliance, select the language. To set English, plug the appliance into the mains socket and wait for the following message to be displayed: PRESS OK TO INSTALL ENGLISH... -
Page 7: Turning On And Preheating
5 TURNING ON AND PREHEATING 1. Press the button (fig. 6).The appliance displays: HEATING UP PLEASE WAIT... to indicate preheating is underway. 2. Once preheating is completed, the appliance displays RINSING PLEASE WAIT... and performs an automatic rinse cycle (a little hot water is run off from the spouts and is collected in the drip tray below). - Page 8 5. To turn the appliance off, press the button. Before going off, the appliance performs an automatic rinse cycle (a little hot water runs out from the spouts and is collected in the drip tray beneath.Take care to avoid scalds). TIP 1: If the coffee is delivered a drop at a time or not at all, turn the grinding coarseness regulator (fig.
-
Page 9: Changing The Quantity Of Coffee In The Cup
Empty the grounds container and clean thoroughly, making sure all residues deposited on the bottom are removed. IMPORTANT: when removing the drip tray, the grounds container MUST be emptied, even if it is not completely full. If this is not done, when next making coffee the grounds in the container may exceed the maximum level and block the appliance. -
Page 10: Preparing Espresso Coffee With Pre-Ground Coffee (Instead Of Beans)
Turning 1 click anticlockwise slows down delivery giving a creamier appear- ance to the coffee. These adjustments will only be evident after at least 2 cups of coffee have been run off. The grinding coarseness regulator must only be turned when the coffee mill is on. -
Page 11: Running Off Hot Water
10 PRODUCING HOT WATER • Always make sure the appliance is ready. • Make sure the water spout is attached to the nozzle (fig. 4); • Position a container under the spout (fig. 3). • Press the button (fig. 1). The appliance displays: HOT WATER and hot water is run off from the water spout into the container below... -
Page 12: Preparing Frothed Milk (Without Coffee)
• Position the milk tube as shown in fig. 23 and then place a sufficiently large cup under the coffee and milk spouts (fig. 23). • Press the button (fig. 24).The appliance displays: CAPPUCCINO and after a few seconds, the frothed milk is run off from the milk spout into the cup below. -
Page 13: Changing The Quantity Of Coffee And Milk For Cappuccinos
14 CHANGING THE QUANTITY OF COFFEE AND MILK FOR CAPPUCCINOS The appliance is factory preset to automatically a standard cappuccino. To change these quantities, proceed as follows: • Fill the container with milk up to the maximum level indicated on the con- tainer. - Page 14 • wash the infuser under running water, without using detergents. Never wash the infuser in the dishwasher; • carefully clean the inside of the appliance. To remove the coffee stuck to the parts inside the appliance, scrape it with a plastic or wooden fork or similar (Fig.
-
Page 15: Cleaning The Milk Container
NOTE 3: If it is still hard to insert the infuser, leave it out of the appliance, close the service door, unplug from the mains, then plug in again. Wait for all the lights to go off after the self-diagnosis, then open the door and replace the infuser. -
Page 16: Descaling
• Press the OK button to activate auto-start; NOTE: when the appliance is turned off and auto-start time is set, the sym- appears alongside the time on the unlit display. • Press the MENU’ button to exit programming mode or NEXT to change other parameters. -
Page 17: Changing Coffee Temperature
• The descale programme is now terminated and the appliance is ready to make coffee again. NOTE: if the descaling cycle is interrupted before completion, the appliance continues to display the descale message and the programme must be start- ed again from the beginning. Empty the water tank, rinse, fill with clean water and run off a cup of hot water. -
Page 18: Resetting Factory Default Settings
red squares on the test strip, press the button until WATER HARDNESS 3 is displayed). • Press the OK button to confirm the value;The coffee maker is now pro- grammed to provide the descaling warning when necessary, based on the actual hardness of the water. - Page 19 MESSAGE MEANING WHAT TO DO • With the function selected, the pre- • Add the ground coffee as described in ADD PRE-GROUND ground coffee has not been poured into section 9. COFFEE the funnel. • The coffee beans have run out. •...
-
Page 20: Problems That Can Be Resolved Before Calling Customer Service
19 PROBLEMS TO BE RESOLVED BEFORE CALLING THE SERVICE CENTRE If the appliance is not working and an alarm light is on, the causes of the malfunction can be identified and resolved by referring to section 18. If, on the other hand, no alarm light is on, run the following checks before calling the service centre. PROBLEM CAUSE SOLUTION... - Page 21 PROBLEM CAUSE SOLUTION • The holes in the spouts are clogged with • Scrape the holes with a needle (see section 15.1, Fig. 27). The coffee does not come dry coffee. out of the spouts, but • The mobile drawer inside the service •...
- Page 22 De’Longhi S.p.A - Via L. Seitz, 47 - 31100 Treviso Italia...