KitchenAid Commercial Stand Mixer Instructions Manual
Hide thumbs
Also See for Commercial Stand Mixer:
- Instructions and recipes manual (70 pages) ,
- Instructions and recipes manual (73 pages) ,
- Instructions and recipes manual (92 pages)
Advertisement
Table of Contents
- 1 Table of Contents
- 2 Stand Mixer Safety
- 3 Electrical Requirements
- 4 Troubleshooting Problems
- 5 Product View and Features
- 6 Stand Mixer Features
- 7 Assembling Your Bowl Lift Stand Mixer
- 8 Using Your Kitchenaid Attachments
- 9 Mixing Time
- 10 Mixer Use
- 11 Speed Control Guide - 10 Speed Stand Mixers
- 12 Care and Cleaning
- 13 Beater to Bowl Clearance
- 14 Mixing Tips
- Download this manual
See also:
Instruction Manual & Recipes
Advertisement
Table of Contents

Related Manuals for KitchenAid Commercial Stand Mixer


Summary of Contents for KitchenAid Commercial Stand Mixer
- Page 1 Commercial Stand Mixer I N S T R U C T I O N S Batedeira Profissional I N S T R U Ç Õ E S...
-
Page 2: Table Of Contents
Stand Mixer Safety..........................3 Electrical Requirements ........................4 Troubleshooting Problems........................ 6 Stand Mixer Features........................7 Assembling Your Bowl Lift Stand Mixer ................... 8 Using Your KitchenAid Attachments ....................9 Mixing Time............................9 Mixer Use............................9 Speed Control Guide - 10 Speed Stand Mixers ................10 Care And Cleaning ......................... -
Page 3: Stand Mixer Safety
1. Read all instructions. 2. To protect against risk of electrical shock, do not put Stand Mixer in water or other liquid. 3. Close supervision is necessary when any appliance is used by or near children. -
Page 4: Electrical Requirements
Electrical Requirements Volts: 220-240 A.C. only. Hertz: 50/60 The power rating for your Stand Mixer is printed on the trim brand or on the serial plate. Do not use an extension cord. If the power supply cord is too short, have a qualified electrician or serviceman install an outlet near the appliance. - Page 5 If not, it is your • If the cord of this appliance is damaged, responsibility to have one installed it must be replaced. Contact your by a qualified electrician. nearest authorized KitchenAid Customer Care Center.
-
Page 6: Troubleshooting Problems
2. The Stand Mixer may emit a pungent odor, especially when new. This is - Turn the Stand Mixer to the “0” (Off) common with electric motors. position for 10-15 seconds, then turn it back on. If the mixer still does not 3. -
Page 7: Stand Mixer Features
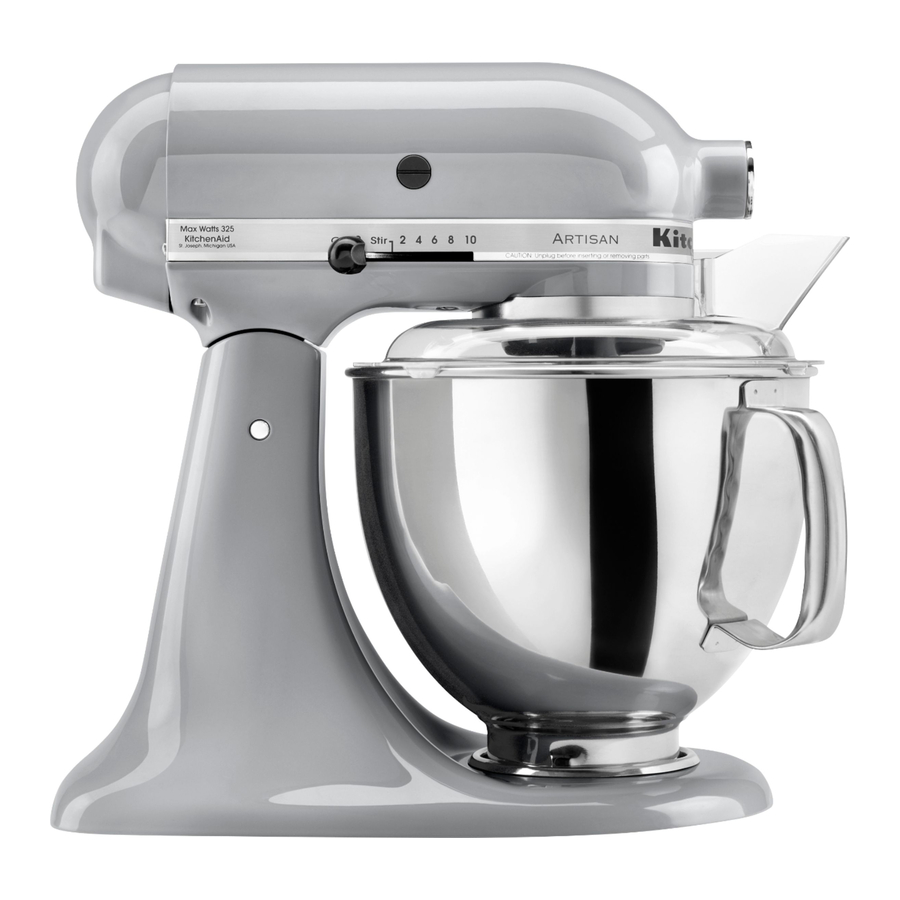
Stand Mixer Features Motor Head Attachment Hub (see the “Attachments” Speed section) Control Lever Attachment Knob Beater Height Adjustment Bowl Lift Lever Screw (not shown) Beater Shaft Bowl Support Locating Bowl Handle Pins (style may vary 6,9L (7 qt) depending... -
Page 8: Assembling Your Bowl Lift Stand Mixer
5. Grasp bowl handle and lift straight up and off locating pins. Auto-Reset Motor Protection If the Stand Mixer stops due to overload, To Raise Bowl slide the speed control lever to “0” (Off). After a few minutes, the stand mixer will automatically reset. -
Page 9: Using Your Kitchenaid Attachments
Mixer Use The Stand Mixer may warm up during use. Under heavy loads with extended mixing time, you may not be able to comfortably touch the top of the Stand Mixer. -
Page 10: Speed Control Guide - 10 Speed Stand Mixers
Speed Control Guide – 10 Speed Stand Mixers All speeds have a feature that automatically starts the Stand Mixer at a lower speed to help avoid ingredient splash-out and “flour puff” at start-up, then quickly increases to the selected speed for optimal performance. -
Page 11: Care And Cleaning
Beater to Bowl Clearance Your Stand Mixer is adjusted at the factory so the flat beater just clears the bottom of the bowl. If, for any reason, the flat beater hits the bottom of the bowl or is too far away from the bowl, you can correct the clearance easily. -
Page 12: Mixing Tips
Stir Speed. The batter should be thick mixers. In general, mixing a cake with enough to prevent the fruit or nuts from the KitchenAid Stand Mixer will take sinking to the bottom of the pan during about half the time called for in most baking. - Page 14 W10523279 1 /12 © 2012. All rights reserved. © 2012. Todos os direitos reservados. © 2012. © 2012.