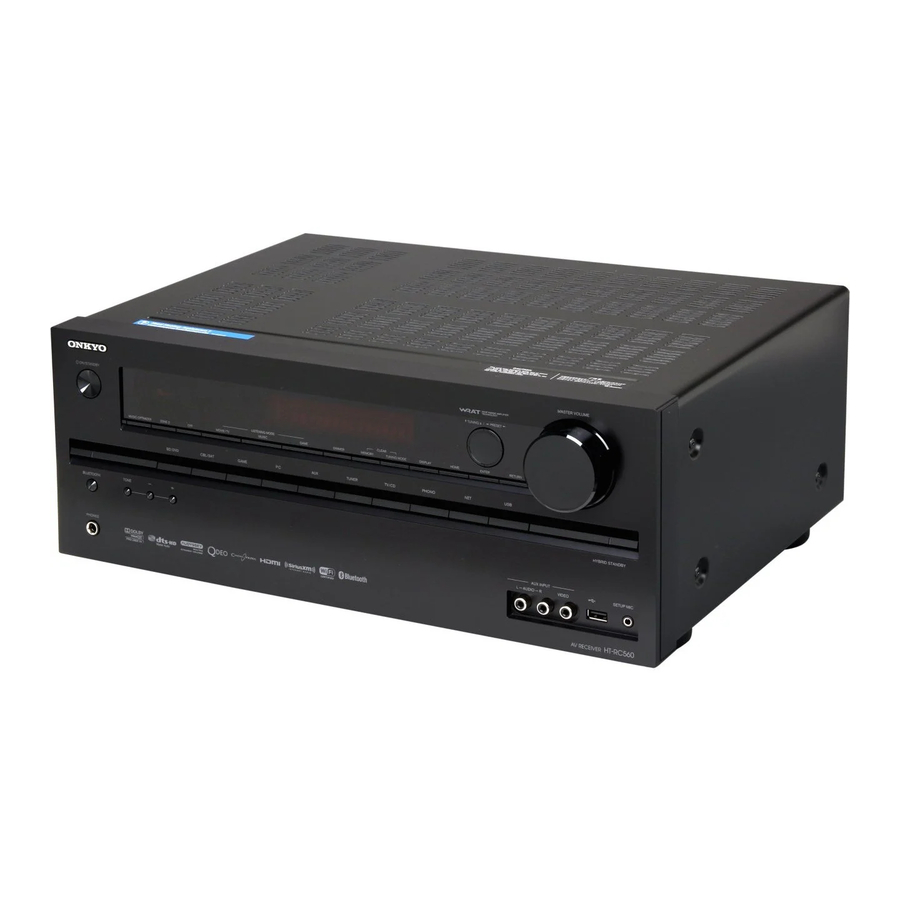
Onkyo HT-RC560 Quick Start Manual
Owner's manual english
Hide thumbs
Also See for HT-RC560:
- Owner's manual (140 pages) ,
- Manual de démarrage rapide (4 pages) ,
- Guía de inicio rápido (4 pages)
Advertisement
Quick Links
Quick Start Guide
HT-RC560
Supplied Accessories
Make sure you have the following accessories:
a Indoor FM antenna
b AM loop antenna
c Speaker cable labels
d Remote controller and two batteries
(AA/R6)
e Speaker setup microphone
The AV receiver can automatically perform
speaker and surround settings, so that you
can easily enjoy a surround sound tailored
to your listening environment. Connect the
supplied microphone to the AV receiver and
follow the on-screen instructions.
When performing automatic speaker
setup, connect your TV to the AV receiver
and make the room as quiet as possible.
Note
Before connecting the power cord, connect all of your speakers and AV components.
1. Connecting Your Speakers
1 2
3
9 10
6
4 5
7 8
SN 29401475
(C) Copyright 2013 Onkyo Corporation Japan. All rights reserved.
Using the Remote Controller
Batteries (AA/R6)
Remote control sensor
AV receiver
Approx. 16 ft. (5 m)
1 2 Front speakers
3
Center speaker
4 5 Surround speakers
6
Subwoofer(s)
7 8 Surround back speakers
9
10
Front high speakers
Speaker Configuration
5.1-channel:
1 2 3 4 5 6
7.1-channel:
1 2 3 4 5 6 + 7 8
7.1-channel:
1 2 3 4 5 6 + 9
10
Y1303-1
* 2 9 4 0 1 4 7 5 *
Please connect 1 , 2 , 3 , 4 , 5 and 6 for 5.1-channel surround.
Powered
Powered
subwoofer
subwoofer
6
6
E
n
2
Front
speaker R
3
Center speaker
Red
Green
Gray
Tan
Surround
Surround back or
Surround back or
speaker R
Front high speaker R
Front high speaker L
5
8
7 9
10
1/2''-5/8'' (12-15mm)
- 2 -
1
Front
speaker L
White
Brown
Blue
Surround
speaker L
4
Advertisement

Summary of Contents for Onkyo HT-RC560
-
Page 1: Using The Remote Controller
R Front high speaker R Front high speaker L speaker L 1/2''-5/8'' (12-15mm) Y1303-1 SN 29401475 * 2 9 4 0 1 4 7 5 * - 2 - (C) Copyright 2013 Onkyo Corporation Japan. All rights reserved. -
Page 2: Connecting Components With Hdmi
2. Connecting Your Components Connecting Components without HDMI Connecting to the Network (Optional) The following diagram shows how you can connect the Connecting Components with HDMI AV receiver to your home network. In this example, it’s VIDEO connected to a LAN port on a router, which has a 4-port Portable 100Base-TX switch built-in. - Page 3 4. Performing Wireless LAN Setup 5. Playback You can enjoy listening to Internet radio or files on a server (DLNA) through Wi-Fi (Wireless LAN) network. You need to perform the wireless LAN setup to connect the AV receiver to a wireless device such as a wireless router. Previous check for wireless LAN router ■...
-
Page 4: Remote Controller
If you can’t resolve the issue yourself, try resetting the AV receiver before g Selects listening modes. music files. contacting your Onkyo dealer. h Adjusts the display brightness. v Connects the speaker setup microphone. To reset the AV receiver to its factory defaults, turn it on and, while holding down CBL/SAT, press 8 ON/STANDBY.


