Table of Contents
Advertisement
Advertisement
Table of Contents

Related Manuals for Western Digital WD SATA Hard Drives


Summary of Contents for Western Digital WD SATA Hard Drives
- Page 1 Western Digital Serial ATA Hard Drive Installation Guide...
-
Page 2: Installation Guide
Digital for its use nor for any infringement of patents or other rights of third parties which may result from its use. No license is granted by implication or otherwise under any patent or patent rights of Western Digital. Western Digital reserves the right to change specifications at any time without notice. -
Page 3: Table Of Contents
Frequently Asked Questions ........19 Western Digital Service and Support ......20 Appendix Regulatory Compliance. - Page 4 TUV Essen Laboratories ........21 CE Compliance For Europe .
-
Page 5: Kit Contents
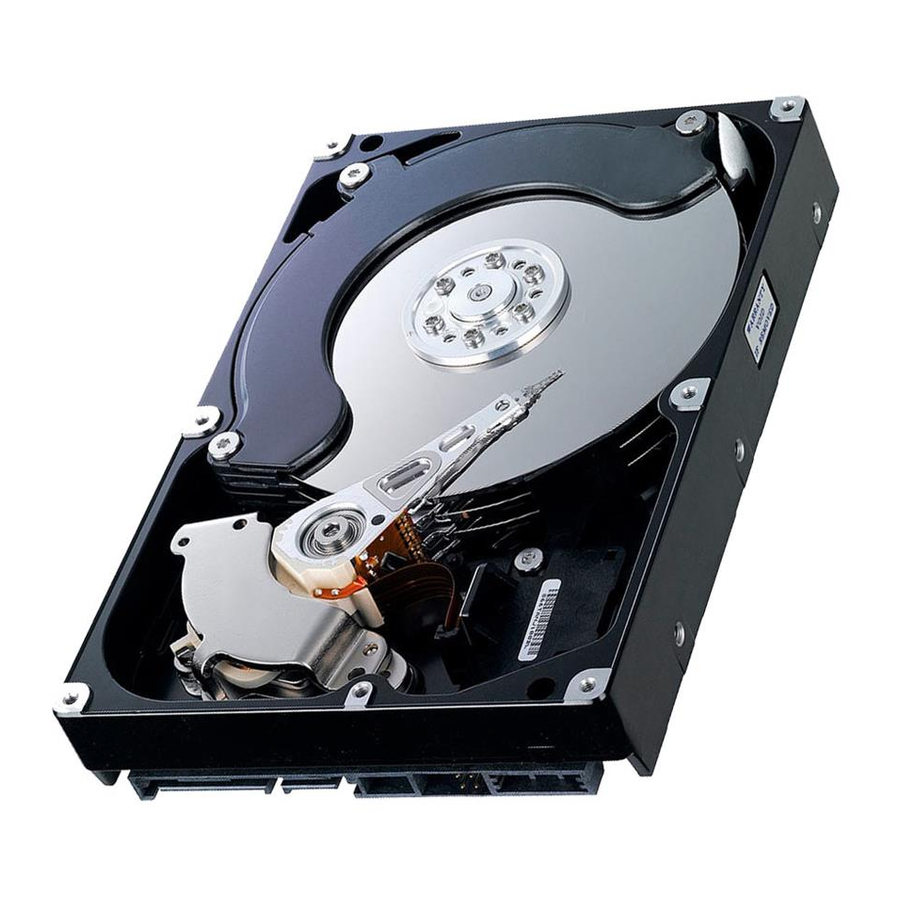
Handle the hard drive by the sides only. Avoid touching the circuit board components on the bottom of the hard drive. Do not drop, shake, or knock down the hard drive. Do not stack hard drives or stand your Western Digital hard drive on its edge. BEFORE GETTING STARTED - 1... -
Page 6: Record Your Hard Drive Information
In the table that follows, write down the serial number, model number, and date code listed on your new Western Digital SATA hard drive. The complete serial number, model number, and date code are on the large label at the top of the drive. This information is required for technical support purposes. -
Page 7: Install The Hard Drive
For instructions, see page 8. Jumper Settings Western Digital Serial ATA hard drives ship from the factory with a jumper shunt in the Default position (across pins 1 and 2). It is not necessary to move the jumper shunt on the drive for workstation or desktop use. - Page 8 Caution: Western Digital’s SATA cable with SecureConnect does not supply power to the drive. When using the Western Digital SATA cable, you must also attach the legacy ATA 4-pin power connector to the SATA drive. If instead you use a standard SATA interface cable (not included) on the SATA drive, DO NOT connect both SATA power cable (not included) and legacy power cable at the same time or the drive will malfunction.
- Page 9 To configure the system BIOS, proceed to the next section on page 6. b) If your Western Digital SATA hard drive came with a Data Lifeguard Tools CD, skip to "Data Lifeguard Tools v11.0" on page 7.
-
Page 10: Configure The System Bios
WESTERN DIGITAL SERIAL ATA HARD DRIVE INSTALLATION GUIDE Configure the System BIOS Before partitioning and formatting your hard drive, you must tell the system what type of hard drive it is. If you have an older system, it may be necessary for you to either upgrade your system BIOS or configure the current BIOS so that the new drive will be properly detected. -
Page 11: Data Lifeguard Tools V11.0
Note: If your hard drive kit is not supplied with a Data Lifeguard Tools CD, skip to page 17. Western Digital provides Data Lifeguard Tools to assist with hard drive installation, management, and diagnostics. Depending on your setup and configuration, you can use either the Windows or DOS version of Data Lifeguard Tools. -
Page 12: View Installation Tutorial
WESTERN DIGITAL SERIAL ATA HARD DRIVE INSTALLATION GUIDE View Installation Tutorial This section allows you to create and print custom hardware installation instructions. Note: The model number for your hard drive is printed on the label located on the top of the drive. -
Page 13: Set Up Your Hard Drive
WESTERN DIGITAL SERIAL ATA HARD DRIVE INSTALLATION GUIDE Set Up Your Hard Drive This section contains instructions for installing your new Western Digital hard drive either as a new boot drive or as an additional storage drive. Install a New Boot Drive 1. - Page 14 WESTERN DIGITAL SERIAL ATA HARD DRIVE INSTALLATION GUIDE Note: Data Lifeguard will not format or partition a currently installed boot drive (the drive icon cannot be selected). 5. Select Installation Type as Add the drive as a boot device. If you wish to create customized partitions, select the box to change advanced options and check Custom Partition.
- Page 15 Windows installation. b) If an operating system has already been installed, restart the system. 10. This concludes the hard drive setup process. Your Western Digital hard drive is now ready to use. DATA LIFEGUARD TOOLS V11.0 - 11...
-
Page 16: Install An Additional Storage Drive
WESTERN DIGITAL SERIAL ATA HARD DRIVE INSTALLATION GUIDE Install an Additional Storage Drive 1. Insert the Data Lifeguard Tools CD into your CD-ROM drive. a) If using the DOS version, restart the computer and boot from the CD. b) If using the Windows version, the CD autoruns on your desktop. - Page 17 WESTERN DIGITAL SERIAL ATA HARD DRIVE INSTALLATION GUIDE 5. Select Installation Type as Add the drive as an additional device. If you wish to create customized partitions, select the box to change advanced options and check Custom Partition. 6. The Custom Partition Setup screen appears. Your hard drive is automatically partitioned to the largest capacity up to 137 GB based on your operating system limitations.
- Page 18 Click Done to exit the software. 9. Remove the CD from the CD-ROM drive to begin using your new Western Digital hard drive as additional storage. A new drive letter and icon will appear under My Computer.
-
Page 19: Drive-To-Drive Copy Utility
4. When copy operation is complete, click OK to display the results summary. Click Done to exit Data Lifeguard Tools. 5. Remove the CD and restart the computer to use your new Western Digital hard drive. DATA LIFEGUARD TOOLS V11.0 - 15... -
Page 20: Hard Drive Information
WESTERN DIGITAL SERIAL ATA HARD DRIVE INSTALLATION GUIDE Hard Drive Information This feature allows you to view the drive model, serial number, capacity, UDMA mode, and other details about the selected hard drive. 1. Insert the Data Lifeguard Tools CD into your CD-ROM drive. Select Hard Drive Information from the main menu. -
Page 21: Alternate Instructions For Installing A Drive (Windows Xp/2000)
WESTERN DIGITAL SERIAL ATA HARD DRIVE INSTALLATION GUIDE Alternate Instructions for Installing a Drive (Windows XP/2000) If your hard drive kit did not include a Data Lifeguard Tools CD, you can use Window’s built-in Disk Management utility to format and partition your drive. Follow the instructions below according to your operating system. -
Page 22: Troubleshooting
Western Digital Service and Support Information Advanced Jumper Settings Western Digital Serial ATA hard drives ship with a jumper shunt in the Default position (across pins 1 and 2). It is not necessary to move the jumper shunt on the drive for workstation/desktop use. -
Page 23: Frequently Asked Questions
Device Manager in the window. Double-click on Disk Drives. Your new Western Digital Serial ATA drive should be listed as a "SCSI Disk Device" or "Serial ATA Disk Device." If not, make sure that all cables are securely attached and that your system BIOS has been properly configured. -
Page 24: Western Digital Service And Support
Service and Support Options - Service and support options for end user customers in the United States and Canada. Contact Support - Contact our support representative by phone or e-mail. When calling for support, have your Western Digital hard drive serial number, system hardware, and software versions available. USA/Canada/Outside USA... -
Page 25: Appendix
Radio Frequency Interference Statement FCC Notice This Western Digital product has been verified to comply with the limits for a Class B computing device pursuant to Part 15, Subpart B of FCC rules. This does not guarantee that interference will not occur in individual installations. Western Digital is not responsible for any television, radio, or other interference caused by unauthorized modifications to this product. -
Page 26: Csa Notice
Communications. Warranty Policy and Limitations Western Digital (WD) values your business and always strives to provide you the very best of service. No limited warranty is provided by WD unless your WD Product (Product) was purchased from an authorized distributor or authorized reseller. Distributors may sell Products to resellers who then sell Products to end users. -
Page 27: Limitation Of Remedies
The Product was not sold to you as new. Additional Limitations on Warranty Western Digital's warranty does not cover Products which have been received improperly packaged, altered, or physically damaged. Products will be inspected upon receipt. You can view examples of the warranty limitations at support.wdc.com/warranty.