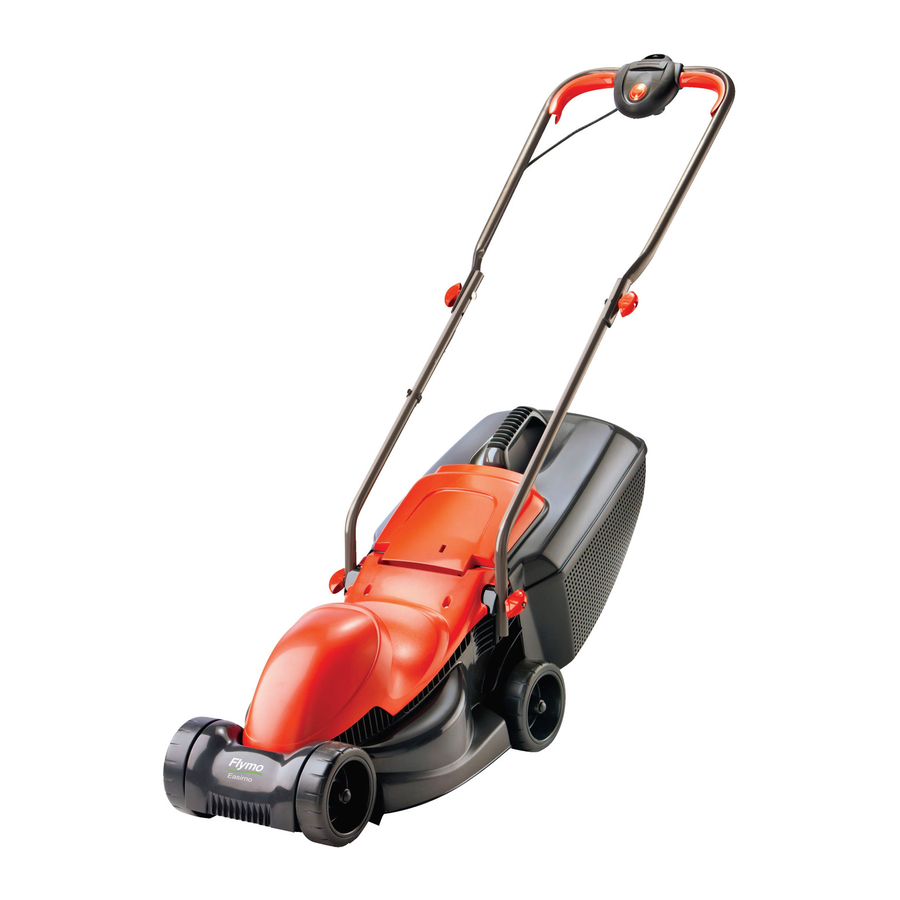
Flymo EASIMO EM032 Original Instructions Manual
Flymo lawn mower user manual
Hide thumbs
Also See for EASIMO EM032:
- Operating manual (11 pages) ,
- Original instructions manual (81 pages) ,
- Manual (80 pages)
Summary of Contents for Flymo EASIMO EM032
- Page 1 VISIMO (VM032/VM032+) ROLLERMO (RM032) EASIMO (EM032/EM032+) Original Instructions ROLLERMO VISIMO EASIMO For all customer enquiries or for replacement parts, contact:- ℡ 01325 300303 www.flymo.com customer.services@husqvarna.co.uk...
-
Page 2: Carton Contents
4 handle bolt x 2 deck assembling your new Flymo product. The Loose Parts Safety tion concerning the use of the product by a person responsible for their safety. Children should be su- pervised to ensure that they do not play with the product. - Page 3 9. Switch off, remove plug from mains and examine electric supply cable for damage or ageing before winding cable for storage. Do not repair a damaged cable, replace it with a new one. Use only Flymo re- placement cable. 10. Always wind cable carefully, avoiding kinking.
-
Page 4: Assembly Instructions
Assembly Instructions • The Loose Parts Pack is packaged underneath the deck. Assembly of Lower Handles to Deck 1. Place the bolt (A2) through the hole in the lower handle (A1) until the lower handle fits into the recess (A3) 2. -
Page 5: Cutting Height Adjustment
grassbox full Cutting Height Adjustment (K) & (L) • Height of cut is adjusted by raising or lowering the Front and Rear Wheels. • There are five heights of cut on this product. • NOTE A medium height of cut is recommended for most lawns. -
Page 6: Starting And Stopping
1. Start mowing the edge of the lawn nearest to the power point so the cable is laid out on the lawn you have already cut. (S) 2. Mow twice a week during the growing season, your lawn will suffer if more than a third of its length is cut at one time and this may also result in poor collection. -
Page 7: Removing And Fitting The Blade
Switch off, wait until the blade has stopped rotating and disconnect from the mains electricity supply BEFORE attempting to remove or refit the blade. Always handle the blade with care - sharp edges could cause injury. USE GLOVES. Removing the Blade 1. -
Page 8: Fault Finding Hints
Fails to Operate 1. Is the correct Starting procedure being followed? See ‘To Start your Lawnmower’ 2. Is the Power Turned On? 3. Check the fuse in the plug, if blown replace. 4. Fuse continues to blow? Immediately disconnect from the mains electricity supply and consult your local approved Service Centre. -
Page 9: Environmental Information
• Awareness of the environment must be considered when disposing of ‘end-of-life’ product. • If necessary, contact your local authority for disposal information. The symbol on the product or on its packaging indi- cates that this product may not be treated as household waste.


