Flymo Venturer 32 Original Instructions Manual
Hide thumbs
Also See for Venturer 32:
- Important information manual (12 pages) ,
- Original instructions manual (10 pages) ,
- Instruction manual (11 pages)
Advertisement
Table of Contents
- 1 Carton Contents
- 2 Assembly Instructions
- 3 Cutting Height Adjustment
- 4 Starting and Stopping
- 5 How to Mow
- 6 Removing and Fitting the Blade
- 7 Thermal Cut-Out
- 8 Caring for Your Lawnmower
- 9 Fault Finding Hints
- 10 Service Recommendations
- 11 Environmental Information
- 12 Replacement Parts
- 13 EC Declaration of Conformity
- Download this manual
Advertisement
Table of Contents

Related Manuals for Flymo Venturer 32


Summary of Contents for Flymo Venturer 32
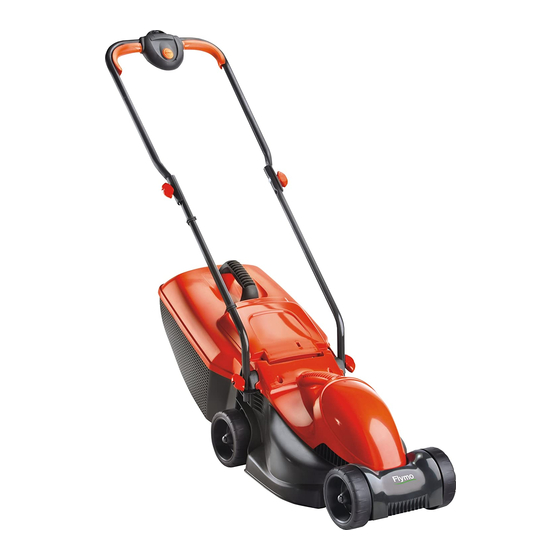
- Page 1 VENTURER 32 (VTR32) ® VISIMO (VM032/VM032+) ROLLERMO (RM032) EASIMO (EM032/EM032+) Original Instructions RE 320 (RE32) ROLLERMO VENTURER 32 RE320 VISIMO EASIMO...
-
Page 2: Carton Contents
IMPORTANT ! Please check the contents of the carton are correct BEFORE assembling your new Flymo product. The Loose Parts Pack is packaged underneath the deck of the product. IF ANY PARTS ARE MISSING CONTACT:- Husqvarna UK Ltd Customer Service Department direct... - Page 3 6.A 13 Amp fuse must be fitted to the Mains Plug. CONNECTORS - IMPORTANT 7.The normal plug fuse and household fuse only protect the • Flymo connectors are suitable for use with 2 core cable electrical equipment and are not a safeguard against only. Under no circumstances should these connectors electrocution.
-
Page 4: Assembly Instructions
Assembly Instructions • The Loose Parts Pack is packaged underneath the deck. Assembly of Lower Handles to Deck 1. Place the bolt (A2) through the hole in the lower handle (A1) until the lower handle fits into the recess (A3) 2. -
Page 5: Cutting Height Adjustment
Grassbox Fitting Fully Assembled Grassbox to Lawnmower. Lift safety flap (G1) Make sure the discharge chute is clean and free from debris (G2) Locate fully assembled grassbox onto 2 location points (G3) at the rear of the deck as illustrated in pic. -
Page 6: Starting And Stopping
Starting and Stopping To Start your Lawnmower 1. Connect plug to mains and switch on. The switchbox is provided with a lock-off button (M1) to prevent accidental starting. 1. Press and hold the lock-off button (M) on the switch- box, then squeeze one of the Start/Stop levers towards the upper handle (N). -
Page 7: Caring For Your Lawnmower
Caring for your Lawnmower Cleaning • USE GLOVES • IMPORTANT:- It is very important that you keep your lawn- mower clean. Grass clippings left in any of the air intakes or under the deck could become a potential fire hazard. 1. -
Page 8: Service Recommendations
Service Recommendations 1. We strongly recommend that your product is serviced at 6. Should it be necessary for work to be carried out by your least every twelve months, more often in a professional ap- Service Centre, it is important to take your complete ma- plication. -
Page 9: Ec Declaration Of Conformity
Our policy of continuous improvement means that the specification of products may be altered from time to time without prior notice. Copyright © 2012 Flymo S.A. All rights reserved. Flymo® and other product and feature names are registered or un- registered trademarks of Flymo S.A.