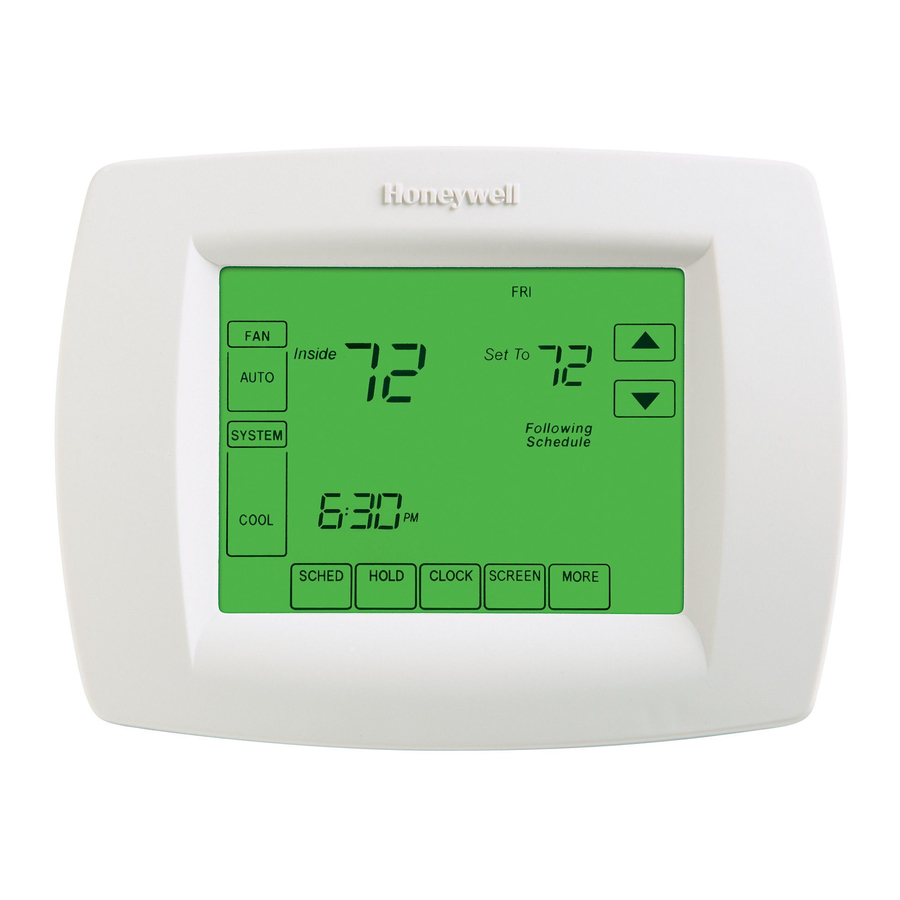
Honeywell VisionPRO TH8000 Series Installation Manual
Visionpro th8000 series touch-screen programmable thermostat
Hide thumbs
Also See for VisionPRO TH8000 Series:
- Installation manual ,
- User manual ,
- Operating manual (96 pages)
Table of Contents
Advertisement
VisionPRO
Touch-screen Programmable Thermostat
This manual covers the following models
• TH8321U1097: For up to 3 Heat/2 Cool heat pump or up to 2 Heat/2 Cool
conventional systems with dehumidification, humidification, or ventilation
(Pull thermostat from wallplate and turn over to find model number)
Must be installed by a trained, experienced technician
• Read these instructions carefully. Failure to follow these instructions
can damage the product or cause a hazardous condition.
CAUTION: ELECTRICAL HAZARD
Can cause electrical shock or equipment damage. Disconnect power before
beginning installation.
MERCURY NOTICE
If this product is replacing a control that contains mercury in a sealed tube, do not
place the old control in the trash. Contact your local waste management authority for
instructions regarding recycling and proper disposal.
This thermostat contains a Lithium battery which may contain Perchlorate material.
Perchlorate Material—special handling may apply,
See www.dtsc.ca.gov/hazardouswaste/perchlorate
For assistance with this product please visit
or call Honeywell Customer Care toll-free at
® U.S. Registered Trademark.
US Patent No. 6595430, D509151 and other patents pending.
Copyright © 2011 Honeywell International Inc.
All rights reserved.
TH8000 Series
®
Need Help?
Installation
Guide
http://customer.honeywell.com
1-800-468-1502
69-2389-03
Advertisement
Table of Contents

Summary of Contents for Honeywell VisionPRO TH8000 Series
- Page 1 Perchlorate Material—special handling may apply, See www.dtsc.ca.gov/hazardouswaste/perchlorate Need Help? For assistance with this product please visit http://customer.honeywell.com or call Honeywell Customer Care toll-free at 1-800-468-1502 ® U.S. Registered Trademark. US Patent No. 6595430, D509151 and other patents pending. Copyright © 2011 Honeywell International Inc.
-
Page 2: Wallplate Installation
Installation Guide Wallplate installation 1. Separate wallplate from thermostat. Grasp top and bottom of wallplate and pull to remove from thermostat. 2. Mount wallplate as shown below. Drill 3/16” holes for drywall. Drill 7/32” holes for plaster. MCR29480 Wire hole Mounting screws Wall anchors MCR29481... -
Page 3: Wiring
VisionPRO TH8000 Series Power options E/AUX MCR29723 Insert supplied batteries for For 24VAC primary power, connect common primary or backup power. side of transformer to “C” terminal. Wiring Push excess wire back into the wall opening. Plug wall opening with non-flammable insulation. E/AUX MCR29724 Terminal Designations... - Page 4 Installation Guide Wiring Wiring guide—conventional systems 1H/1C System (1 transformer) 2H/2C System (1 transformer) Power [1, 6] Cool relay 2 Heat relay Heat relay 2 Compressor contactor Power [1, 6] Fan relay Heat relay 1 24VAC common Cool relay 1 S1/S2 Optional outdoor/remote/discharge Fan relay sensor...
-
Page 5: Heat Pump Systems
VisionPRO TH8000 Series Wiring Wiring guide—heat pump systems 1H/1C Heat Pump (no auxiliary heat) 2H/2C Heat Pump (no auxiliary heat) Power Compressor 2 relay Changeover valve Power Compressor relay Changeover valve Fan relay Compressor 1 relay 24VAC common Fan relay S1/S2 Optional outdoor/remote/discharge 24VAC common sensor... -
Page 6: Remove Tab/Mount Thermostat
Installation Guide Remove tab and mount thermostat Remove tab. Align pins on back of thermostat with slots in wallplate, then push gently until thermostat snaps into place. MCR29484 Set date and time Press Press to set date to set time Press to set month Press... - Page 7 VisionPRO TH8000 Series Installer setup Setup functions Settings & Options (factory default in bold) 0120 Year 20 (2000-2099) (first two digits) 21 (2101-2178) 0130 Year 10 (2010) (second two digits) [Other options: 00-99] 0140 Month [Other options: 1-12] 0150 Date 15 [Other options: 1-31] 0160 Schedule format...
- Page 8 Installation Guide Installer setup Setup functions Settings & Options (factory default in bold) 0280 Backlight Backlight on for approx. 8 seconds after keypress Backlight always on low intensity, full bright after keypress (requires 24VAC connection) 0300 Manual/Auto Manual changeover (Heat/Cool/Off) changeover Automatic changeover (Heat/Cool/Auto/Off) 0310...
- Page 9 VisionPRO TH8000 Series Installer setup Setup functions Settings & Options (factory default in bold) 0390 Dehumidification Away Mode 0391 Dehumidification Away Fan auto Mode Fan Setting Fan on Fan circulate 0392 Dehum. Away Mode 76 Low limit temperature 76°F (24°C) Low Limit Temperature [Other options: 70°F to 80°F (21°C to 27°C)] Setting...
-
Page 10: Installer System Test
Installation Guide Installer setup Setup functions Settings & Options (factory default in bold) 0530 Adaptive Intelligent ** See page 11 Recovery™ 0540 Program periods 4 program periods (Wake, Leave, Return, Sleep) 2 program periods (Wake, Sleep) 0580 Compressor 5 minute compressor off time ** See page 11 protection [Other options: 0, 1, 2, 3 or 4-minute off time]... -
Page 11: Special Functions
VisionPRO TH8000 Series Installer system test System test System status Cooling system Compressor and fan turn off Compressor and fan turn on Second stage compressor turns on Fan system Fan turns off Fan turns on Heating system Heat and fan turn off Heat turns on (fan on if Function 0170 is set for heat pump, or if Function 0180 is set to “1”) ** See page 6... -
Page 12: Accessories And Replacement Parts
1985 Douglas Drive North 35 Dynamic Drive Golden Valley, MN 55422 Toronto, Ontario M1V 4Z9 http://yourhome.honeywell.com ® U.S. Registered Trademark. US Patent No. 6595430, D509151 and other patents pending. © 2011 Honeywell International Inc. 69-2389—03 M.S. Rev 03-11 Printed in U.S.A.


