
Related Manuals for iHome IHOME IP42


Summary of Contents for iHome IHOME IP42
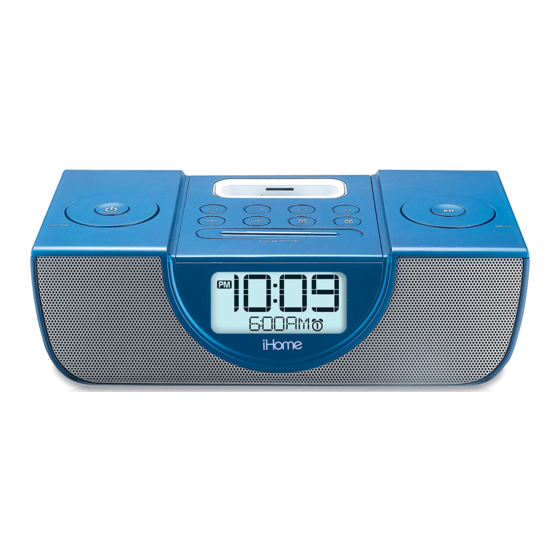
- Page 1 Model iP42 The Home System ® ® For Your iPhone or iPod Questions? Visit www.ihomeaudio.com...
-
Page 2: Table Of Contents
Table of Contents Quick Start ..................................1 Controls and Indicators ..............................2 iP42 Display ..................................2 Installing/Replacing iP42 Backup Batteries / Battery Warning ..................3 Setting Up the iP42 ................................4 Using the iP42 Alarms.............................. 5-6 Listening to iPhone/iPod, Radio or Aux devices......................6-7 Sleep mode, Dimmer and more............................7 A Consumer Guide to Product Safety..........................8 Troubleshooting ................................ -
Page 3: Quick Start
iP42 Quick start 2: inserts 3: time sync 1: power RESET RESET TEST TEST • Dock your iPhone • Press the Time set/sync button on back of the unit. • “SYNC OK” will flash on the display, indicating sync attempt •... -
Page 4: Controls And Indicators
Controls and Indicators Top Panel Dock EQ Button Preset Buttons 1-6 Volume Wheel Set Wheel Alarm Reset / Power Button Play/Pause Button Radio/aux Button Alarm 2 Button Sleep Button Alarm 1 Button Snooze/Dimmer Button Rear Panel Time Set/ Sync Button DST switch Time Zone Button line-in... -
Page 5: Installing/Replacing Ip42 Backup Batteries / Battery Warning
Installing/Replacing the iP42 Backup Batteries The iP42 uses “AA” LR06 batteries (pre-installed) for backup battery system to provide continuous alarm operation and clock settings in the event of a power failure. If the Battery Low Icon located on the right of the display is flashing, it is time to replace the backup batteries. -
Page 6: Setting Up The Ip42
Setting Up the iP42 Connect iP42 to Power Source Plug the AC adaptor cable into the AC Adaptor Jack and the other end into a standard 120V AC wall socket. Adaptor must be plugged in to operate unit. The iP42 does not operate on batteries (a battery back up system maintains clock settings during power failures). -
Page 7: Using The Ip42 Alarms
Using the iP42 Alarms Using the Alarms iP42 has a dual alarm system so you can set two separate alarms to different alarm times, wake-to sources and frequencies (daily, weekdays or weekend). Setting the Alarms 1. Press and hold the Button until the alarm time flashes on the lower part of the display. -
Page 8: Listening To Iphone/Ipod, Radio Or Aux Devices
Using the iP42 Alarms Sure Alarm The iP42 has a sure alarm feature. If backup batteries are installed, the buzzer alarm will still sound in the event of a power failure. Listening to iPhone/iPod, Radio Charging your iPhone/Pod Note: Please make sure you are using the correct insert for your iPhone/iPod and that it is properly docked into the iP42. Failure to do so may damage your iPhone/iPod. -
Page 9: Sleep Mode, Dimmer And More
Listening to Aux device Using the aux line-in Jack You can play any iPod or other MP3 player or portable audio device through the iP42 via the aux line-in Jack. 1. Plug one end of a standard stereo audio patch cord (not included) into the headphone or line-out jack on your device and the other end of the patch cord into the iP42 aux line-in Jack located on the back of the unit. -
Page 10: A Consumer Guide To Product Safety
A Consumer Guide to Product Safety When used in the directed manner, this unit has been designed and manufactured to ensure your personal safety. However, improper use can result in potential electrical shock or fire hazards. Please read all safety and operating instructions carefully before installation and use, and keep these instructions handy for future reference. -
Page 11: Troubleshooting
Troubleshooting Symptom Possible Problem Solution iP42 does not turn on AC adaptor isn't plugged into a working wall Plug the AC adaptor into a working wall socket and plug the socket or not plugged into the power supply connector into the supply jack on the unit jack on back of the unit If unit is plugged in and doesn't respond, try resetting the unit by iP42 doesn’t respond... -
Page 12: Troubleshooting
Troubleshooting Symptom Possible Problem Solution Sound is distorted Volume level is set too high Decrease the volume If the iPhone/iPod original sound source (MP3) is old or of poor quality, Sound source is distorted distortion and noise are easily noticed with high-power speakers. Try a different audio source such as a music CD through the line-in jack. -
Page 13: Warranty Information
2. Enclose a photocopy of your sales receipt, credit card statement, or other proof of the date of purchase, if within the warranty period. 3. Enclose a check or money order payable to the order of SDI Technologies, for the sum of $15.00 ($30.00 without proof of purchase). 4. Send the unit prepaid and insured, to the Factory Service Center listed below.