Table of Contents
Advertisement
I N T E G R A T E D C O M F O R T S O L U T I O N S
110-655B
As an Energy Star partner, Maple Chase has
determined that this thermostat product meets
the Energy Star guide lines for energy efficiency.
Installation Guide
IMPORTANT SAFETY INFORMATION WARNING:
•
Always turn off power at the main power source by unscrewing
fuse or switching circuit breaker to the off position before installing,
removing, cleaning or servicing thermostat.
•
Read all of the information in this manual before installing or
programming this thermostat.
•
This is a 24V AC low-voltage thermostat. Do not install on voltages
higher than 30V AC.
•
All wiring must conform to local and national building and electrical
codes and ordinances.
•
Do not short (jumper) across terminals on the gas valve or at the
system control to test installation. This will damage the thermostat
and void the warranty.
9610
®
™
1
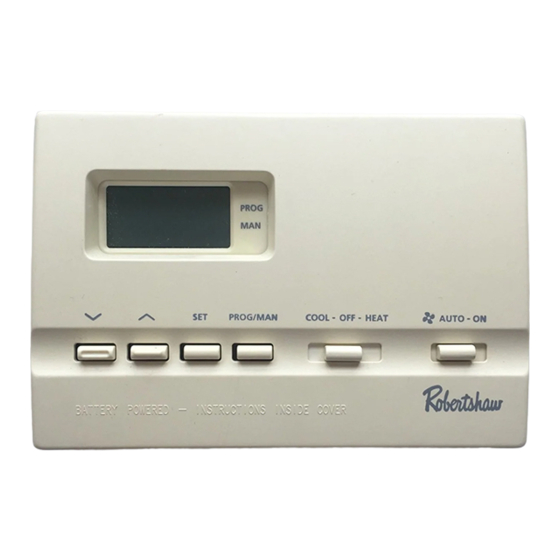
DIGITAL
PROGRAMMABLE
THERMOSTAT
G
E
ELECTRIC
GAS
7 Day Programmable
1 Heat / 1 Cool
User's Manual
Quick Start
Installation and
Programming
Advertisement
Table of Contents

Related Manuals for Robertshaw 9610


Summary of Contents for Robertshaw 9610
-
Page 1: Quick Start
9610 DIGITAL PROGRAMMABLE THERMOSTAT ® ™ I N T E G R A T E D C O M F O R T S O L U T I O N S ELECTRIC 7 Day Programmable 1 Heat / 1 Cool User’s Manual... -
Page 2: Features
Features • Four pre-programmed Energy Star setpoints for each day of the week. • Two “AA” ENERGIZER brand batteries retain program memory, even during power outages. • Low battery indicator. • Fahrenheit/Celsius display option. • Programmable from 45°F (7°C) to 90°F (32°C). •... -
Page 3: Installing Thermostat
Figure 1 Installing Item 9610 Thermostat NOTE: F , 4-5 OR NEW INSTALLATIONS MOUNT THERMOSTAT ON INSIDE WALL FEET ABOVE THE FLOOR O NOT INSTALL BEHIND A DOOR IN A CORNER NEAR AIR VENTS IN DIRECT SUNLIGHT OR NEAR ANY... - Page 4 Figure 3 MOUNTING HOLES 7. Drill the marked holes using a 3/16” drill bit. 8. Tap plastic anchors into the holes. 9. Align base with plastic anchors and feed wires through opening. See Fig 4. Figure 4 10. Secure base to wall with supplied screws. 11.
-
Page 5: Set Time Of Day/Day Of Week
14. Install two “AA” ENERGIZER brand batteries or equivalent into bat- tery compartment. Be sure to place positive (+) ends of batteries toward (+) battery terminals in the battery compartment. The display will show as follows: 15. Replace cover onto thermostat by snapping into place. 16. -
Page 6: Changing Fahrenheit (F) To Celsius (C)
3. Press Press SET P To change Temperature Differential* 1°. T EMPERATURE IFFERENTIAL IS ACTORY PRESET AT HIS MEANS THAT WHENEVER THE ROOM TEMPERATURE CHANGES BY ONE FULL DEGREE FROM THE TEMPERATURE SETTING THE SYSTEM WILL TURN ON F THE SYSTEM TURNS ON TOO OFTEN INCREASE THE TEMPERATURE DIFFERENTIAL 4. -
Page 7: Setting Daily Programming
Setting Daily Programming Summer (Cool) Settings: 1. Place COOL-OFF-HEAT COOL-OFF-HEAT in COOL position. PROG SET PROG/MAN COOL-OFF-HEAT AUTO - ON SET PR 2. Press SET button. The display will show a number from 1 to 7. This number represents the day of the week to be programmed If pro- gramming individual days, press either ✞... -
Page 8: Temporary Program Override
3. Press PROG/MAN button ET PROG/MAN until indicator is in PROG position. PROG SET PROG/MAN COOL-OFF-HEAT AUTO - ON PROG NOTE: W HILE IN THE OOL MODE OR HEAT AND COOL FOR SINGLE STAGE HEAT PUMP SYSTEM ONCE THE THERMOSTAT TURNS THE SYSTEM OFF A BUILT IN DELAY KEEPS THE COMPRESSOR FROM TURNING ON FOR ABOUT... -
Page 9: To Test Thermostat
To Test Thermostat WARNING: DO NOT SHORT (JUMPER) ACROSS TERMINALS OF GAS VALVE OR SYS- TEM CONTROL TO TEST OPERATION. THIS WILL DAMAGE THE THERMOSTAT AND VOID YOUR WARRANTY. CAUTION: D 50°F (10°C). T O NOT SWITCH SYSTEM TO COOL IF THE TEMPERATURE IS BELOW CAN DAMAGE THE AIR CONDITIONING SYSTEM AND CAUSE PERSONAL INJURY COOL-OFF-HEAT 1. -
Page 10: Troubleshooting
Troubleshooting SYMPTOM REMEDY Thermostat does not Check Wiring turn on system (See INSTALLATION) Check fuse. Replace with 3 amp fuse if fuse has opened. Thermostat turns on and off Increase Temperature Differential too frequently. (See PROGRAMMING). Display is blank, flashing or Replace batteries. -
Page 11: Five Year Limited Warranty
Five Year Limited Warranty Maple Chase Company warrants to the original contractor installer or to the original consumer user, each new Maple Chase thermostat to be free from defects in materials and workmanship under normal use and service for a period of five (5) years from date of purchase. This warranty does not cover batteries, damage caused by batteries, damage resulting from improper installation, alteration, misuse or abuse of the thermostat occurring after the date of purchase.