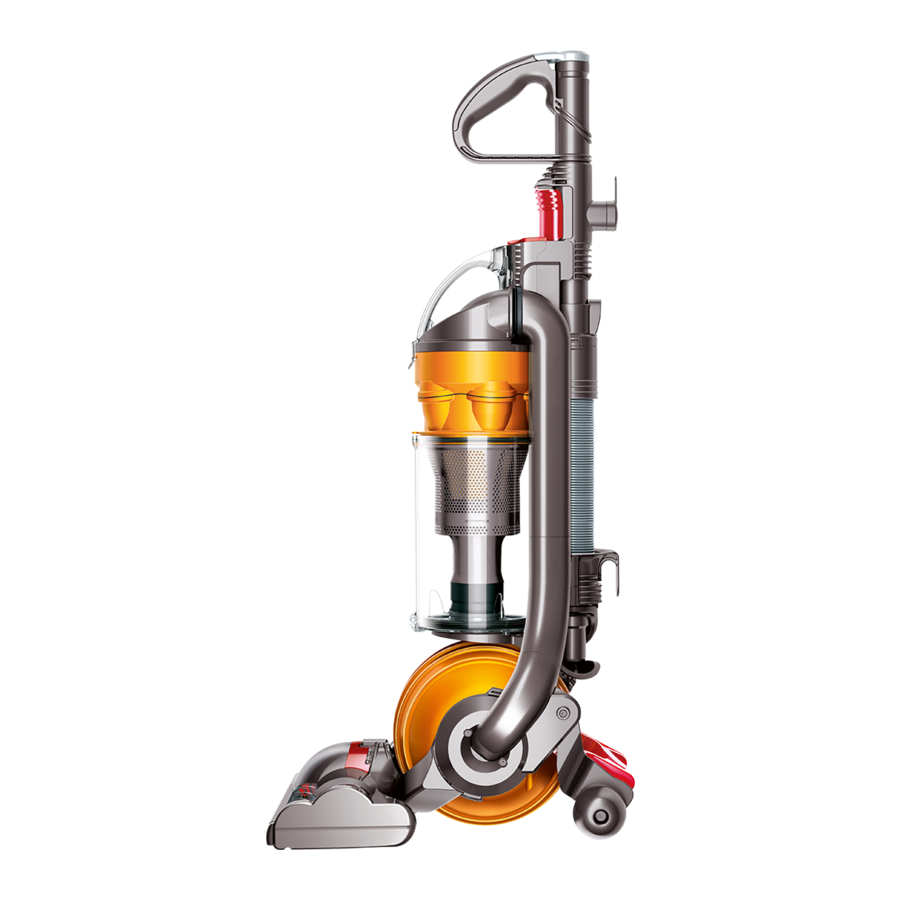
Dyson DC24 Operation Manual
Hide thumbs
Also See for DC24:
- Service manual (76 pages) ,
- Operating manual (27 pages) ,
- Owner's manual (21 pages)
Table of Contents
Advertisement
Available languages
Available languages
Quick Links
Advertisement
Table of Contents

Related Manuals for Dyson DC24


Summary of Contents for Dyson DC24
- Page 1 17806 DC24 US ALL FLOORS WARNING UPISSUE.Indd 5/12/07 13:44:44...
-
Page 2: Important Safety Instructions
IMPORTANT SAFETY INSTRUCTIONS READ ALL INSTRUCTIONS BEFORE USING THIS VACUUM CLEANER When using an electrical appliance, basic precautions should always be followed, including the following: WARNING TO REDUCE THE RISK OF FIRE, ELECTRIC SHOCK OR INJURY: Do not leave appliance when plugged in. Unplug from outlet when not in use and before servicing. -
Page 3: Polarization Instructions
Polarization instructions To reduce the risk of electric shock, this appliance has a polarized plug (one blade is wider than the "-o I"!"1 other). This plug will fit in a polarized outlet only one way. If the plug does not fit fully in the outlet, >... -
Page 4: Instrucciones De Seguridad Importantes
uo,,, z INSTRUCCIONES DE SEGURIDAD IMPORTANTES LEA TODAS LAS INSTRUCCIONES ANTES DE UTILIZAR LA ASPIRADORA <( AI utilizar un aparato el6ctrico, siempre clebe tener precauciones b6sicas, incluso las que se enumeran a continuaci6n: PELIGRO ,,,, PARA DISMINUIR EL RIESGO DE PROVOCAR UN INCENDIO, RECIBIRUNA DESCARGA ELI_CTRICA O LESIONES: No deje el aparato enchufado. - Page 5 Instrucciones para la polarizaci6n )> Para reducir el riesgo de recibir una descarga el6ctrica, este aparato tiene un enchufe polarizado (un terminal es m6s ancho que el otro). Este enchufe poclr6 colocarse de una sola manera en una toma de corriente. Si el enchufe no entra completamente en la toma de corriente, pruebe d6ndole vuelta.
- Page 6 ON/OFF iii_i i 17806 DC24 US ALL FLOORS WARNING UPISSUE.indd 5/12/07 13:44:58...
- Page 7 High.reach cleaning • aiustaBte a la _/iiii_!i! Tubo telesc6_ic6 Iongitud requerida oN ,_ •/ii ¸_¸¸!!¸¸_¸¸¸• _i_ _i_ 17806 DC24 US ALL FLOORS WARNING UPISSUE.Indd 5/12/07 13:45:04...
- Page 8 Filter • Filtro Filter • Filtro 17806 DC24 tJS ALL FLOORS WARNING UPISSUEndd 5J12J07 13.4506...
- Page 9 _÷ 1 1 12 ... 10 _:_ ° Rinse and shake filter under tap. Turn over and tap very firmly to remove motor emissions. Repeat 10x or until water runs clear. Enjuague y mueva el filtro debajo del grifo. De vuelta el filtro y golp6elo firmemente para eliminar las emisiones del motor.
- Page 10 Assembly Lie machine flat and push on cleaner head until it clicks. Stand vacuum cleaner up straight, insert wand into hose and push into place until it clicks. Attach tools to the side of the machine. Using your Dyson Press foot pedal and recline handle to use. The stabilizer stand will automatically lift up.
- Page 11 (iii) Take extra care when vacuuming on stairs; do not work with the vacuum cleaner above you on the stairs. Do not put the vacuum cleaner on chairs, tables etc. (iv) Ensure machine is in upright position before using tools. "-o I"11 To release the wand, open the wand cap, press button and lift up.
- Page 12 This limited warranty is subject to the following terms: What is not covered Dyson, Inc. shall not be liable for costs, damages or repairs incurred as a result of: • Machines purchased from an unauthorized dealer. • Clearing blockages from your machine.
-
Page 13: Warranty & Service
Most issues can be rectified over the telephone by our trained customer care staff. If this is not possible Dyson, Inc. will arrange for your vacuum cleaner to be repaired and returned in full working order at no extra cost to yourself. - Page 14 C6mo armar la aspiradora Coloque el aparato en posici6n horizontal y empuje el cabezal de limpieza hasta que haga clic. <( Coloque la aspiradora en posici6n vertical, introduzca el tubo en la manguera y empOjelo hasta que haga clic. Coloque las herramientas a un costado del aparato. C6mo utilizar su Dyson Para comenzar a usar el aparato, presione el pedal con el pie e incline la maniia.
- Page 15 (iv) Aseg0rese de que la m6quina est6 en posici6n vertical antes de usar las herramientas. Para soltar el tubo, abra la tapa, presione el bot6n y lev6ntelo. Gire el tubo y sujete la manija dentro de la )> manguera. Las herramientas pueden ser colocadas tanto...
- Page 16 Esta garantia limitada est6 suieta a los siguientes t@minos: Que es Io que no cubre Dyson, Inc. no ser6 responsable por los gastos, daBos o reparaciones ocasionados como resultado de: • Aparatos comprados a un representante no autorizado. • Liberar obstrucciones de su aspiradora.
- Page 17 El n0mero de serie se encuentra en la placa de datos de servicio ubicada detr6s 3< del compartimiento clear bin. r'l'l • Todo el trabajo ser6 realizado por Dyson, Inc. o por sus agentes autorizados. )> r'l'l • Cualquier parte defectuosa que sea reemplazada se convertir6 en propiedad de Dyson, Inc.
- Page 18 17806 DC24 US ALL F LOORS OPS MA WARNING UPISSUE.Indd 5/12/07 13:45:09...
- Page 19 17806 DC24 US ALL F LOORS OPS MA WARNING UPISSUE.Indd 5/12/07 13:45:09...
- Page 20 17806 DC24 US ALL F LOORS OPS MA WARNING UPISSUE.Indd 5/12/07 13:45:10...