
Related Manuals for Salus ST620


Summary of Contents for Salus ST620
- Page 1 Salus ST620 Manual 140x140 Finish:Layout 1 29/4/10 13:11 Page 1 S-Series Digital Thermostat Model No ST620 Instruction Manual...
- Page 2 Salus ST620 Manual 140x140 Finish:Layout 1 29/4/10 13:11 Page 2 ST620 INSTRUCTION MANUAL...
-
Page 3: Product Compliance
EC Marking directive 93/68/EEC SAFETY INFORMATION These instructions are applicable to the Salus Controls model stated on the front cover of this manual only, and must not be used with any other make or model. These instructions are intended to apply in the United Kingdom only, and should be followed along with any other statutory obligations - if you are in any doubt, please contact the Salus Controls technical helpline. - Page 4 The ST620 from Salus Controls is a stylish and accurate 5/2 or 7 day programmable electronic thermostat with a large, easy...
-
Page 5: Installation
Salus ST620 Manual 140x140 Finish:Layout 1 29/4/10 13:11 Page 5 INSTALLATION Please read the important safety information at the start of this manual before you start to install the device. The ideal position to locate the ST620 thermostat is about 1.5m above floor level. It should be mounted in a location where the thermostat is accessible, reasonably lit and free from extremes of temperature and draughts. -
Page 6: Installing And Replacing Batteries
Salus ST620 Manual 140x140 Finish:Layout 1 29/4/10 13:11 Page 6 INSTALLING AND REPLACING BATTERIES Installing or replacing the ST620 batteries is a straightforward operation, but does require you to open the case of the programmable thermostat - always isolate the AC Mains supply before opening the unit. -
Page 7: After Installation
Salus ST620 Manual 140x140 Finish:Layout 1 29/4/10 13:11 Page 7 AFTER INSTALLATION After completing installation and powering up the ST620 for the first time the programmable thermostat will behave in the following way: All the indicators on the display and the backlight will be turned on. -
Page 8: User Interface And Controls
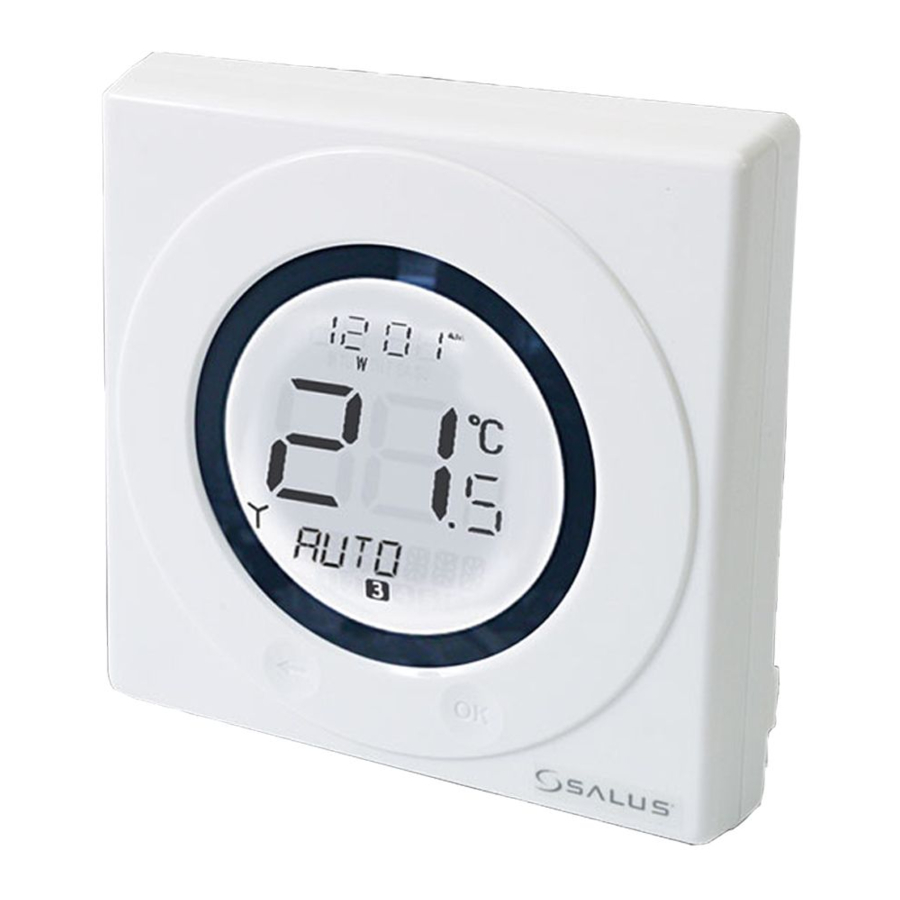
Salus ST620 Manual 140x140 Finish:Layout 1 29/4/10 13:11 Page 8 USER INTERFACE AND CONTROLS The status and operation of the ST620 is clearly shown on the large backlit Liquid Crystal Display (LCD). This display allows the user to see at a glance the current status of the heating system, as well as a clear indication of the current room temperature. - Page 9 Salus ST620 Manual 140x140 Finish:Layout 1 29/4/10 13:11 Page 9 These controls are shown below, along with a description of each of their functions. USER CONTROL FUNCTION SUMMARY: Key / Operation Functions Touch Ring (move clockwise) Increases the set temperature and scrolls down the...
-
Page 10: Operation
Salus ST620 Manual 140x140 Finish:Layout 1 29/4/10 13:11 Page 10 OPERATION The ST620 is configured and adjusted by the use of an innovative and stylish Touch Ring, and two touch sensitive buttons. The Touch Ring surrounds the programmable thermostat display, and is operated very easily by moving your finger around the ring. - Page 11 Salus ST620 Manual 140x140 Finish:Layout 1 29/4/10 13:11 Page 11 PROGRAMMING THE ST620 The ST620 offers great versatility with its programming options, allowing the user to programme the ST620 to operate on an individual, 5/2 or 7 day control cycle. The programmable thermostat has a default set of Programmes that have been designed to meet the needs of most users.
- Page 12 Salus ST620 Manual 140x140 Finish:Layout 1 29/4/10 13:11 Page 12 After confirming this setting the ‘minutes’ section of the time will then start to flash. Change this setting using the Touch Ring in the same way that you changed the hour setting, confirming your setting with the OK key.
- Page 13 Salus ST620 Manual 140x140 Finish:Layout 1 29/4/10 13:11 Page 13 HOLIDAY OVERRIDE MODE Entering the HOLIDAY menu allows you to turn the holiday override mode of the ST620 on. The HOLIDAY mode allows the user to override all the current Programme settings with a specific temperature setting that is active between two dates entered by the user.
- Page 14 Salus ST620 Manual 140x140 Finish:Layout 1 29/4/10 13:11 Page 14 Use the Touch Ring to enter the date in exactly the same way as for the holiday start date. By default, the HOLIDAY mode start and end dates are set to the current date.
- Page 15 Salus ST620 Manual 140x140 Finish:Layout 1 29/4/10 13:11 Page 15 Pressing the Touch Ring will change the display to show the current temperature setting, but this setting cannot be adjusted while in this mode. CANCELLING HOLIDAY OVERRIDE MODE When in HOLIDAY mode, pressing the OK key will make the display change between CANCEL and HOLIDAY every 0.5 seconds as shown below:...
- Page 16 Salus ST620 Manual 140x140 Finish:Layout 1 29/4/10 13:11 Page 16 FROST MENU Entering the FROST menu allows you to turn the frost protection mode of the ST620 on or off. The FROST mode temperature is preset at 5 ºC; this temperature is factory set and cannot be adjusted.
-
Page 17: Sleep Menu
Salus ST620 Manual 140x140 Finish:Layout 1 29/4/10 13:11 Page 17 SLEEP MENU The SLEEP mode allows the ST620 to conserve power by turning off the LCD display. Entering the SLEEP menu allows you to activate this power saving feature from a 5 second run down timer. - Page 18 Salus ST620 Manual 140x140 Finish:Layout 1 29/4/10 13:11 Page 18 MANUAL SETTING OF TIME AND DATE If the time and date setting need to be set manually, this can be done by accessing the TIME menu. The first option within the menu is a choice of 12 or 24 hour clock setting.
-
Page 19: Radio Controlled Clock
Salus ST620 Manual 140x140 Finish:Layout 1 29/4/10 13:11 Page 19 RADIO CONTROLLED CLOCK The ST620 time and day of the week settings are updated automatically every day (at 12:00 AM or 2:00 AM) by the use of a very accurate internal Radio Controlled Clock. -
Page 20: Service Menu
Salus ST620 Manual 140x140 Finish:Layout 1 29/4/10 13:11 Page 20 SERVICE MENU The service menu should only be selected or changed by the engineer carrying out the installation, or other qualified person. It is strongly recommended that you familiarise yourself with the instructions contained in the operation section of this manual before attempting to change any of the settings in the service menu. -
Page 21: Off Mode
Salus ST620 Manual 140x140 Finish:Layout 1 29/4/10 13:11 Page 21 OFF MODE The low battery indicator will be displayed if battery voltage is detected as "low", in this case, the thermostat functions normally during battery low except the backlight is turned off. The ST620 will enter into OFF mode if the battery voltage falls drastically low, and all outputs will turn off. -
Page 22: Maintenance
Salus Controls sole liability for breach of this warranty will be (at its option) to repair or replace the defective product. -
Page 23: Memory Backup
Salus ST620 Manual 140x140 Finish:Layout 1 29/4/10 13:11 Page 23 DEFAULT PROGRAMMES Programme Output Weekday Weekend 6:00AM 6:00AM TEMP 21ºC 21ºC 8:00AM 8:00AM TEMP 14ºC 14ºC 11:00AM 11:00AM TEMP 21ºC 21ºC 1:00PM 1:00PM TEMP 14ºC 14ºC 4:00PM 4:00PM TEMP 21ºC 21ºC... - Page 24 Salus ST620 Manual 140x140 Finish:Layout 1 29/4/10 13:11 Page 24 salus-tech. Email: sales@salus-tech.com Tel: 01226 323961 Sales Email: tech@salus-tech.com Tel: 01226 323961 Technical Salus Controls plc, Salus House, Dodworth Business Park South, Whinby Road, Dodworth, Barnsley S75 3SP...