Bissell PowerForce Helix Turbo Bagless User Manual
User guide
Hide thumbs
Also See for PowerForce Helix Turbo Bagless:
- Limited warranty (1 page) ,
- User manual (17 pages)
Table of Contents
Advertisement
Advertisement
Table of Contents

Related Manuals for Bissell PowerForce Helix Turbo Bagless


Summary of Contents for Bissell PowerForce Helix Turbo Bagless
- Page 1 USER'S GUIDE REMANUFACTURED 12B1, 68C7 SERIES Thank You Safety Instructions Product View Assembly Operations 9-12 Maintenance and Care Troubleshooting Replacement Parts Warranty product images may vary Product Registration Consumer Care...
- Page 2 Your BISSELL vacuum is well made, and we back it with a limited 90-day warranty. We also stand behind it with a knowledgeable, dedicated Consumer Care Department, so, should you ever have a problem, you’ll...
-
Page 3: Important Safety Instructions
MPORTANT SAFETY INSTRUCTIONS When using an electrical appliance, basic ■ Keep hair, loose clothing, fingers, and all precautions should be observed, including parts of body away from openings and the following: moving parts. ■ Turn off all controls before plugging or READ ALL INSTRUCTIONS unplugging vacuum cleaner. -
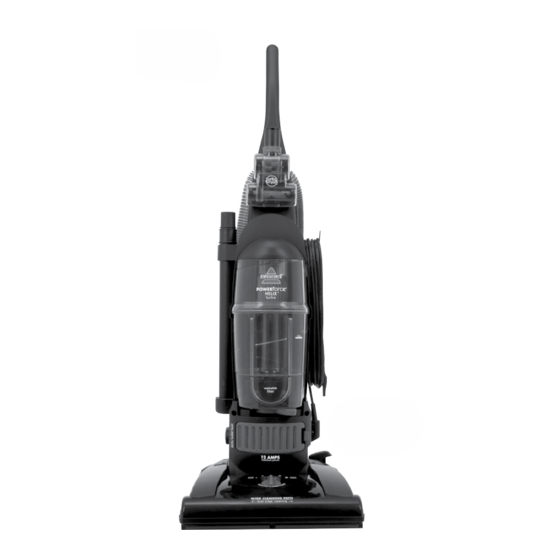
Page 4: Product View
roduct View 68C7 Model Shown Handle TurboBrush® Tool (select Models) Primary Separator Quick Release™ Cord Wrap Upper Tank Power Cord Easy Empty™ Dirt Container Inner and Outer Circular Filters Lock ’n Seal™ Lever Lower Filter Cup Post-Motor Filter (HEPA Media Filter* in select models) Height Adjustment... - Page 5 roduct View 68C7 Model Shown Cord Clip Hose Clip Stretch Hose Crevice Tool Carrying Handle Combination Extension Wand Dusting Brush/ Upholstery Tool Hose Wand Hose Wand Base Power Switch Handle Release Pedal Foot Hose...
-
Page 6: Attach Handle To Vacuum
ssembly Attach handle to vacuum Locate handle and remove screw packet taped to the user's guide. Stand the vacuum upright and place the base of the handle firmly into the grooves at the top of the vacuum body. Insert the two (2) screws into the existing holes on each side and tighten securely. -
Page 7: Power Switch
perations Power Switch The red power switch is located on the bottom left of the back side of the unit. Press gently with foot to turn power ON and OFF. Power Cord When you are finished vacuuming, return to upright position and store power cord. Turn vacuum OFF. -
Page 8: Height Adjustments
perations Height Adjustments Turn knob on Powerfoot to adjust to one of 5 Height Adjustments. If knob is difficult to turn, tilt the cleaner back slightly to take the weight off the foot while turning. Lowest Setting: For low pile carpet and barefloors. -
Page 9: Maintenance And Care
aintenance and Care To maximize performance and extend life of your vacuum, it is very important to perform the following maintenance steps. Empty Easy Empty™ Dirt Container Empty when dirt reaches the “Full” line on the container Turn power OFF. Unplug power cord from electrical outlet. -
Page 10: Checking Rotating Floor Brush/Drive Belt
aintenance and Care Cleaning the pre-motor filter The pre-motor filter protects the motor from debris. Turn power OFF. Unplug vacuum cord from electrical outlet. The pre-motor filter is located underneath the filter cup in the center of the round part of the Lock ‘n Seal lever. Remove the small round filter and any debris on top of it. -
Page 11: Clearing A Clog
aintenance and Care Replace drive belt Turn power OFF. Unplug vacuum cord from electrical outlet. With rotating brush removed (steps 1-4 of Check rotating floor brush and drive belt), grasp old drive belt and remove from motor pulley. Discard old drive belt. Place new drive belt over motor pulley and stretch other end over rotating floor brush in the space between the bristles. - Page 12 aintenance and Care TurboBrush® Tool Maintenance (select models only) Turn power OFF . Unplug vacuum cord from electrical outlet. Remove tool from hose or from clip on vacuum handle. Twist collar so opening is at the top and lift clear cover to remove. Remove brush from belt and clean debris.
-
Page 13: Troubleshooting
If you should happen to need assistance during assembly or operation, call BISSELL Consumer Care at 1-800-237-7691. Please do not return this product to the store. For any questions or concerns, BISSELL is happy to be of service. Contact us directly at 1-800-237-7691. - Page 14 - BISSELL Vacuum Item Part No. Part Name 32074 Style 7/9/10/12 Drive Belt (2-Pack) 203-1056 Crevice Tool 203-1059 Combination Dusting Brush / Upholstery Tool 203-1068 Extension Wand 203-8074 Hose Assembly (12B1 Series) 203-8049 Hose Assembly (68C7 Series) 203-8072...
-
Page 15: Limited 90-Day Warranty
Subject to the *EXCEPTIONS AND EXCLUSIONS identified below, upon receipt of the product BISSELL will repair or replace (with new or remanufactured components or products), at BISSELL’s option, free of charge from the date of purchase by the original purchaser, for 90 days any defective or malfunctioning part. - Page 16 Grand Rapids MI 49501 ATTN: Consumer Care Or visit the BISSELL website - www.bissell.com When contacting BISSELL, have model number of cleaner available. Please record your Model Number: ___________________ Please record your Purchase Date: ___________________ NOTE: Please keep your original sales receipt. It provides proof of purchase date in the event of a warranty claim.