
Related Manuals for Hoover U5162


Summary of Contents for Hoover U5162
- Page 1 HOOVER FoldAway Upright Thank you for your purchase! Owner’s Manual ENGLISH pp. 1-11 ESPAÑOL pág. 13-19 ARABIC p. 20-25 ® www.hoover.com...
-
Page 2: Table Of Contents
• The use of an extension cord is not recommended. • Do not use with damaged cord or plug. If appliance is not working as it should, has been dropped, damaged, left outdoors, or dropped into water, take it to a Hoover Service Centre or Authorised Hoover Service Dealer. -
Page 3: Getting Started
If you need any assistance: Visit our website at www.hoover.com. Click on the “Service” button to find the service outlet nearest you. Please do not return this product to the store. Getting started Carton contents Your cleaner comes fully assembled with the tools and hose stored on board. -
Page 4: How To Use
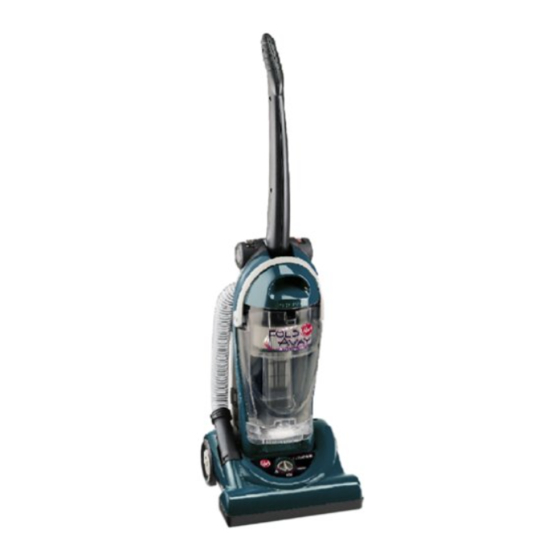
How to use Cleaner description 1. FoldAway handle 13. Hose 2. Upper handle release 14. Furniture nozzle button 15. Dusting brush 3. Dirt cup handle/latch 16. Extension wand 4. Carrying handle 17. Crevice wand: stores 5. Dirt cup filter chamber inside wand 6. -
Page 5: Carrying Handle
Carrying handle Carpet height Settings adjustment For maximum cleaning perfor- Use the carrying handle to lift the mance, the following carpet height cleaner. The cleaning of carpet and rugs settings are recommended. takes place at the nozzle (B). • Low setting: for all types of carpet and When it is necessary to raise and lower the hard floors. -
Page 6: Cleaning Tools
Cleaning tools Tools allow for cleaning surfaces above the floor and for reaching hard to clean areas. The cleaner is ready for tool use when handle is in upright position. CAUTION: Agitator continues to rotate while cleaner handle is in Select proper tool upright position. -
Page 7: Cleaning Filters
Maintenance Familiarize yourself with these home When to empty maintenance tasks as proper use and It is recommended that the dirt cup be care of your cleaner will ensure contin- emptied before the dirt reaches the dirt ued cleaning effectiveness. opening on back of dirt cup (Fig. -
Page 8: Replacing Headlight
Press latch (I) and remove filter grid. Headlight replacement What to buy This cleaner uses a 12 volt, wedge base type 912 bulb, HOOVER part No. 27313107. Pull old bulb straight out of sock- Disconnect cleaner from electrical Lift out filter (J) and hand wash in et. -
Page 9: Replacing Belt
Belt replacement The belt on your Hoover cleaner causes the agitator to rotate and is important for the effective operation of the cleaner. The belt is located under the hood of the cleaner and should be checked from time to time to be sure it is in good con- dition. -
Page 10: Lubrication
The agitator brush roll is equipped with Move edge of a card across bottom two ball bearings that should be lubri- plate while turning agitator. To maintain cated periodically by a Hoover Service cleaning effectiveness, replace agitator Centre. Raise nozzle up and replace the 2 if brushes do not touch card. -
Page 11: If You Have A Problem
Use only spare Possible cause Turn cleaner OFF and disconnect from parts supplied by Hoover to ensure that Possible solution electrical outlet. your cleaner operates at maximum effi- • Not firmly plugged in 1.