
Related Manuals for Airlink101 ANAS250


Summary of Contents for Airlink101 ANAS250
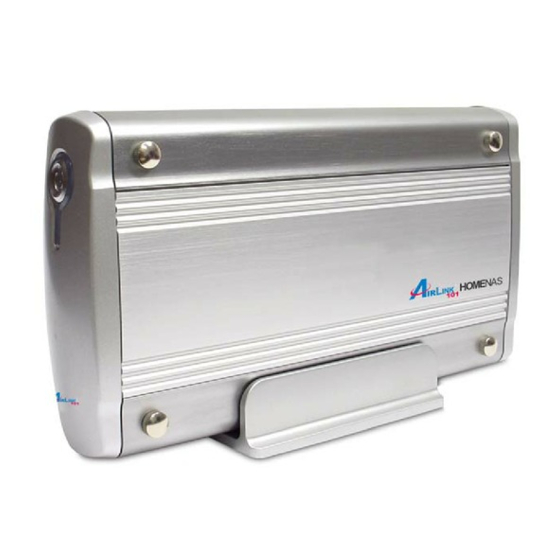
- Page 1 Home NAS 3.5” IDE Network Attached Storage Model # ANAS250 User’s Manual Ver. 1A...
-
Page 2: Table Of Contents
1. Introduction ... 3 2. Hard Drive Installation ... 3 3. Configuring Home Nas ... 7 3.1 Status – System Information ... 9 3.2 IP Configuration ... 10 3.3 Maintenance ... 11 3.4 Samba Administration... 11 3.5 FTP Configuration... 13 3.6 Disk Utility... -
Page 3: Introduction
1. Introduction The HOMENAS enclosure adds the convenience of network-attached storage to homes and in small businesses, providing you a central storage location for your data and letting you share data across your network. What’s in the Package HOMENAS main unit HOMENAS vertical stand Securing screws Network cable (category 5) - Page 4 Step 2 Pull out the front panel. Step 3 Put the 3.5-inch IDE hard disk into the plate, and connect the IDE and power cables to your hard drive.
- Page 5 Step 4 Secure the drive to the plate on the sides with the provided four screws. Step 5 Insert the plastic plate back to the device. Step 6 Re-attach the back panel to the device and secure it with the two screws removed in step 1.
- Page 6 Please ensure that you install the device driver before connecting the USB port. When you complete the driver installation, reboot your computer, connect the HOMENAS to your computer and access the data via “My Computer” www.airlink101.com to download the...
-
Page 7: Configuring Home Nas
3. Configuring Home Nas The HOMENAS features a web-based control interface to manage your settings. Windows Users Open your web browser and enter http://homenas in the URL address field. You can also enter the IP address of the HOMENAS. For security purposes, your login information can be changed via the web control interface. - Page 8 computer, and then restart the computer. After your computer is restarted, input the default IP address 169.254.0.1 in the browser URL address bar to access the web control panel. Enter the username and password information when the login window prompts up. Default Username: admin Default Password: admin Upon a successful login, you will see the following screen.
-
Page 9: Status - System Information
Status Shows the data related to your HOMENAS such as networking status and hard drive information. You may also edit administration and file language settings here. Allows you to manually configure the IP address of the HOMENAS IP Config Maintenance Perform firmware upgrade, reboot or reset the HOMENAS Configure the Samba feature of HOMENAS for the home/office SMB Server network file sharing capabilities. -
Page 10: Ip Configuration
“http://FileServer” to access the Web Control Panel after you submitted your changes. The Language setting is used to recognize files with characters other than English. If you have trouble reading your files on the HOMENAS, please select the appropriate language. When you reset the HOMENAS, either by the hardware switch or through the web control panel, all the settings will return to the default setting including the hostname. -
Page 11: Maintenance
The administrator can perform maintenance tasks on ths HOMENAS in this screen Firmware Upload: Update the firmware only if you are experiencing problems with your HOMENAS. You may go to the Airlink101 website the latest available firmware. Factory Defaults: When you reset the HOMENAS, either by the hardware switch or through the web control interface, all the settings will return to the default setting including the hostname. - Page 12 In here, you can create, rename and delete folders/directories in your HOMENAS. All the folders/directories in the root directory that were previously in your hard drive before it was installed in the HOMENAS will also be shown in the “Folder List”. The arrow keys in the middle are used to determine if the selected folder/directory is to be shared.
-
Page 13: Ftp Configuration
current hostname to connect or reconnect to it or its web control interface. Consult your network administrator for any network or network configuration related issues. 3.5 FTP Configuration File Transfer Protocol (FTP) enables file exchange between computers on Internet, Intranet, WAN, or LAN environments using HTTP/FTP tools. The HOMENAS can work as a stand-alone FTP server when it is assigned a static IP. -
Page 14: Disk Utility
3.6 Disk Utility Format Disk: If you have installed a new hard drive in the HOMENAS that is not formatted, this utility will format the disk using FAT32. It is suggested to perform Scan Disk operations (below) to verify the integrity of the drive after format. Sleep Time: The HOMENAS supports power management. -
Page 15: Accessing Files From Homenas - Windows
4. Accessing Files from HOMENAS – Windows In Windows, data share locations can be accessed in two main ways. One is using the “Network Neighborhood” or “My Network Places” functions within windows, and navigating to the HOMENAS by searching for the hostname. Another way is to use the “Run”... -
Page 16: Accessing Files From Homenas - Mac Os
5. Accessing Files from HOMENAS – Mac OS I If the client computer is an Apple Macintosh running Mac OS, they will have to follow the procedure below to mount each shared folder as an SMB share to access the data. - Page 17 If you change the HOMENAS hostname, you will need to replace the word “homenas” with it. For example, if you changed your hostname to “FileServer”, please type “smb://FileServer” instead. The next dialogue screen will prompt you for the folder that you will like to access. Select it and click the OK button.
- Page 18 -18-...
-
Page 19: Using Homenas Configuration Utility (For Windows User Only)
6. Using HOMENAS Configuration Utility (For Windows User Only) The functions of the utility are similar to the web configuration page. This is an optional tool for users to configure or troubleshoot your HOMENAS, especially when you cannot detect the device or you forget its IP address and hostname. Step 1 Run Utility Insert the CD into the CD ROM drive and click Run NAS Configuration Utility. - Page 20 Step 2 Enter the Utility Choose your HOMENAS system and click to use the utility. Input the user name and password. The default username and password are both “admin”. If you forget the the username and password you changed, you will need to reset HomeNas by pushing and holding the reset button at the back panel for 10 seconds Step 3 Mount the Home Nas...
- Page 21 Status – System Information The interface is similar to the web configuration page shown in page 9. Please refer to section 3 for detail description. -21-...
-
Page 22: Frequently Asked Questions
Please ensure you update patches for your operating system frequently. The latest firmware for the HOMENAS is also available to download from our website www.airlink101.com. Does the HOMENAS support power management? Yes, when there isn’t any hard drive activity within fifteen minutes, the HOMENAS will power down to reduce power consumption. - Page 23 What kind of hard drive is compatible with the HOMENAS? The HOMENAS supports 3.5” Ultra DMA/ATA hard drives which are mostly manufactured after 1998. Below is a list of manufacturer websites you can refer to for more information on the hard drive you own. Western Digital http://www.westerndigital.com IBM/Hitachi...
-
Page 24: Technical Support
AirLink101. All other product or service names are the property of their respective holders. AirLink101 products are protected under numerous U.S. and foreign patents and pending applications, mask work rights, and copyrights.