Bontrager Transmitr MicroRemote - ANT+ Wireless Compact Remote Manual
- Manual (2 pages)
Advertisement
![]()
About this product
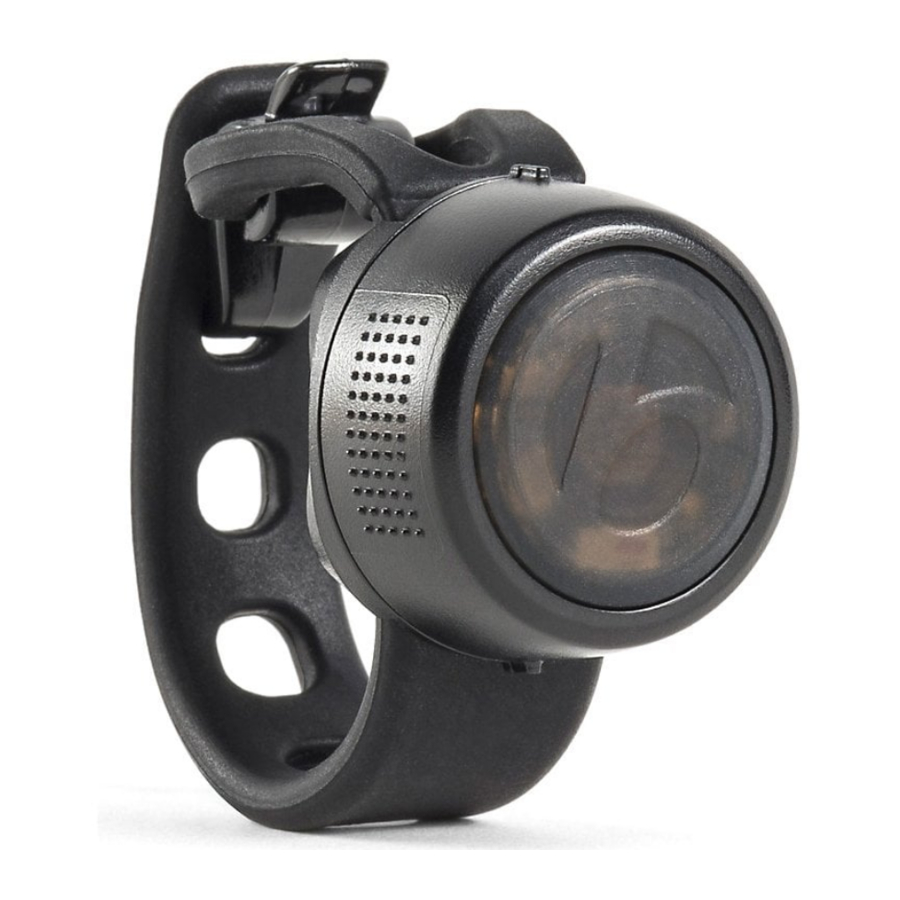
A small ANT+ and Bluetooth wireless remote that's easy to pair and makes on-bar control of bicycle lights a breeze. The versatile remote mounts to both road or MTB bars and can be paired with up to 4 lights.


To use the Transmitr MicroRemote, you must have ANT+ compatible lights mounted on your bicycle.
Compatible Bontrager lights:
- Ion Pro RT
- Ion 200 RT
- Ion 450 RT
- Flare RT
- Ion 800 RT
- Ion 700 RT
- Ion 350 RT
- Other ANT+ compatible lights
To set up any other light, please refer to the manual that came with your light.
Before you start
There are two phases to this installation: pairing the lights to the remote and attaching the lights and remote to the bike. It is easiest to pair the lights to the remote before attaching it to the bike.
Battery activation
- Twist anticlockwise to open the remote. Keep the top half assembled.
![]()
- Pull out the battery activation tab.
![]()
- Twist the remote clockwise to close.
![]()


A note about pairing
Up to four ANT+ compatible lights can be paired to the Transmitr MicroRemote in a single pairing session. Once in pairing mode, the remote will automatically search for each activated light, to pair one at a time, in sequence. The pairing process is the same for all ANT+ compatible lights, regardless of whether it's a front light or a rear light.
NOTE: All lights must be paired in the same continuous procedure. If you choose to add a light later, you will need to pair each light again at that time.
Pairing
- Before starting, place the remote and all lights within 15 cm (6 inches) of each other.
![]()
NOTE: Move 4.5 metres (15 feet) from other ANT+ compatible lights to prevent accidental pairing. - For all lights you wish to pair, turn on each light then quickly turn it off again.
NOTE: After completing this step, do not press the power button on the light again until pairing is complete. - Press and hold the button on the remote for at least 15 seconds. Position your thumb on the remote button so you can see the red light flash under the button. Release the button when the green/red light begins to flash.

NOTES: Upon entering the pairing process, all previously stored pairing is removed.
If a light is accidentally paired, start the pairing process again.
- While the remote searches for a light, the LED flashes red. When the remote finds a light, the LED will change from a red flash to a green flash and the found light will turn on.
- While the remote is still flashing green, single-press the button on the remote. The LED will begin flashing red again to find another available light to confirm you have paired the correct light.
- Repeat steps 4 and 5 for each light to pair.
- To exit pairing, single-press the button while the remote is flashing red. If pairing to 4 lights, the remote will exit pairing mode automatically after the fourth light is paired.
NOTE: Waiting at any time for 10 seconds will also end the pairing process automatically.
Verify pairing
- Double-click the remote button to turn on all paired lights.
- Press and hold the remote button for 1 second to turn off the light(s).
Remote operation with paired lights
When the Transmitr MicroRemote is used while lights are being used in auto mode with a Garmin, the remote will take over changing the mode to individual on the Garmin. If a user wants auto mode to function again, they'll need to select it again on the Garmin.
The remote will recognise available lights within 30 m (100 ft) as long as there is a clean line of sight.
- All lights will require a double-click to turn on.
- Once on, a single-click will change the mode of the front light, depending on the light type. A long press will turn the lights off if they are on.
- The front light will operate in two configurations: High Mode Control or Mode Selection. The default out-of-the-box experience is High Mode Control.
- The rear lights will only turn on and off.
Front light configurations
Each light will turn on to the last mode it was in when the remote turned the light off.
High mode control
If there is no saved mode, the light will turn on to LOW. Subsequent button presses will alternate the light between HIGH and the previous mode.
Mode selection
By default, if there is no saved state, the lights will turn on to LOW. After this, each button press will advance the lights through the mode list.
Example: High (click) -> Medium (click) -> Low (click) -> Night Flash (click) -> Day Flash
Change front light control mode
Hold down the button for 8 seconds. If you release the button between 8 and 15 seconds, the remote will switch to the new control mode. It will flash to indicate which mode the remote is in: Red = High Mode Control; Green = Mode Selection.
NOTE: If you do not release the button before 15 seconds, the remote will enter pairing mode.
Rear lights
The default setting is LOW. To change the saved mode, turn on the light. Use the button on the rear lights to change the mode, then turn off the system using the remote.
Can't find light
If you are attempting to interact with a light and the remote can't find it, the remote will flash red for 2 seconds. And you must repeat the pairing process.
Low battery
If the battery on one of your lights has fallen below 5%, the remote lights up solid red for 2 seconds. This will happen only when turning the system on, or turning the system off.
Attach the remote
The following attachment methods allow you to install the Mirco Remote on a variety of handlebar configurations. The strap will wrap securely around diameters as small as 22.2 mm up to the hoods on a road brake/shift lever.
- 22.2 mm diameter near the grips.
![]()
- 31.8 mm at the centre of a road bar.
![]()
- Aero section of a road bar.
![]()
- Below the brake/shift lever hood on a road bike.
![]()
- Optional: Use the bar-end plug adaptor for the end of the handlebar installation. Sold separately. PN W588932.
![]()


Remote battery
The battery is not rechargeable. It uses a coin-type CR1632 battery.
Battery installation
- Twist the button assembly anticlockwise to remove it from the housing and strap assembly.
![]()
- Push the button assembly out of the top cover.
![]()
- Slide the old battery out and dispose of properly.
![]()
- Slide the new battery into the battery carrier. Be sure to have the plus (+) side facing you.
![]()
- Press the battery and button assembly back into the top housing cover.
![]()
- Twist the button assembly clockwise a quarter-turn onto the housing and strap assembly.
![]()
The small tabs should align when correctly assembled.


Statements of Regulatory Compliance
Industry Canada Compliance
Bontrager Transmitr MicroRemote - (P/N 563210),
CAN ICES-3(B)/NMB-3(B) IC: 21334-563210
This device complies with Industry Canada licenceexempt RSS standard(s). Operation is subject to the following two conditions:
- this device may not cause interference, and
- this device must accept any interference, including interference that may cause undesired operation of the device.
This Bontrager equipment complies with FCC and IC radiation exposure limits set forth for an uncontrolled environment. The radiated output power of the Transmitr Wireless Device is below the Industry Canada (IC) radio frequency exposure limits. This equipment is in direct contact with the body of the user under normal operating conditions. This transmitter must not be co-located or operating in conjunction with any other antenna or transmitter.
Status of the listing in the Industry Canada's REL (Radio Equipment List) can be found at the following web address: http://www.ic.gc.ca/app/sitt/reltel/srch/nwRdSrch.do?lang=eng
Additional Canadian information on RF exposure also can be found at the following web address: http://www.ic.gc.ca/eic/site/smt-gst.nsf/eng/sf08792.html
European Union Compliance
Transmission Frequency: 2.4GHz
Bluetooth: 2402MHz ~ 2480MHz
ANT+: 2457MHz
Bluetooth Max Power: <6dBm ANT+ Max Power: <6dBm
Operating power: 3 V D C
Operating temperature: 0ºC ~50ºC
RF exposure compliance distance is 20 millimetres.
Trek Bicycle Corporation and Bontrager hereby declare that the wireless devices identified as Transmitr MicroRemote is in compliance with the following European Directives:
- R&TTE Directive 1999/05/EC - RED 2014/53/EU
- EMC Directive 2004/104/EC - EMCD 2014/30/EU
- LVD Directive 2006/95/EC - LVD 2014/35/EU
- RoHS Directive 2011/65/EU The full text of the EU declaration of conformity is available from your dealer, or at the following internet address: http://www.bontrager.com/support
- RoHS Directive 2015/863/EU
Warranty
The Bontrager Transmitr MicroRemote is covered by a warranty. For details, visit www.trekbikes.com
Contact information
North America
Trek Bicycle Corporation
801 West Madison Street
Waterloo, WI 53594 USA
Tel: 800-313-8735
Europe
Bikeurope BV
Ceintuurbaan 2-20C
3847 LG Harderwijk
The Netherlands
Tel: +31 (0)88 4500699
Australia
Trek Bicycle Corp. Au.
8 Townsville Street
(Level One)
Fyshwick (ACT)
2609 AU
Tel: +61 (02) 61 732 400

Documents / Resources
References
Frequently Asked Questions (FAQ) on Radiofrequency (RF) Energy and Health
Trek Bikes - The world's best bikes and cycling gear
Download manual
Here you can download full pdf version of manual, it may contain additional safety instructions, warranty information, FCC rules, etc.
Download Bontrager Transmitr MicroRemote - ANT+ Wireless Compact Remote Manual
Advertisement
Thank you! Your question has been received!


Need Assistance?
Do you have a question about the Transmitr MicroRemote that isn't answered in the manual? Leave your question here.