Table of Contents
Advertisement
Quick Links
INSTALLATION MANUAL
[Important]
Be sure to correctly follow the procedures in order as explained in this Installation Manual.
If you do not follow the procedure in order, the image trouble may occur.
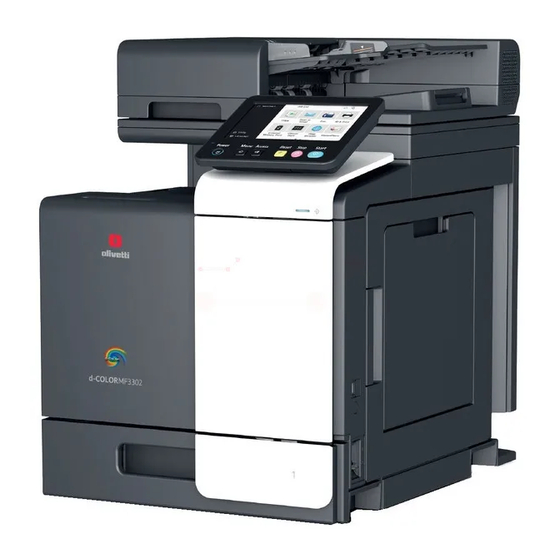
1. Outline of installation procedures
AU-102
AU-201S
When installing the main body and associated options as a system, follow the order shown on the upper.
Note:
• For the detailed installation procedures for each option, follow the instructions given in the correspond-
ing installation manual and perform the procedures correctly.
• Once the Power Switch is turned ON, do not turn OFF it until the installation work has been completed.
2019. 5 Printed in Malaysia
WT-P03
FS-P04
MK-P09
Main body mass: approx. 38.4 kg (84-11/16 lb)
• Lifting the main body in an awkward position or transporting it in a
poorly balanced position could result in personal injury. When trans-
porting the main body, assign an adequate number of persons to the
job and ensure that each person can take a good position of not be-
ing excessively loaded.
DK-P04
PF-P20
PF-P22
Main
KP-P03
body
EK-P08
EK-P09
EK-P10
UK-221
EK-P11
FK-517
KH-P02
MK-P08
CU-202
CAUTION
E-1
Applied Machines:
AAJT-9604-00
Advertisement
Table of Contents

Related Manuals for Olivetti d-Color MF 3302


Summary of Contents for Olivetti d-Color MF 3302
- Page 1 INSTALLATION MANUAL Applied Machines: [Important] Be sure to correctly follow the procedures in order as explained in this Installation Manual. If you do not follow the procedure in order, the image trouble may occur. 1. Outline of installation procedures DK-P04 PF-P20 PF-P22 WT-P03...
- Page 2 2. Installation space 3. Pre-installation check items (Unit: mm (inch)) (1) Select a level and stable place for installing the machine. Main body + PF-P20 + DK-P04 + CU-202 (2) Be sure to use a power source of the voltage and frequency indicated in the product specifi- 855 (33-11/16) cations.
-
Page 3: Accessory Parts
5. Accessory parts 6. Unpacking the machine (1) Raise and remove the packing carton. Name Shape Q’ty (2) Remove the accessory parts and cushions on 1. Installation 1 set the machine and open the plastic bag covering manual the machine. (3) Assign two or more persons and put their hands at the positions indicated in the illustra- tion to raise the machine from the box, and... - Page 4 (2) Open the automatic document feeder (DF) and 7. Removing protective tape, packing and remove the protective tape and protective ma- other shipping materials terial. (1) Remove the protective tape and the protective materials. (3) Remove the protective tape and the protective sheet.
- Page 5 (5) Remove the protective tape and the protective (8) Hold the toner cartridge with both your hands, sheet. then shake it several times. (6) Hold the handle of the toner cartridge, then pull (9) Check that the color of the toner cartridge it out.
- Page 6 (11) Remove the protective tapes for the toner car- (15) Push down the lever of the fusing unit cover. tridges of each color to remove protective films. Note: Make sure that the toner cartridges are pushed all the way in. (16) Remove the protective materials (two places) from the fusing section.
-
Page 7: Loading Paper
(20) Slide out the tray 1 and remove the protective 8. Loading paper tape and the protective sheet. (1) Slide the paper guide along the groove to the Note: appropriate paper size. Take care not to touch the surface of the paper feed roller. -
Page 8: Connecting The Power Cord
10. Connecting the power cord 12. Date & Time Setting/Time Zone Setting (Service Mode) (1) Connect the connector of the power cord to the main body. (1) Display the Service Mode screen. (For details of how to display the Service Mode screen, see the service manual.) (2) Display the Date &... -
Page 9: Restarting The Machine
15. Performing Non-Image Area Erase 17. Restarting the machine Check Open the power switch cover on the right side of the main body, turn OFF the main power switch, then Note: turn it ON again after more than 10 second. Perform the below at the site where customer uses the machine. -
Page 10: Network Setting
19. Network setting 21. Affixing the labels Make the TCP/IP address setting for the network. (1) Affix the paper size label on the tray 1 that cor- respond to the size of paper used. Note: Consult the network administrator for the setting value to be entered and make settings as re- 32.5 ±...