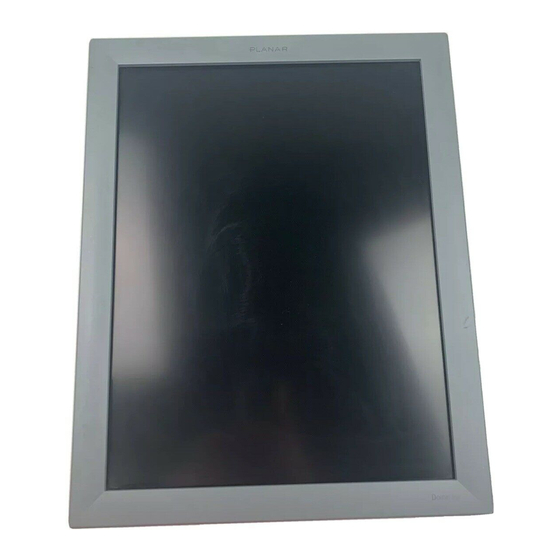
Planar Dome C3i Quick Reference Manual
Display; display controller; software
Hide thumbs
Also See for Dome C3i:
- Reference manual (43 pages) ,
- Quick reference (8 pages) ,
- User manual (64 pages)
Summary of Contents for Planar Dome C3i
- Page 1 Dome C3i/EX Display Dome DX2 Display Controller Dome CXtra Software Quick Reference Solaris 2.5.1 to 10...
-
Page 2: Before You Begin
Dome E5 Moving from Dome C3i to Dome EX Display System When you upgrade from a Dome C3i to a Dome EX display system, you need to update the fi rmware on the Dome DX2 board already installed in your computer system. -
Page 3: Unpacking The Display
Unpacking the Display Check the contents of your Dome display package for all the items shown here. Save the original packaging materials for storage and shipping. Dome digital fl at panel Power block DVI-to-DVI video cable Dome DX2 display controller Quick reference Power cord Display driver and... -
Page 4: Setting The Dip Switch
Setting the DIP Switch Disable VGA and enable EPROM on DIP switch S2. Slide switch 1 into the OFF position to disable VGA. Slide switch 2 into the ON position to enable EPROM. DIP Switch S2 Function EPROM Video #1 port Position... -
Page 5: Installing The Display Controller
Installing the Display Controller Turn your computer off . Leave the power cord plugged into the grounded outlet. To install the controller 1 Turn off all peripherals. Disconnect all cables from the back of your computer. 2 Remove the computer cover. 3 Remove the blank bracket from the available PCI slot. -
Page 6: Identifying The Components
Identifying the Components Review these illustrations to identify display controls and ports. Note the diff erence between the connector plates on the Dome C3i and the Dome EX displays. Dome C3i Dome EX... - Page 7 Legend 1 Reset button 2 LED lights 3 DVI port to connect the display to the DX2 display controller 4 DVI cable 5 USB upstream port 6 USB downstream port 7 USB downstream port 8 Power input port 9 Power cord...
- Page 8 Connecting the DVI Cable and Power Cord Use only the cable and power cord supplied with the Dome display. To connect the cables 1 Press the PUSH button on the desk stand cover and remove the stand cover. See page 9 for how to thread the cable and cord on the desk stand. 2 Plug one end of the DVI cable into the DVI connector port.
- Page 9 Threading the DVI Cable and Power Cord To remove the stand cover, press the PUSH button on the desk stand (just above the USB hub) and pull the stand cover down and out to remove it. Thread the DVI cable and the power cord through the back of the stand.
-
Page 10: Installing The Display Driver
Dome displays fi rst, then boot up your system to install the driver. See exception on page 2 if you are upgrading your display system from a Dome C3i to a Dome EX unit. Installation preparation Installing the DX2/PCI driver on your Sun host requires about 500 KB of free space. - Page 11 This message appears: The following packages are available: DOMEmdlib DOMEdx2 DOMEcxtra Select package(s) you wish to process (or ‘all’ to process all packages). (default:all) [?,??,q]: 6 Press <Return> to install all packages. Messages appear, followed by this prompt: Do you want to continue with the installation of the package [y,n,?] 7 Type y .
-
Page 12: Console Modifi Cation
Console Modifi cation The console appears, by default, on the fi rst head of the fi rst board in the system’s probe list. You can change the console with the pci-probe-list environment variable. If you want to change the console without altering the probe list, change the output-device environment variable instead. - Page 13 Interpreting LED Status Lights LED A indicates the digital-link status between the display controller and the interface. LED B indicates the display-panel status; it shows any faults currently in the panel. For more information, refer to Dome C3i/EX Display User’s Guide.
-
Page 14: Enhancements With Dome Cxtra Software
Enhancements with Dome CXtra Software The Dome CXtra™ application ships on the Dome DX2 Solaris driver installation CD. The Dome CXtra software is automatically loaded with the default driver installation and added to the CDE Application Manager. The Dome CXtra software enhances the functionality of Dome displays for viewing medical images. -
Page 15: Cleaning The Lcd Screen
Cleaning the LCD Screen Do not spray or use acetone, toluene, or harsh solvents on the display case or screen. Chemical cleansers may cause damage to the display. Use a dry, clean, lint-free cotton cloth to remove surface dust from the display screen. Do not use chemically treated dust cloths. - Page 16 Download the full versions of the Dome Display and Dome CXtra user’s guides and the latest driver from the Planar web site. Copyright © 2006 Planar Systems, Inc. Planar, Dome, Dome CXtra, and RightLight are either registered trademarks or trademarks of Planar Systems, Inc. Technical information in this document is subject to change without notice.


