Advertisement
Quick Links
Advertisement

Related Manuals for Planar Dome E Series


Summary of Contents for Planar Dome E Series
- Page 1 Dome EX Displays QUICK REFERENCE Windows XP Windows 2000...
-
Page 2: Before You Begin
100% or more. strap when installing the controller The results: faster image loads, increased window and display to avoid damage to and level speed, and enhanced system performance. computer components. For more information, visit www.planar.com. -
Page 3: Unpacking The Display
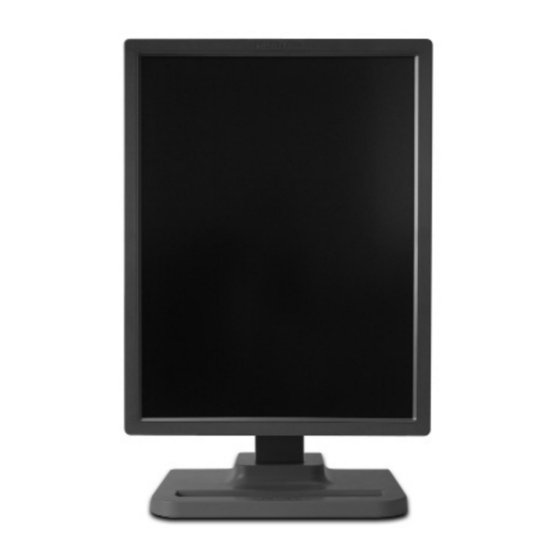
Unpacking the Display Check the contents of your Dome EX display package for all the items shown here. Save the original packaging materials for storage and shipping. Guidelines • Use both hands to lift or adjust the display. • Avoid touching the display screen. - Page 4 Setting DIP Switch S2 If you are installing the DX2 DIP Switch S2 Function Position display controller, you will need VESA to set DIP switch S2 for your Single desktop system configuration. Slide switch 1 into the ON position to enable VGA mode. Enable VGA on only one (1) board when you install multiple boards.
- Page 5 Installing the Display Controller Before you install the DX2 or AX3 display controller, turn your computer off. Leave the power cord plugged into the grounded outlet. To install the controller Turn off all peripherals. Disconnect all cables from the back of your computer. Remove the computer cover.
- Page 6 Connecting the Board, Display, and Power Supply Use only the cable and power cord supplied with the Dome EX display. Press the PUSH button on the desk stand cover and remove the stand cover. Plug one end of the DVI cable into the DVI connector port.
- Page 7 Installing the DX Display Driver Before you install the driver, remove any previously installed display driver for the display controller from your system. To install the driver Log on with administrator privileges. The InstallShield Wizard reports new hardware. Click Cancel. You must run Setup.exe to install the driver. Insert the W2KDXPCI CD and open the CD folder.
- Page 8 Auto-orientation When powering on or resetting your computer, the orientation of your panel is detected automatically, whether portrait or landscape. The default setting is ON. Use the Dome tab to disable this funtion. To set the resolution palette Use the Resolution field on the Dome tab to manually set the resolution to portrait or landscape.
- Page 9 Click Next. Click Yes to the license agreement. The installation starts. Follow the onscreen instructions to complete the installation. Planar recommends that you select the Express installation option. When the Setup complete message appears, select Yes, I want to restart my computer now and click Finish.
- Page 10 Dome EX Display Resolutions and Palette Options Display Resolution Palette Bits per pixel Dome E2 1200 x 1600 Dynamic gray 1600 x 1200 Nonlinear gray Static gray 1200 x 1600 True color 1600 x 1200 Dome E3 1536 x 2048 Dynamic gray 2048 x 1536 Nonlinear gray...
-
Page 11: Cleaning The Lcd Screen
Cleaning the LCD Screen Unplug the power supply before cleaning the display. Dampen a soft, clean cloth with water or a mild cleanser. Wipe the screen gently with the dampened cloth. Use a dry, soft, clean cloth to wipe off the residue. Always wipe off water and other stains immediately to avoid damage to the screen. - Page 12 + 86 21 6334 5050 + 86 21 6334 6339 For more information Download the full version of the Dome EX display manual and the latest driver from the Planar web site. Customer Support • Visit www.planar.com • E-mail medicalsupport@planar.com •...