Makita PM001G Instruction Manual
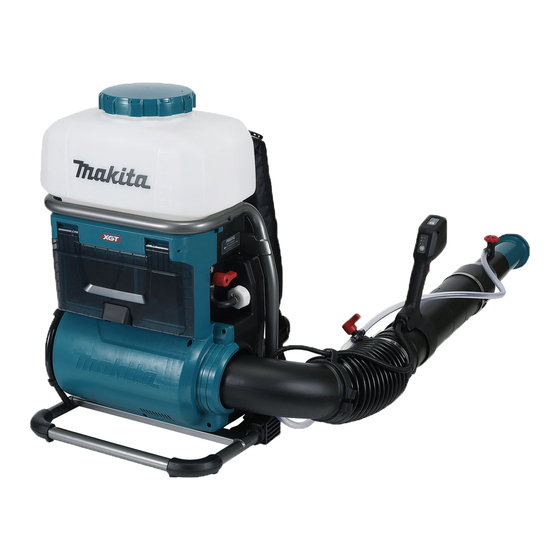
Cordless backpack mist blower
Hide thumbs
Also See for PM001G:
- Instruction manual (141 pages) ,
- Instruction manual (120 pages) ,
- Instruction manual (100 pages)
Table of Contents
Advertisement
Quick Links
Advertisement
Table of Contents

Related Manuals for Makita PM001G


Summary of Contents for Makita PM001G
- Page 1 INSTRUCTION MANUAL Cordless Backpack Mist Blower PM001G Read before use.
-
Page 2: Specifications
SPECIFICATIONS Model: PM001G Capacities Air volume 7.4 - 14.3 m /min *1 Air speed (average) 28.0 - 53.0 m/s Air speed (max.) 34.0 - 64.0 m/s Tank capacity 15 l Volume of total residual 50 ml or less Dimensions (L x W x H) -
Page 3: Intended Use
Discharge rate for working positions Wear protective clothes. Keep bystanders away when spraying. + 30° Keep hands away from rotating parts. Long hair may cause entanglement accident. 0° Keep bystanders away. Weight when the tank is empty. Weight when the tank is full. - 30°... -
Page 4: Declarations Of Conformity
Work area safety WARNING: Wear ear protection. Keep work area clean and well lit. Cluttered or WARNING: dark areas invite accidents. The noise emission during actual use of the power tool can differ from the declared Do not operate power tools in explosive atmo- value(s) depending on the ways in which the tool is spheres, such as in the presence of flammable used especially what kind of workpiece is processed. - Page 5 Do not overreach. Keep proper footing and Keep cutting tools sharp and clean. Properly balance at all times. This enables better control maintained cutting tools with sharp cutting edges of the power tool in unexpected situations. are less likely to bind and are easier to control. Dress properly.
- Page 6 Never allow children, persons with reduced Cordless Backpack Mist Blower physical, sensory or mental capabilities or Safety Instructions lack of experience and knowledge or people unfamiliar with these instructions to use the machine. Local regulations may restrict the WARNING: Read all safety warnings and age of the operator.
- Page 7 Avoid opening your mouth such as eating, Filling the tank drinking, or smoking while handling chemicals Make sure that the draining lever and nozzle or while you are spraying. Never blow through lever are closed. nozzles, tubes, pipes or any other component Before using the mist blower with chemicals, by your mouth.
- Page 8 If the machine is damaged, ask moving parts come to a complete stop, and Makita Authorized Service Centers for repair. remove the battery cartridges. Cool down 15. Do not insert fingers or other objects into the machine before making any work on the suction inlet or mist blower outlet.
- Page 9 MISUSE or failure to follow the safety rules stated 12. Use the batteries only with the products in this instruction manual may cause serious specified by Makita. Installing the batteries to personal injury. non-compliant products may result in a fire, exces- sive heat, explosion, or leak of electrolyte.
- Page 10 Use of non-genuine Makita batteries, or batteries that have been altered, may result in the battery bursting causing fires, personal injury and damage. It will Fig.3 also void the Makita warranty for the Makita tool and ► 1 . Clamp screw charger. Install the control handle to the swivel pipe and Tips for maintaining maximum tighten the clamp screw.
- Page 11 Loosen the screw on the hose clamp, and then Loosen the screw on the hose clamp, and then attach the hose clamp to the end nozzle. Align the attach the hose clamp to the flexible pipe. Attach the grooves on the end nozzle with the protrusions on the flexible pipe to the elbow, and then tighten the screw on swivel pipe, then attach the end nozzle to the swivel the hose clamp.
-
Page 12: Adjusting The Control Lever Position
Clamp the control cable to the cable holders. Adjust the length of the shoulder harness. Fig.11 ► 1 . Shoulder harness Adjusting the control lever position Loosen the clamp screw. Move the control handle along the swivel pipe to the most comfortable position, and then tighten the clamp screw. Fig.9 ► 1 . -
Page 13: Functional Description
To install the battery cartridge; Attaching the deflector Pull up the locking lever upward, and then open the battery cover. Optional accessory You can discharge the mist upward or downward by attach- ing the deflector to the end nozzle as shown in the figure. Fig.14 ► 1 . Deflector Fig.15 ► 1 . Locking lever 2. Battery cover FUNCTIONAL Align the tongue on the battery cartridge with the DESCRIPTION... - Page 14 To remove the battery cartridge; NOTE: The indicator lamp for remaining battery Pull up the locking lever and open the battery capacity is just for a reference. The actual battery cover. capacity may differ depending on the usage condi- tions or ambient temperature. Pull out the battery cartridge from the machine while sliding the button on the front of the cartridge. NOTE: While the machine is in operation, the indica- tor lamp does not light up even if you press the check button.
- Page 15 Release the switch If no improvement can be found by restoring protection trigger to stop. system, then contact your local Makita Service Center. NOTICE: If the machine stops due to a cause not described above, refer to the section for troubleshooting.
- Page 16 Draining lever Opening and closing the levers The draining lever is used for draining the liquid in the The machine is equipped with three levers. tank. When operating the machine, always close the lever. Nozzle lever The nozzle lever is used for blowing mist. Normally, close the nozzle lever, and open the nozzle lever only when blowing mist.
-
Page 17: Operation
Tank lever Electronic function The tank lever is used when replacing the filter. When The machine is equipped with the electronic function for operating the machine, always open the lever. easy operation. • Constant speed control The speed control function provides the constant rotation speed regardless of load conditions. •... - Page 18 • The tank lever is in the open position. Open the tank cap, and then set the strainer. Fig.27 ► 1 . Tank lever • The nozzle lever is in the closed position. Fig.29 ► 1 . Tank cap 2. Strainer Pour the liquid into the tank, and then tighten the tank cap.
-
Page 19: Maintenance
To maintain product SAFETY and RELIABILITY, repairs, any other maintenance or adjustment should After the operation, turn the nozzle lever so that the be performed by Makita Authorized or Factory Service nozzle lever is in the closed position. Centers, always using Makita replacement parts. When setting down the machine, unlock the buckle of Draining the liquid the waist belt, and then set down the machine slowly. -
Page 20: Cleaning The Machine
Clean the filter with running water. NOTE: To empty the tank completely, tilt the main unit Attach the filter to the main unit, and then tighten slightly toward the outlet of hose. the filter cap. Cleaning the machine Open the tank lever. Storage NOTICE: Never use gasoline, benzine, thinner, alcohol or the like. Discoloration, deformation or Before storing the machine, perform full maintenance. - Page 21 Remove the standard nozzle by turning the nozzle NOTICE: Do not tighten the nozzle too much. counterclockwise using the wrench. The recommended tightening torque is approxi- mately 1.0 N•m. Tightening the nozzle too much may damage the mounting part for nozzle. Attach the end nozzle, and then tighten the screw.
-
Page 22: Troubleshooting
TROUBLESHOOTING Before asking for repairs, conduct your own inspection first. If you find a problem that is not explained in the man- ual, do not attempt to dismantle the machine. Instead, ask Makita Authorized Service Centers, always using Makita replacement parts for repairs. State of abnormality Probable cause (malfunction) Remedy Motor does not run. Battery is not installed. Install the battery. - Page 24 Makita Europe N.V. Jan-Baptist Vinkstraat 2, 3070 Kortenberg, Belgium Makita Corporation 3-11-8, Sumiyoshi-cho, Anjo, Aichi 446-8502 Japan 885A15-228 www.makita.com 20221116...