Advertisement
Introduction
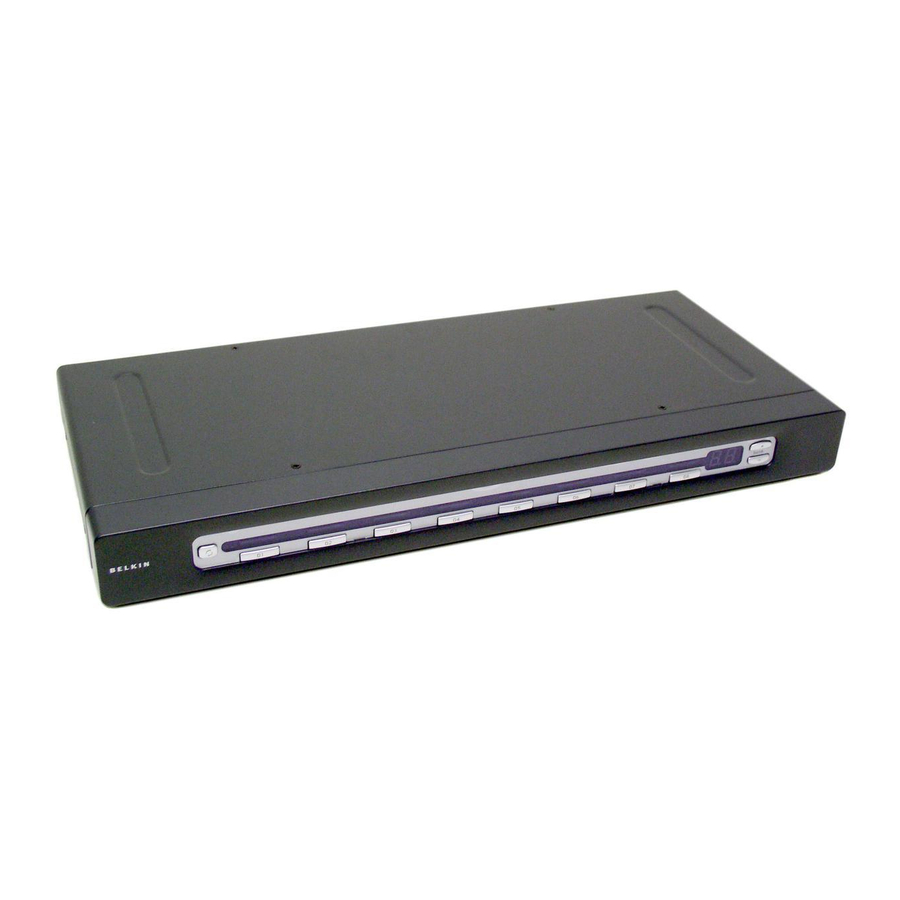
This sheet will guide you through the basic steps needed to install the PRO2 PS/2 Series KVM Switch (the PRO2 PS/2). If you have any problems during installation, please refer to the PRO2 PS/2 User Manual.
The following items are needed to install the PRO2 PS/2:
- OmniView PRO2 PS/2 Series KVM Switch
- One (each) PS/2 keyboard, monitor, and mouse
- One KVM cable per computer installed
- One 12-volt DC, 1-A power supply unit
Recommended Cable Kits:
F3X1105BXX PS/2 Style
F1D108-CBL Daisy-Chain Cable
(-XX denotes the length in feet)
Step 1: Connecting the Keyboard, Video, and Mouse to the Console Ports on the PRO2 PS/2
- Power down all computers.
- Connect the PS/2-type keyboard and mouse to the Console ports located on the back panel of the PRO2 PS/2.

- Connect the video cable that is attached to the monitor, to the Console video port located on the back panel of the PRO2 PS/2.


Step 2: Powering up the PRO2 PS/2

- Connect the included 12-volt DC, 1-A power supply unit into an available power outlet.
- Attach the barrel plug into the power jack located on the rear of the PRO2 PS/2 to power the unit.
The LEDs should illuminate.
Step 3: Connecting Computers to the PRO2 PS/2 (Video and PS/2 Connection)

- Using an OmniView KVM Cable*, connect the male end of the VGA cable to the VGA port on the first computer. Connect the female end to the VGA port on the back of the PRO2 PS/2 for CPU1.
- Connect one end of the PS/2 keyboard KVM Cable* to the keyboard port on the computer and the other end to the CPU1 keyboard port on the back of the PRO2 PS/2.
- Connect one end of the PS/2 mouse KVM cable* to the mouse port on the computer and the other end to the CPU1 mouse port on the back of the PRO2 PS/2.
Repeat steps 1 through 3 for each additional computer to be connected to the PRO2 PS/2, connecting them to the corresponding CPU ports on the back.
* Please refer to the first page for part numbers.
Hot Key Commands – Quick Reference
| Functions | Commands | |
| Switch Ports | PREVIOUS ACTIVE port | ScrLk + ScrLk +  |
| NEXT ACTIVE port | ScrLk + ScrLk +  | |
| Directly switch to PORT (Single-Switch Configuration) | Y=01 to 16 | ScrLk + ScrLk + Y |
| Switch BANKS (By default, selects first active port on the BANK) | Switch to PREVIOUS BANK Switch to NEXT BANK | ScrLk + ScrLk + Page Up ScrLk + ScrLk + Page Down |
| directly switch to PORT Y on BANK X (Daisy-Chain Configuration) | F1DA104-OSD (X=00 to 15)(Y=01 to 04) F1DA108-OSD (X=00 to 15)(Y=01 to 08) F1DA116-OSD (X=00 to 15)(Y=01 to 16) | ScrLk + ScrLk + X + Y ScrLk + ScrLk + X + Y ScrLk + ScrLk + X + Y |
| Reset On-Screen (display-menu) | ScrLk + ScrLk + Del | |
| Disable sound in AutoScan mode | ScrLk + ScrLk + S | |
| Activate On-Screen Display | ScrLk + ScrLk + Space Bar | |
| Enable Autoscan mode | ScrLk + ScrLk + A |
Belkin Ltd.
Express Business Park, Shipton Way
Rushden, NN10 6GL, United Kingdom
+44 (0) 1933 35 2000
+44 (0) 1933 31 2000 fax
Belkin GmbH
Hanebergstrasse 2
80637 Munich, Germany
+49 (0) 89 143405 0
+49 (0) 89 143405 100 fax
Belkin B.V.
Boeing Avenue 333
1119 PH Schiphol-Rijk, The Netherlands
+31 (0) 20 654 7300
+31 (0) 20 654 7349 fax
Belkin SAS
130 rue de Silly
92100 Boulogne-Billancourt, France
+33 (0) 1 41 03 14 40
+33 (0) 1 41 31 01 72 fax
Belkin Tech Support
Europe: 00 800 223 55 460
© 2005 Belkin Components. All rights reserved. All trade names are registered trademarks of respective manufacturers listed.

Documents / Resources
References
Download manual
Here you can download full pdf version of manual, it may contain additional safety instructions, warranty information, FCC rules, etc.
Download BELKIN OmniView PRO2 PS/2 - KVM Switch Quick Installation Guide
Advertisement
Thank you! Your question has been received!


Need Assistance?
Do you have a question about the OmniView Professional Series that isn't answered in the manual? Leave your question here.