Table of Contents
Advertisement
Quick Links
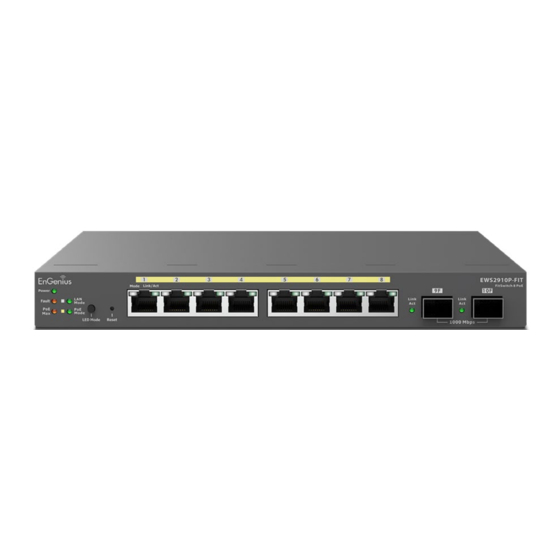
EnGenius Fit L2+ Managed 55W PoE+ Switch
Quick Start Guide
Introduction
This Quick Start Guide is designed to guide you through
the installation of the Fit L2+ managed 55W PoE+ switch
access point, model EWS2910P-FIT, including hardware
mounting and configuration.
Package Contents
EnGenius Fit PoE Switch
Power Cord
Model: EWS2910P-FIT
• 8 10/100/1000 Base-T GbE Ports
• Full-featured Layer 2 plus switching
• 802.3at/af PoE+ ready on all ports with 55W PoE budget
• Setup in minutes with app-based step by step instructions
• Quick-scan device register, remote monitoring and
troubleshooting
• Real-time system metrics, analytics and remote
configurations
Wall Mount Kit
Rubber Feet Cushion
Quick Start Guide
EWS2910P-FIT
Power Adapter
Product Card
EWS2910P-FIT Quick Start Guide
Advertisement
Table of Contents

Related Manuals for EnGenius EWS2910P-FIT


Summary of Contents for EnGenius EWS2910P-FIT
- Page 1 Quick Start Guide EWS2910P-FIT EnGenius Fit L2+ Managed 55W PoE+ Switch Quick Start Guide Introduction Model: EWS2910P-FIT • 8 10/100/1000 Base-T GbE Ports This Quick Start Guide is designed to guide you through • Full-featured Layer 2 plus switching the installation of the Fit L2+ managed 55W PoE+ switch •...
-
Page 2: System Requirements
Reset to default: Press and hold the reset button on the PoE adaptor for over 60 seconds, and the LED (PWR) will go off and on.. Then, the device will be reset to factory default settings. System LEDs RJ45:PoE/Speed RJ45:Link/Act SFP LED: Link/Act EWS2910P-FIT Quick Start Guide... - Page 3 Now Power Feeding Green Flashing Link Link/Act Amber Solid On Transmit or receive on this port Light Off No link Flashing Link SFP Slot Link/Act Green Solid On Transmit or receive on this port Light Off No link EWS2910P-FIT Quick Start Guide...
-
Page 4: Hardware Mounting
2. Screw the Anchors into the holes until they are flush with the wall; screw the included Screws into the Anchors but leave the screw head sticking out so you can hang the Ethernet Switch on it. Anchors Screws Powering EnGenius Fit Switch EnGenius Fit Switch can be powered by following: • Power Adapter EWS2910P-FIT Quick Start Guide... -
Page 5: Management Plane
Connecting to a Power Cord Connect the Power Cord cable from the EnGenius Fit PoE+ Switch EWS2910P-FIT AP directly to the Wall Outlet. Wall Outlet EnGenius Fit PoE Switch Power Adapter Management Plane EnGenius Fit provides flexible options to manage your devices based on your network planning and deployment. -
Page 6: Standalone Configuration
GUI page for configurations whenever the device is set to Standalone mode. Option A: Cloud Management with FitXpress Step 1: Connecting Ethernet Connect the Ethernet cable from the EnGenius Fit Switch directly to the DHCP-enabled network and make sure the Switch can reach the Internet. DHCP-Assigned IP... - Page 7 If a firmware upgrade is required, it might take 8~10 minutes to complete the process. All LED indicators will be Flashing (0.5 sec) till the process is finished. Step 4: Manage with the FitXpress Log in to the FitXpress app to configure detailed settings and monitor your devices. EWS2910P-FIT Quick Start Guide...
- Page 8 Option B: On-premises Management with FitController Step 1: Connecting Ethernet Connect the Ethernet cable from the EnGenius Fit Switch directly to the DHCP-enabled network, which is the same Layer-2 network as FitController. Internet Gateway FitController EnGenius Fit PoE Switch Step 2: Log in to the FitController Launch your web browser to access the login page of FitController and create an account.
- Page 9 1. Go to the system > Inventory page and click “Register Device (+)”. 2. FitController will list all EnGenius Fit devices discovered from the same L2 network in the Pending Approval section. Select the device and Click “Register” to add to inventory. You can also tap “Manually” tab and register Fit device by entering Serial Number.
- Page 10 1. Connect the Ethernet cable from the laptop directly to the EnGenius Fit Switch. 2. Under your web browser, enter the URL: http://EnGenius.local or http://192.168.0.239 to access the device’s user interface. 3. Use the default login credential (ID/PWD: admin/password) to log in to the device’s local web page.