Advertisement
- 1 Package contents
- 2 Check the SIM card and insert the battery
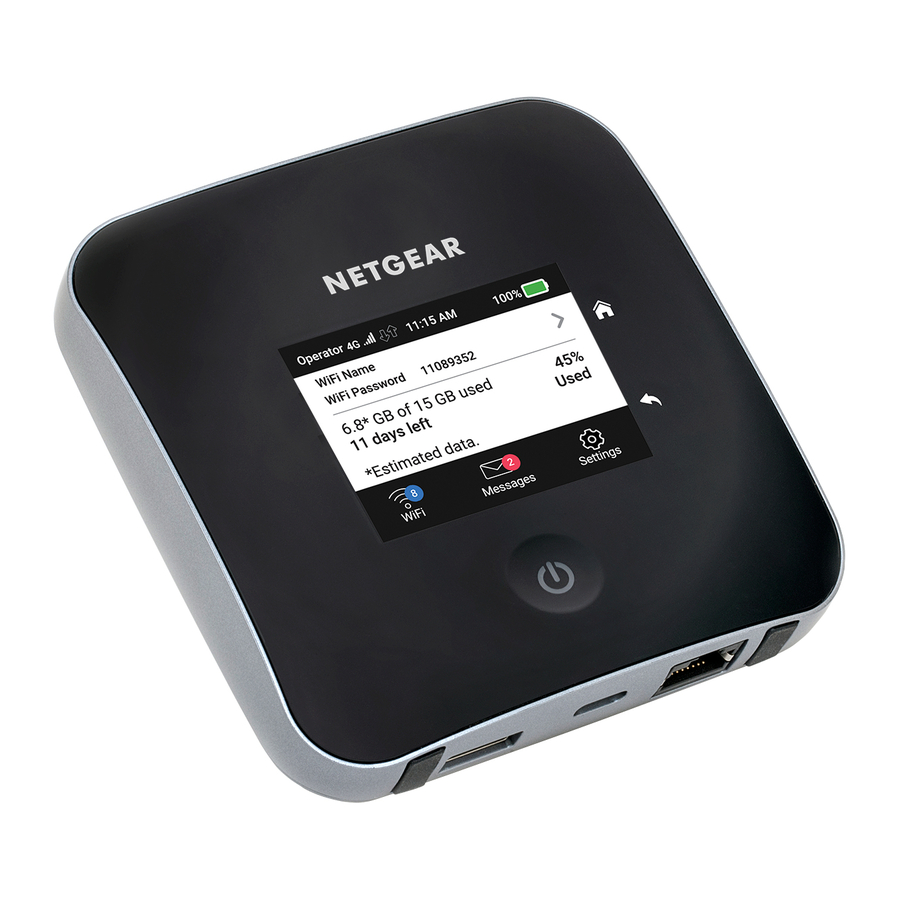
- 3 Set up the Nighthawk M2 mobile router
- 4 Power or wake the mobile router
- 5 Connect your devices
- 6 Status
- 7 Download the NETGEAR Mobile app
- 8 Log in to the Nighthawk M2 mobile router
- 9 Specifications
- 10 Support
- 11 Videos
- 12 Documents / Resources
Package contents
- Nighthawk M2 mobile router
- Battery
- Quick start guide
- Bottom cover
- USB Type‑C cable
- AC power adapter
- Safety information sheet
- EU Declaration of Conformity sheet
Note: The bottom cover, quick start guide, and the other documents are in an envelope.
Check the SIM card and insert the battery

- Locate the bottom cover in the envelope.
- Check to see if a SIM card is in the SIM card slot.
- If a SIM card is not in the slot, locate the SIM card.
To get a valid and provisioned SIM card, contact your mobile provider. - Carefully slide the SIM card into the slot with the gold contacts facing down.
- Align the battery connectors and insert the battery making sure the contact side of the battery goes under the two plastic tabs in the battery recess.
- Attach the bottom cover.
Set up the Nighthawk M2 mobile router

- Press and hold the Power button
![]() for three seconds.
for three seconds.
After several seconds, a setup screen displays. - Follow the onscreen prompts to change the SSID, passphrase, and admin password.
 for three seconds.
Although not required, we strongly recommend you change the SSID, passphrase, and admin password.
Note: You can also change these settings by Power button using the NETGEAR Mobile app, or by visiting http://m2login.net or http://192.168.1.1 from a device that is connected to the mobile router.
Power or wake the mobile router
To turn the mobile router on or off, press and hold the Power button for three seconds.
To wake the router, press and release the Power button.
Connect your devices
- Check to make sure that WiFi is enabled on your computer or mobile device and search for WiFi networks.
| Windows | Click the Internet Access icon, which is usually found on the bottom right side of your screen. |
| Mac | Select WiFi > Network. |
| Mobile devices | Tap Settings > WiFi |
- To view the WiFi name and password, press and release the Power button.
- Select the WiFi name displayed on your Nighthawk M2 mobile router screen.
- Enter the WiFi password exactly as it is displayed.
Note: Your password is case‑sensitive. We strongly recommend that you change the default admin password. - To use the mobile router as an Internet gateway, connect an Ethernet device to the Nighthawk M2 mobile router Ethernet port.
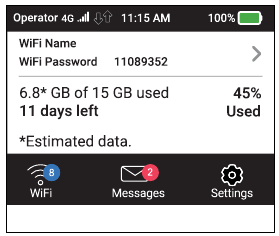
Status
The mobile router LCD home screen and the LED show you its status. The appearance of your home screen depends on the model.
| LED | Description |
| Slow blue blink | The mobile router is ready. |
| Fast blue blink | The mobile router is transferring data |
| Slow amber blink | The mobile router is not ready. |
LCD Status Bar Icons
 |
Signal strength | 1 bar. Low signal 5 bars. Strong signal |
 |
Network type | 4G+, 4G HSPA+ /DC HSPA 3G |
 |
Roaming | Connected to a network other than your service provider's. |
 |
Traffic |
|
 |
Battery | This icon is solid when the battery is fully charged. |
 |
Battery hot while charging | The battery is hot, but is being charged. |
 |
Battery hot, not charging | The battery is too hot and is not being charged. |
 |
Alert | To view system alerts, visit the mobile router's home page at http://m2login.net. |
Download the NETGEAR Mobile app

Use the NETGEAR Mobile app to change your WiFi network name and password. You can also use it to play and share media, and enable the travel router feature.
- Connect your mobile device to the Internet.
- Download the NETGEAR Mobile app from netgear.com/mobileapps.
Log in to the Nighthawk M2 mobile router
- Launch a web browser from a device that is connected to the Nighthawk M2 mobile router.
- In the address field of the web browser, enter http://m2login.net or http://192.168.1.1.
- In the Sign In field, enter the admin password and click the Sign In button. See the label located under the battery for the initial admin password. We recommend that you change it to a password that you want to use.
Upload media files to the Nighthawk M2 mobile router
You can upload media files to a USB drive connected to the Nighthawk M2 mobile router. USB drives are sold separately.
- Log in to the Nighthawk M2 mobile router home page.
- Click the MyMedia tab.
- Drag and drop your files onto the page.
Use the Nighthawk M2 mobile router to charge devices
If the battery power is low on your smartphone or other device, you can give it a boost by connecting it to the mobile router's USB port (type A). 
Jump boost begins automatically once the devices are connected. Note that Jump boost is only supported when the mobile router contains a battery.
Specifications
| Band | Specification |
| LTE FDD | 700/800/900/1800/2100/2600 MHz |
| LTD TDD | 2300/2500/2600 MHz |
| 3G | 850/900/1900/2100 MHz |
Support
For additional information, visit netgear.com/support to access the full user manual and to download firmware updates.
Compliance
For the current EU Declaration of Conformity, visit http://kb.netgear.com/app/answers/detail/a_id/11621.
For regulatory compliance information, visit: http://www.netgear.com/about/regulatory/.
© NETGEAR, Inc., NETGEAR and the NETGEAR Logo and Nighthawk are trademarks of NETGEAR, Inc. Any non‑NETGEAR trademarks are used for reference purposes only.
NETGEAR INTL LTD
Building 3, University Technology Centre
Curraheen Road, Cork, Ireland

VideosNETGEAR Nighthawk M2 Review Video
Documents / Resources
References
Mobile Login | Services | Home | NETGEAR
EU Declarations of Conformity | Answer | NETGEAR Support
Regulatory | NETGEAR
Download manual
Here you can download full pdf version of manual, it may contain additional safety instructions, warranty information, FCC rules, etc.
Download NETGEAR Nighthawk M2 - Gigabit LTE Mobile Router Quick Start Guide
Advertisement
Thank you! Your question has been received!


Need Assistance?
Do you have a question about the Nighthawk M2 that isn't answered in the manual? Leave your question here.