Table of Contents
Advertisement
Quick Links
Drawing No:
730-07-0004
Rev. #
A.1
CCAS6519-
3110410C0/F0/M0/P0
CCAS6519-
3120410C0/F0/M0/P0
CCAS6519-
3110410C0
x2
x1
x1
x1
This document is a property of LIXIL IDC, it can neither be reproduced, nor communicated, without their authorization.
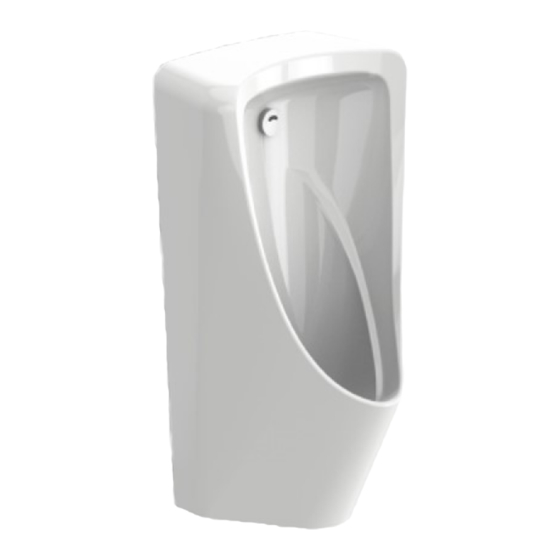
Description:
installation manual,Lynbrook WH urinal
Sheet No:
-
Print Color:
Gray & Black
A4 paper
CCAS6519-
C0
3120410C0
F0
X
M0
X
P0
X
x1
x4
x2
x1
x1
x1
x2
x2
x1
x1
x1
x1
x1
x1
- 1 -
Jul. 20
Rev.01
Material:
Paper, 80g
Size:
A4
Drawn by
Checked by
Lilian
Date
Date
10/14/2020
MKT/Customer approved by
Date
Plastic bag
Approval by
Date
QA approval by
Date
Advertisement
Table of Contents

Related Manuals for American Standard CCAS6519-3110410C0


Summary of Contents for American Standard CCAS6519-3110410C0
- Page 1 This document is a property of LIXIL IDC, it can neither be reproduced, nor communicated, without their authorization. Description: Drawn by Checked by Approval by installation manual,Lynbrook WH urinal Lilian Date Date Date 10/14/2020 MKT/Customer approved by QA approval by Drawing No: Sheet No: Material:...
- Page 2 CCAS6519- 3110410C0/F0/M0/P0 CCAS6519- 3120410C0/F0/M0/P0 CCAS6519- CCAS6519- 3110410 3120410 - 1 - Aug.20 Rev.01...
- Page 3 CCAS6519- CCAS6519- 3110410 3120410 Celling ×6 - 2 -...
- Page 4 ×6 10mm - 3 -...
- Page 5 CCAS6519- CCAS6519- 3110410 3120410 - 4 -...
- Page 6 CCAS6519- CCAS6519- 3110410 3120410 CCAS6519- CCAS6519- 3110410 3120410 ×2 - 5 -...
- Page 7 CCAS6519- 3110410 CC1- CN511MSB317237 CC1-CN511PU0000002 CC1-CN511PU0000007 CC1-CN511MC0000001 CC1-CN511P9L317300 CC1-CN511MS0000002 CC1-CN511PU0000005 CC1-CN511PU0000003 CC1-CN511PU0000004 - 6 -...
- Page 8 CCAS6519- 3120410 CC1-CN511PU0000006 CC1- CN511MSB317237 CC1-CN511PU0000002 CC1-CN511PU0000007 CC1-CN511P9L317300 CC1-CN511MC0000001 CC1-CN511MS0000002 CC1-CN511PU0000003 CC1-CN511PU0000004 - 7 -...
-
Page 9: Before You Begin
Ensure the sensor window is kept clean and free of dust before switching on power supply. 为保证良好的冲洗效果,推荐使用压力 Ensure the good flushing performance, recommended working pressure is 0.17~0.55Mpa. 0.17~0.55Mpa。 CODE LIST 型号清单 DC CODE:CCAS6519-3110410C0 直流型号:CCAS6519-3110410C0 AC CODE :CCAS6519-3120410C0 交流型号:CCAS6519-3120410C0 Water consumption:0.5L 用水量:0.5升 Water efficiency grade:1 Grade 额定用水效率等级:1级... -
Page 10: Specification
Specification Power Supply DC6V 4pcs 1.5V AA Alkaline Battery / AC 100V 240V, 50/60Hz Mode of the inducing Detects Infrared Induction Sensor distance range(default) Adjustment range 20cm~75cm (30x30cm white board), the sensor distance will be changed according to different color and material. Preset 70±5cm ( 30 x 30cm white color board ) Starting Pressure 0.05Mpa(dynamic pressure) 0.75Mpa(static pressure) Pipe Size... - Page 11 Test 1.Ensure both power and water supplies are connected. 2.Turn on the water supply, and make sure there are no leakages. 3.Stand within the sensor zone for 3s for sensor to detect user. Flushing will commence 2s after user leaves position and flushing will last 3.3s. 4.Once steps 1 to 3 are completed, the urinal is in good working order.
- Page 12 Sensor Zone Calibration (If required) 1. Sensor detection zone is set at 70±5cm by default. 4. Remove magnet away from sensor window. (See Fig.a) 2. Place target or stand at the target distance. 5. Remove target object, or stand away from sensor detection zone once red LED stops flashing.
-
Page 13: Troubleshooting
Trouble shooting Problems Possible reasons Instruction for solving a. (DC Version) No battery/battery installed reversely/ a. (DC Version) Check the battery and cable is connected battey cable is not connected correctly correctly No Detection b. (AC Version) AC input is not connected correctly/ b. -
Page 14: Maintenance And Repair
Maintenance & Repair The Stop Valve of this sensor faucet is equipped with a good quality filter, but the impurity of water or water pipe will affect the water flow. If water flow is affected, you should clean the filter with the following steps (If you can turn off the water supply before performing the following steps by your own way, you can skip the step 2&5, and don’t forget to turn on the water supply when finished): 1.