Advertisement
Quick Links
Thank you for choosing OKI.
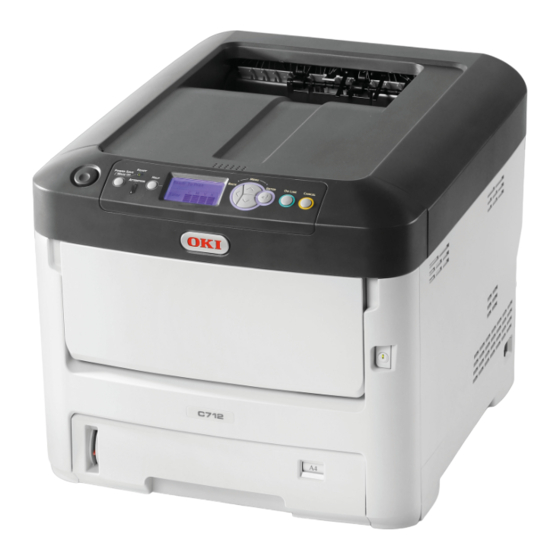
This is C712 configuration instructions for Ballot model. These instructions explain 2 ways for
configuration. Manually and using Ballot Configuration Tool.
Before ballot configuration, please perform the following steps.
1.
Install Extended 2nd Paper Tray for 19" Ballots (Order/Part Number 44274505).
2.
Turn ON the device.
3.
Print the Configuration pages. (Print Information -> Configuration -> Execute)
4.
Check Serial Number and the current tray 2 setting from the configuration pages.
[Serial Number]
[Tray 2 Setting (Paper Size)] (Before Ballot Configuration)
Notes: Be sure to note down the serial number as it is necessary for inquiry.
If you do not have Ballot Configuration Tool you can set by using device menu, please
proceed to next page. In case you have Ballot Configuration Tool, please proceed to page 3.
Version 1.0
1
Advertisement

Summary of Contents for Oki C712dn-b
- Page 1 Version 1.0 Thank you for choosing OKI. This is C712 configuration instructions for Ballot model. These instructions explain 2 ways for configuration. Manually and using Ballot Configuration Tool. Before ballot configuration, please perform the following steps. Install Extended 2nd Paper Tray for 19" Ballots (Order/Part Number 44274505).
- Page 2 Version 1.0 1. Installation Steps: Using Device panel menu (Manually) Menus -> Tray Configuration -> Tray 2 Config -> -> 1. Set Paper Size from “Cassette Size” 4. Set Y Dimension to “19.0 inch”. to “Custom”. 2. Return to “Tray 2 Config” Menu. 5.
- Page 3 ① Connect the PC and the device with a USB cable. ② Copy the module of the Data Transmitter which provided by OKI to your desktop. 1. Run the Data Transmitter Tool “DT.exe”. 3. Select “Open” from the file menu.
- Page 4 Version 1.0 5. Select “C712-b Configuration” function. 7. Click “OK”. Please wait for about 10 seconds. After the applying configuration, the device will restart (Turn OFF and ON) automatically. 6. Search a USB connected printer. If the 8. The configuration is completed. The device was found, select it, and click device will auto reboot (Turn OFF and “Send”.
- Page 5 Version 1.0 9. After reboot, the device does initialize. 11. Print the Configuration pages. After initializing, the device status MENU -> Print Information -> changes to ready. Configuration -> Execute 12. Check the current tray 2 setting from the configuration pages. Paper Size is “Custom”.
- Page 6 Version 1.0 3. Confirmation of setup You can check the setup result from the 1 page of Configuration pages. How to print the Configuration pages. (Print Information -> Configuration -> Execute) Where and what should you look up? Setup was successful if the following were applied to the Tray 2 settings: Paper Size is “Custom”.


