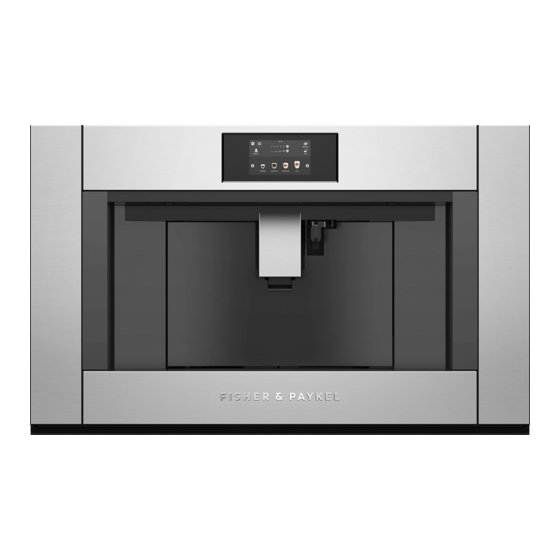
Fisher & Paykel PROFESSIONAL EB30PSX1 Installation Manual
Built-in coffee maker
Hide thumbs
Also See for PROFESSIONAL EB30PSX1:
- User manual (56 pages) ,
- Troubleshooting manual (9 pages)
Table of Contents
Advertisement
Quick Links
Advertisement
Table of Contents

Summary of Contents for Fisher & Paykel PROFESSIONAL EB30PSX1
- Page 1 BUILT-IN COFFEE MAKER PROFESSIONAL EB30PSX1 models INSTALLATION GUIDE US CA...
-
Page 3: Safety And Warnings
SAFETY AND WARNINGS General WARNING! Before connecting the appliance to the electrical supply make sure that the voltage and frequency listed on the data plate correspond with the household electrical supply. If in Electric Shock Hazard doubt, consult a qualified technician. Failure to follow this advice may result in The appliance must be properly installed before operation to ensure that no electrical components are accessible. -
Page 4: During Installation
INSTALLATION CONSIDERATIONS COMPONENTS REQUIRED PRIOR TO INSTALLATION PARTS SUPPLIED Prior to installing your coffee maker, ensure the following: Keep all packing materials until the unit has been inspected. Inspect the product to ensure there is no shipping damage. If any damage is detected The countertop and coffee maker cavity are square and level, and are the contact the dealer or retailer you bought the product from to report the damage. -
Page 5: Product Dimensions
PRODUCT DIMENSIONS EB30 MODELS PRODUCT DIMENSIONS INCHES A Overall height 18 1/2 B Overall width 29 13/16 PLAN ISOMETRIC C Overall depth 19 1/16 D Height of chassis 17 3/8 E Width of chassis 22 1/16 F Depth of chassis 17 1/2 G Depth of coffee maker frame and 1 9/16... - Page 6 CABINETRY DIMENSIONS (FLUSH INSTALL) Ventilation of 2" x 22 1/16" (50x560mm) or totalling 43.4in (280cm ) is required for companion products. The air vent must be located at the rear of cabinet, it can be positioned at the base, top, sides, or back of the cavity.
- Page 7 CABINETRY DIMENSIONS (PROUD INSTALL) Ventilation of 2" x 22 1/16" (50x560mm) or totalling 43.4in (280cm ) is required for companion products. The air vent must be located at the rear of cabinet, it can be positioned at the base, top, sides, or back of the cavity.
-
Page 8: Electrical Connection
ELECTRICAL CONNECTION ATTACH THE TRIM TO THE COFFEE MAKER Before placing the coffee maker into the cavity: Before installing the coffee maker in the cabinetry, the side trims and lower trim need to be attached. Route the power cord into the back of the cavity and plug it in to the switched socket. The switched socket should be in an easily accessible area within 35 7/16”... - Page 9 SECURE THE COFFEE MAKER TO THE CABINETRY Position the rails on the sides of min 22 1/16 If necessary, correct alignment of the cabinet. (min 560mm) the appliance by positioning the Fix with the screws provided, spacers supplied under or at the then extract them completely.
-
Page 10: Installer Checklist
INSTALLER CHECKLIST TO BE COMPLETED BY THE INSTALLER … … Make sure the coffee maker is level and securely fitted to the cabinetry. Turn the power to the coffee maker on. The display should turn on. … … Check the lower trim is undamaged. Fill the water tank to the indicated level. - Page 11 FISHERPAYKEL.COM © Fisher & Paykel Appliances 2021. All rights reserved. The models shown in this guide may not be available in all markets and are subject to change at any time. The product specifications in this guide apply to the specific products and models described at the date of issue.


