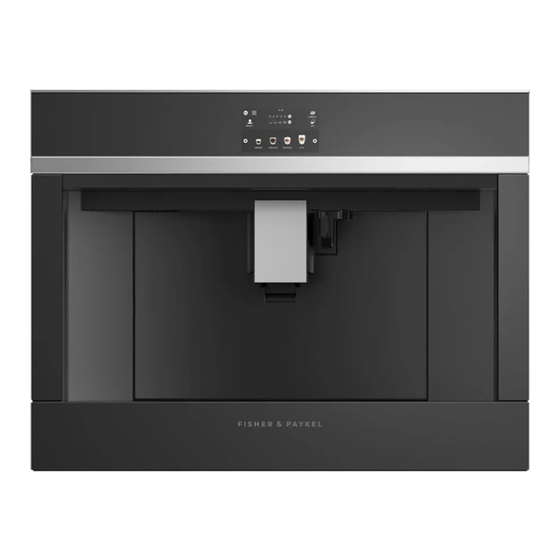
Summary of Contents for Fisher & Paykel EB60DSX1
- Page 1 COFFEE MAKER EB60DSX1, EB60MSG1 & EB60MSB1 models INSTALLATION GUIDE NZ AU GB IE SG...
-
Page 3: Table Of Contents
CONTENTS Safety and warnings Parts supplied Prior to installation After installation Product dimensions Cabinetry dimensions (460mm high cavity) Cabinetry dimensions (480mm cavity trim kit) Installation instructions Connect the coffee maker to the mains supply Final checklist... -
Page 4: Safety And Warnings
SAFETY AND WARNINGS IMPORTANT SAFETY INSTRUCTIONS! If the power socket does not match the plug on the appliance, have the socket replaced ● with a suitable type by a qualified professional. To comply with safety directives, an omnipolar switch with a minimum contact distance of 3 mm must be installed. Do not use multiple sockets or extensions. -
Page 5: Parts Supplied
PARTS SUPPLIED Screws Rails (2) Clip (1) (28) Spacers (4) for side (4) for bottom PRIOR TO INSTALLATION The countertop and coffee maker cavity are square and level, and are the required dimensions. ● The installation will comply with all clearance requirements and applicable standards and regulations. ●... -
Page 6: Product Dimensions
PRODUCT DIMENSIONS SIDE EB60 MODELS PRODUCT DIMENSIONS Overall height of product Overall width of product Overall depth of product Height of chassis Width of chassis Depth of chassis Depth of coffee maker frame and control panel FRONT Stepdown control panel to chassis Height of control panel... -
Page 7: Cabinetry Dimensions (460Mm High Cavity)
CABINETRY DIMENSIONS (460mm HIGH CAVITY) Verify the minimum measurements required for correct installation of the appliance. The coffee maker must be installed in a column and the column must be firmly fixed to the wall with commercially available brackets. IMPORTANT! PROUD INSTALL All installation or maintenance operations must be performed with the appliance disconnected ●... -
Page 8: Cabinetry Dimensions (480Mm Cavity Trim Kit)
CABINETRY DIMENSIONS (480mm CAVITY TRIM KIT) Verify the minimum measurements required for correct installation of the appliance. The coffee maker must be installed in a column and the column must be firmly fixed to the wall with commercially available brackets. IMPORTANT! All installation or maintenance operations must be performed with the appliance disconnected ●... -
Page 9: Installation Instructions
INSTALLATION INSTRUCTIONS approx. 350mm Align the rails to the sides of the cabinet before securing using the provided screws. Fix the power cable with the clip. The power cable must be long enough to allow Extending both rails fully. the appliance to be pulled out from the cabinet to fill the coffee bean container. If the coffee maker is installed over a warmer drawer, use the top surface of this as The appliance must be earthed in compliance with legislation. -
Page 10: Connect The Coffee Maker To The Mains Supply
CONNECT THE COFFEE MAKER TO THE MAINS SUPPLY IMPORTANT! All electrical work may only be carried out by suitably qualified and competent persons in accordance with national and ● local safety regulations. This warming drawer must be earthed. ● Before placing the coffee maker into the cavity, route the power cord into the back of the cavity and plug it in to the switched socket. -
Page 11: Final Checklist
FINAL CHECKLIST TO BE COMPLETED BY THE INSTALLER Make sure the coffee maker is level and securely fitted to the cabinetry. Check the lower trim is undamaged. Check there is adequate clearance. This is to ensure correct air circulation. Make sure any cable ties and internal packaging has been removed from the coffee maker cavity. Make sure all coffee maker vents and openings are clear and free of any obstruction or damage. - Page 12 FISHERPAYKEL.COM © Fisher & Paykel Appliances 2022. All rights reserved. The models shown in this guide may not be available in all markets and are subject to change at any time. The product specifications in this guide apply to the specific products and models described at the date of issue.


