Advertisement
Quick Links
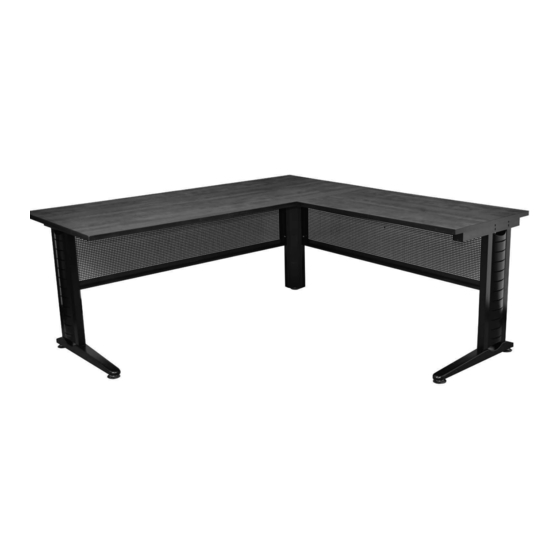
MLD723048, MLD723042, MLD663048, MLD663042 - INSTRUCTIONS
Organize your parts and hardware. You will need (2) people, a Phillips head screwdriver and a rubber mallet.
Parts:
A) Top Bracket(2) ● B) Foot Bracket(2) ● C) Back Support(2) ● D) Front Support(2) ● E) Exterior Leg Cover(2) ● F) Interior Leg
Cover(2) ● G) Corner Leg ● H) Flat Bracket ● I) Long Modesty ● J) Short Modesty ● K) Long Table Top ● L) Short Table Top
NOTE: Back Supports differ from Front Supports with additional holes for modesty attachment.
B
A
I
J
Hardware:
M) Screws(21) ● N) Washers(8) ● O) Bolts(16) ● P) Glides(5)
M
IMPORTANT NOTICE:
● Place all wooden parts on a clean and smooth surface such as a rug or carpet to avoid the parts from being scratched.
● Check to be sure that you have all parts and hardware.
● Remove all wrapping materials, including staples & packing straps before you start to assemble.
● Do not tighten all screws/bolts until completely assembled.
● Keep all hardware parts out of reach of children.
C
D
N
O
Any problems or questions call Regency Office Furniture at 1-866-816-9822
F
E
K
L
P
G
H
Advertisement

Related Manuals for Regency MLD723048


Summary of Contents for Regency MLD723048
- Page 1 ● Remove all wrapping materials, including staples & packing straps before you start to assemble. ● Do not tighten all screws/bolts until completely assembled. ● Keep all hardware parts out of reach of children. Any problems or questions call Regency Office Furniture at 1-866-816-9822...
- Page 2 Supports(D) and Back Supports(C). Finally, attach the Foot Brackets(B) and Top Brackets(A) to the Front Supports(D) and Back Supports(C)with 4 Bolts(O) per Leg. NOTE: Do not tighten bolts until all bolts have been started. Modesty Holes Figure 1 Left Leg Right Leg (interior side) (interior side) Any problems or questions call Regency Office Furniture at 1-866-816-9822...
- Page 3 STEP 6B: Attach Corner Leg(G) using 3 Screws(M). See Figure 2. Figure 2 NOTE: Edges of template align with edges of table. For a Right Return For a Left Return Any problems or questions call Regency Office Furniture at 1-866-816-9822...
- Page 4 STEP 9: For additional support, attach the Short Modesty(J) to Then attach the Leg using 2 Screws(M). the desktop with 2 Screws(M). STEP 10: CAREFULLY FLIP THE ASSEMBLED PORTION OF THE TABLE UPRIGHT WITH TWO OR MORE PEOPLE. Any problems or questions call Regency Office Furniture at 1-866-816-9822...
- Page 5 STEP 12B: Align the Leg with the back edge of the Short Table Top. Then attach the Leg using 2 Screws(M). STEP 12C: For additional support, attach the Long Modesty(I) to the desktop with 2 Screws(M). Figure 4 For a Left Return For a Right Return Any problems or questions call Regency Office Furniture at 1-866-816-9822...
- Page 6 ALIGN THIS CORNER FOR A LEFT RETURN...