
Related Manuals for ATCOM A2SV Series


Summary of Contents for ATCOM A2SV Series
-
Page 1: A2Sv Series Quick Start Guide
A2SV Series Quick Start Guide A2SV Series Quick Start Guide (A2SV-LW、 A2SV、 A2SV-W、 A2SV-PW) Version:1.1 2021-11-12 1 / 13... -
Page 2: Table Of Contents
A2SV Series Quick Start Guide Content A2SV Series Quick Start Guide ............................1 1. Packaging ..................................3 2. Installation ..................................3 3. Power up ..................................9 4. Network Connection ..............................10 5. Phone Configuration ..............................11 6. Call function .................................. 12... -
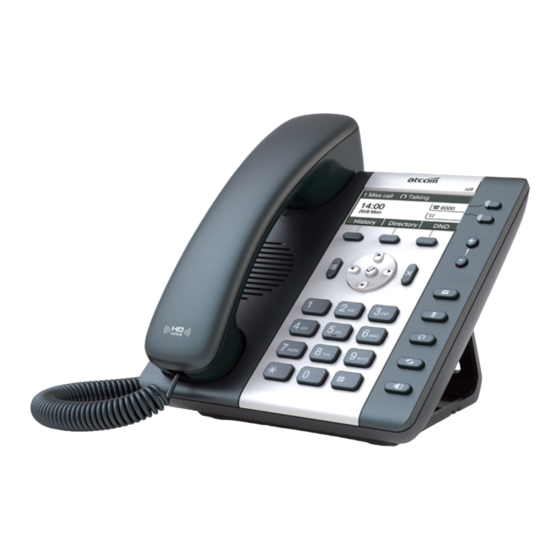
Page 3: Packaging
A2SV Series Quick Start Guide 1. Packaging In the packaging box, we can see one IP phone, one handset, one bracket, two wall-hung brackets, one network cable, one handset cable, one USB power conversion cable and one 5V,2A power adapter. - Page 4 A2SV Series Quick Start Guide 2.3 Installation instruction 2.3.1 Stand bracket installation instruction A. Bottom up the IP phone and press one-side joints of stand bracket into the slot as below: 4 / 13...
- Page 5 A2SV Series Quick Start Guide B. Press the other side joints into the slot according to the direction of the arrow: C. After installation, the picture is as below: D. Remove the stand bracket: Push the spring joint of stand and pull the stand according to the direction of the arrow.
- Page 6 A2SV Series Quick Start Guide 2.3.2 Wall-hung Installation A. Bottom up the IP phone and press one-side joints of wall-hung stand bracket into the slot as the picture below: 6 / 13...
- Page 7 A2SV Series Quick Start Guide B. Press the other side joints into the slot according to the direction of the arrow C. After install the wall-hung stand bracket, press one-side joints of stand bracket into the slot, please refer to the picture as below:...
- Page 8 A2SV Series Quick Start Guide D. Press the other side joints into the slot according to the direction of the arrow E. Knock in nails or screws on the wall according to the proportion of the distance between the hanging holes as below:...
-
Page 9: Power Up
A2SV Series Quick Start Guide F. It is the right picture after fixing the stand bracket below: G. Disassemble the stand bracket: Push the spring joint of stand and pull the stand according to the direction of the arrow. According to the direction of the arrow: 3. -
Page 10: Network Connection
A2SV Series Quick Start Guide setting. 3.4. If the PIN code is enabled on the SIM card, after entering the standby interface, you will be asked to enter the PIN code. According to the network service provide requirement: you need to enter the correct PIN code within three times. -
Page 11: Phone Configuration
A2SV Series Quick Start Guide back cover. Please press Menu→Wi-Fi Settings→ Hotspot, you can choose to turn on or off the hotspot, and press the down navigation key to view or modify the initial name and password. 4.2.2 Wi-Fi network card mode Please press Menu→Wi-Fi Settings→... -
Page 12: Call Function
A2SV Series Quick Start Guide 5.2. Configuration via LCD On the phone LCD status, press the Menu button, enter the Main Menu mode to configure the phone feature. 6. Call function 6.1 Model description The phone is divided into a version that supports SIP calls, a version that supports VoLTE calls, and a version that supports SIP and VoLTE dual-mode calls. - Page 13 A2SV Series Quick Start Guide Account, then input the phone account information 6.4 Precautions for the SIP and VoLTE dual-mode models 1) When the phone makes a call, the default is to use the VoLTE mode. If you need to switch the SIP mode, you can press the navigation left and right buttons to switch the default call mode or press the Line button to select the SIP account and make the call.