
Related Manuals for Nexgrill 720-0001-R


Summary of Contents for Nexgrill 720-0001-R
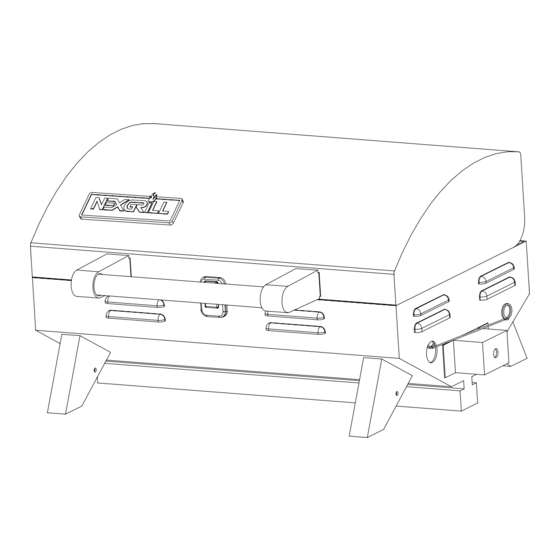
- Page 1 ASSEMBLY & OPERATING INSTRUCTIONS FOR OUTDOOR GAS GRILL FOR MODEL 720-0001-R OUTDOOR GRILL...
-
Page 2: Table Of Contents
Safety Instructions…………………………...1-4 Assembly Instructions………………………..5 Lighting Instructions…………………………6 Care & Maintenance…………………………7 Cooking Instructions…………………………8 Lighting Rod Assembly Instructions………..9-10 Illustrated Parts Breakdown………………...11 Parts List……………………………………...11 Trouble Shooting……………………………..12 Limited Warranty…………………………...13... -
Page 3: Safety Instructions
READ THE FOLLOWING INSTRUCTIONS CAREFULLY AND BE SURE YOUR GRILL IS PROPERLY INSTALLED, ASSEMBLED AND MAINTAINED. FAILURE TO FOLLOW THESE INSTRUCTIONS MAY RESULT IN SERIOUS BODILY INJURY AND/OR PROPERTY DAMAGE. IF YOU HAVE QUESTIONS CONCERNING ASSEMBLY OR OPERATION, CALL OUR SERVICE CENTER AT 1-800-913-8999, MONDAY THROUGH FRIDAY 8:00AM-5:00PM, PACIFIC COAST TIME. - Page 4 INSTALLATION This gas grill must be installed in accordance with the local codes or, if in an area without local codes, with the latest edition of the National Fuel Gas Code ANSI Z223.1. In Canada, installation must conform to the standard CAN/CGA 1-b149.1 and/or .2 (Installation Code for Gas Burning Appliances and Equipment) and any local codes.
- Page 5 BURNER VALVE/REGULATOR: The burner control is actually a regulator/valve assembly. The regulator attaches directly to the end of the burner, which extends out of the right end of the grill body, a 1-pound propane cylinder threads into the regulator. The burner control operates in the following positions indicated by the pointer at the top of the regulator as installed on the grill: OFF –...
- Page 6 The threaded cylinder connection should be kept clean and free of dust, dirt, sand or any foreign materials. Clean both regulator and LP cylinder threaded areas prior to connecting cylinder with regulator. Keep any electrical supply cord or fuel supply hose away from any heated surfaces. COOKING TEMPERATURE SETTINGS HIGH –...
-
Page 7: Assembly Instructions
PLEASE READ THE INSTRUCTION CAREFULLY AND FOLLOW STEP BY STEP. Your Beefmaster Explorer grill is pre-assembled. The only part that you need to assemble is to connect gas regulator into your grill. 1. Locate the gas regulator. Grasp the regulator with the knob facing directly up. Line up the collar on the regulator with the open end of the burner tube. -
Page 8: Lighting Instructions
1. Make sure the regulator is properly secured into the burner end. 2. Make sure the propane cylinder is tightly threaded into the regulator-hand-tighten only. 3. Open lid. 4. Locate lighting access hole on right side of the panel. 5. Insert match or lighter through access hole next to the burner tube. Keep flame next to burner. 6. -
Page 9: Care & Maintenance
There is very little care and maintenance needed. The Beefmaster Explorer is designed and made of materials that will last many years with normal use. Following these instructions will improve the longevity and quality of cooking. To ensure safe operation of your grill, the area of cooking should always be kept free of combustible materials of any type, such as gasoline or other flammable vapors or liquids. -
Page 10: Cooking Instructions
1. Allow grill to warm up with lid closed for 20-30 minutes prior to cooking. 2. This Beefmaster Explorer model is equipped with an adjustable HIGH/MED/LOW burner control. This allows for complete flexibility in cooking temperatures. HIGH setting has a cooking temperature of approximately 450 degrees F. MED is approximately 400 degrees F. -
Page 11: Lighting Rod Assembly Instructions
Lightning Rod Assembly Instructions PLEASE READ THE INSTRUCTION CAREFULLY AND FOLLOW STEP BY STEP. 1. Please locate the lightning rod located on the right side of your table top grill. Please see the following figure. Lightning... - Page 12 2. Please attach the match to the front end of the lightning rod, and stick the lightning rod into the access to manual lighting hole to light the fire as indicated in below picture.
-
Page 13: Illustrated Parts Breakdown
ILLUSTRATED PARTS BREAKDOWN MODEL 720-0001-R TABLE-TOP GRILL MODEL 720-0001-R-LP PARTS LIST REF# DESCRIPTION Lid, Front Bowl Assembly Handle Assembly Cooking Grid Flame tamer Grease Tray Burner Name Plate Regulator LP Foldable Leg Gas Collector Box Latch Grease Tray Stopper 1 SET... -
Page 14: Trouble Shooting
SPIDER AND INSECT WARNING!!! Spiders and insects can nest in the burners of the grill and cause the gas to flow from the front of the burner. This is a very dangerous condition, which can cause a fire to occur, thereby damaging the grill and making it unsafe to operate. -
Page 15: Limited Warranty
Our obligation under this warranty is limited to repair or replacement, at our option, of the product during the warranty period. The extent of any liability of Nexgrill Industries, Inc under this warranty is limited to repair or replacement. This warranty does not cover normal wear of parts, discoloration of the...