Advertisement
Quick Links
Advertisement

Related Manuals for Minolta MN2K10NV


Summary of Contents for Minolta MN2K10NV
- Page 1 MN2K10NV User Manual...
-
Page 2: Federal Communications Commission Interference Statement
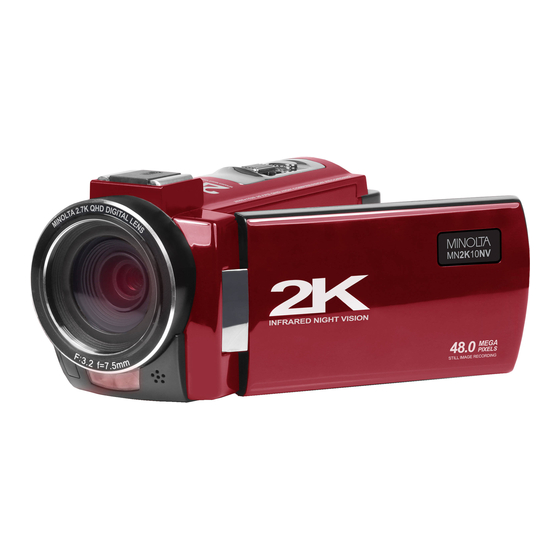
1. About Your Camcorder About this Manual Congratulations on purchasing the Minolta MN2K10NV 2.7K QHD Camcorder! The contents of this manual are subject to change without notice. Note that the example screens and product illustrations shown in this User’s Guide may differ somewhat from the screens and configuration of the actual camera. - Page 3 1. About Your Camcorder be provided with antenna installation instructions and transmitter operating conditions for satisfying RF exposure compliance. FCC: SAR standard Value: 1.6 W/Kg, Maximal Measure: 0.4 W/kg CE Mark Warning This is a Class B product, in a domestic environment, this product may cause radio interference, in which case the user may be required to take adequate measures.
- Page 4 1. About Your Camcorder • Please keep the batteries out of the reach of children to prevent from swallowing batteries, which might cause poisoning. • Once the battery's color changes or its shape is twisted, please stop using it. USB adapter Information •...
-
Page 5: Camcorder Interface
2. First Use Camcorder Interface... - Page 6 2. First Use 1.2 Button Function Description Function Description Power | IR Tap once to power on, press and hold for 2 seconds to power off. While powered on, tap once to enable or disable IR night vision. Tap to cycle between Video, Photo, Playback and Mode Setup modes.
-
Page 7: First Use
2. First Use Speaker Built-in speaker output for playback of video files when audio recording is enabled. Lens Front capture device for all video and photo. 2. First Use 2.1 Inserting the Memory Card Insert the included SD memory card to record and store your videos and photos. When the battery is low, media stored on the memory card will not be erased. - Page 8 2. First Use 2.2 Installing the Battery Insert the lithium-ion battery into the battery compartment with the metal contacts facing the back of the camcorder. Take special note of the ridges on the sides of the battery and the on the body of the camcorder. The battery can only inserted one way.
- Page 9 2. First Use 2.5 Switching Modes Press the MODE button to cycle between Video, Photo, Playback and Setup Modes. The corresponding mode will be displayed in the top left corner of the screen. You may also tap the corresponding mode icon in the top left corner of the touch screen to change modes.
- Page 10 2. First Use 2.8 Video Mode Press the MODE button to switch to Video Mode. The meaning of each icon within Video Mode is explained in the table below: 1) Video Mode 7) Zoom Indicator 13) White Balance 2) Video Size (Resolution) 8) Battery Level 14) Menu 3) Beauty Filter Icon...
- Page 11 2. First Use 2.9 Photo Mode Press the MODE button to switch to Photo Mode. The meaning of each icon within Photo Mode is explained in the table below: 1) Photo Mode 8) Number of Photos Remaining 15) Exposure 2) Photo Size (Resolution) 9) Memory Card Inserted 16) Image Quality 3) Beauty Filter 10) Zoom Indicator...
-
Page 12: Remote Control
2. First Use To disable the IR light, short-press the POWER/IR button again. You will notice that the IR light indicator on the screen is no longer showing. Note: The photos and videos taken while the IR LED is enabled will be recorded in black and white. - Page 13 3. Using Your Camcorder Using the Camcorder 3.1 Video Recording Power the camcorder on and it will be ready to record clips right away. You may press the MODE button or press the icon in the top left hand corner of the touch screen to switch to another mode.
- Page 14 3. Using Your Camcorder selected option. 4. To select the length of the loop recording select ‘Loop Duration’ and press the PHOTO button. 5. Use the ZOOM button to select your desired loop duration and press the PHOTO button to select your desired setting (1 Minute, 3 Minutes, 5 Minutes, 10 Minutes).
- Page 15 3. Using Your Camcorder 3.1.7 ISO This function adjusts the light sensitivity in your photograph. 1. In Video Mode press the MENU button. 2. Select ‘ISO’ using the ZOOM button and press the PHOTO button to enter the ‘ISO’ submenu. 3.
- Page 16 3. Using Your Camcorder 3.2 Photo Shooting Power the camcorder on and press the MODE button or press the icon in the top left hand corner of the touch screen to switch to Photo mode. 1. Line up your shot by looking at the LCD screen to see what is in the shot. 2.
- Page 17 3. Using Your Camcorder 3.2.4 White Balance White Balance changes the color of light in your pictures, making it seem warmer or cooler depending on how the light you're shooting in affects the frame. 1. In Photo Mode press the MENU button. 2.
- Page 18 3. Using Your Camcorder 1. In Photo Mode press the MENU button. 2. Select ‘Photo Burst’ using the ZOOM button and press the PHOTO button to enter the ‘Photo Burst’ submenu. 3. Press the ZOOM button to navigate the menu, and press the PHOTO button to confirm your selected setting (Off, 3 Photos).
- Page 19 3. Using Your Camcorder button to enter the ‘Face Detection’ submenu. 3. Press the ZOOM button to navigate the menu, and press the PHOTO button to confirm your selected option (Off, On). The On setting will enable Face Detection. 3.2.13 Smile Capture This function allows you to set your camera to detect smiles in a scene and for it to capture a photo automatically.
- Page 20 3. Using Your Camcorder Playback Mode Videos and photos captured on your camcorder can be easily played back. 1. Press the ZOOM buttons to cycle through the captured videos and photos stored on the memory card. 2. To enter into a video or photo, press the PHOTO button. 3.
- Page 21 3. Using Your Camcorder 2. Press the ZOOM button to navigate the menu, and press the PHOTO button for your selected setting (90°, 180°, 270°). 3. Press the MENU button to exit the menu without rotating the current picture. 3.3.4 Slideshow Photographs can be viewed as a slideshow on the camcorder.
- Page 22 3. Using Your Camcorder Setup Menu Basic settings can be changed in the Setup menu. These include date & time, language and sound options. Power the camera on and press the MODE button, or press the icon in the top left hand corner of the touch screen to switch to setup mode.
- Page 23 3. Using Your Camcorder and press the PHOTO button to enter the ‘Power Save’ submenu. 2. Press the ZOOM button to navigate the menu and then press the PHOTO button to confirm your selected setting (Off, 1 Minute, 3 Minutes, 5 Minutes).
- Page 24 3. Using Your Camcorder 4. After touching the last plus sign, the calibration will be complete. 5. You can perform the touch screen calibration as many times as needed. Alternatively, your camcorder’s menus can be navigated via the touch screen. Press the ‘MENU’ icon in the bottom left hand corner of the screen to change chosen settings.
- Page 25 4.1 Technical Specifications Model Number Minolta MN2K10NV Fixed Focus • f=7.5mm • F/3.2 • 37mm Front Lens Threading for Lens Accessory Attachments Zoom 16X Digital Zoom Image Sensor 8MP CMOS Sensor Shutter Electronic • Anti-Shake Image Stabilization JPEG: 48 MP • 30 MP • 24 MP • 20 MP • 16 MP • 12 Pixels (photo) MP •...
- Page 26 Minolta is a registered trademark of JMM Lee Properties, LLC and is used in the United States by Elite Brands Inc. under license. 40 Wall Street, 61st Floor, New York, NY 10005 USA • Tel: 800-441-1100 www.minoltadigital.com • www.elitebrands.com Copyright © 2021 Elite Brands Inc.