Table of Contents
Advertisement
Quick Links
Advertisement
Table of Contents

Related Manuals for Agilent Technologies E444xAU Option H37


Summary of Contents for Agilent Technologies E444xAU Option H37
- Page 1 Agilent Technologies E444xAU Option H37 Installation Guide...
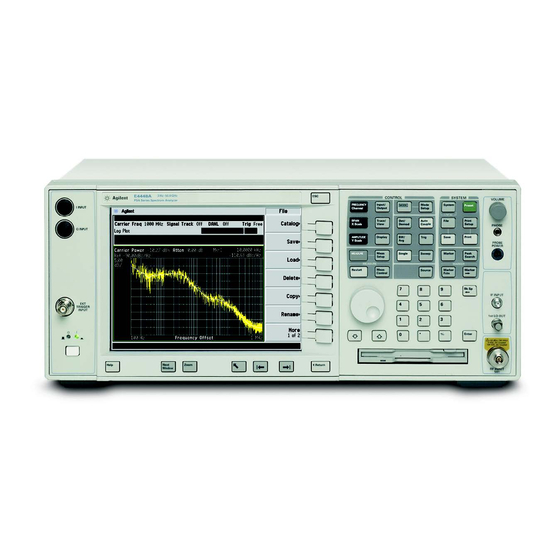
- Page 3 E444xAU Option H37 Installation Guide Retrofit Kit for the PSA Instruments Use this manual with the following documents: E4440A, E4443A, E4445A, E4446A and E4448A Manufacturing Part Number: E4440-90587 Printed in USA April 2005 © Copyright 2005 Agilent Technologies, Inc. All rights reserved.
- Page 4 2.101(a) or as “Restricted computer software” as defined in FAR 52.227-19 (June 1987) or any equivalent agency regulation or contract clause. Use, duplication or disclosure of Software is subject to Agilent Technologies’ standard commercial license terms, and non-DOD Departments and Agencies of the U.S. Government will receive no greater than Restricted Rights as defined in FAR 52.227-19(c)(1-2) (June 1987).
- Page 5 Safety Notes The following safety notes are used throughout this document. Familiarize yourself with each of these notes and its meaning before performing any of the procedures in this document. Warning denotes a hazard. It calls attention to a procedure WARNING which, if not correctly performed or adhered to, could result in injury or loss of life.
-
Page 7: Table Of Contents
Contents General Information Description ..............2 Verifying the Shipment . - Page 8 Contents Contents-2...
-
Page 9: General Information
General Information Installation Guide... -
Page 10: Description
Description Description The E444xAU Option H37 provides a kit to reduce the level of residuals in the 37 kHz range by 10 dB and can be installed into any PSA instrument. Before installing the Option H37 kit, measure the residual amplitude in the 37 kHz range. -
Page 11: Installation Information
E444xAU Option H37 General Information Installation Information Table 1 E444xAU Option H37 Kit Content List (E4440-60440) Agilent Part Description Number Shield (H37 front panel) E4440-00067 Inverter shield E4440-00068 Cable (RF Input) E4440-20067 Cable (ATT A ATT B) E4440-20068 Cable (ATN B RYTHM B) -
Page 12: Installation Procedure
General Information E444xAU Option H37 Installation Procedure Installation Procedure Removing the Feet, Handles and Covers Keep all of the hardware (screws, nuts, etc.) for re-use when installing the NOTE assemblies. Follow the steps outlined below to install the Option H37 retrofit kit. - Page 13 E444xAU Option H37 General Information Installation Procedure 3. Remove the four feet from the bottom of the PSA instrument by pulling the tabs away from the instrument and sliding the feet toward the center of the instrument. Refer to Figure 4.
- Page 14 General Information E444xAU Option H37 Installation Procedure 5. Remove the chassis cover using a #10 Torx driver. There are ten screws to remove from the “speaker” side of the chassis cover and two crews from the “power supply” side of the chassis cover.
-
Page 15: Front Panel
E444xAU Option H37 General Information Installation Procedure Front Panel NOTE Keep all of the hardware (screws, nuts, etc.) for re-use when installing the assemblies. 1. Remove the front panel (7 screws). 2. Disconnect the green Ext Trigger Input cable on the Analog IF Assembly (P1) and the front panel ribbon cable. - Page 16 General Information E444xAU Option H37 Installation Procedure 4. Disconnect the two LCD back light cables. 5. Remove the four screws on the two inverter board assemblies. Figure 7 LCD Cables LCD Cables Installation Guide...
- Page 17 E444xAU Option H37 General Information Installation Procedure 6. Pivot the two inverter board assemblies up and slip the inverter shield (E4440-00068) over both of the boards. Figure 8 Inverter Shield 7. Position the boards with the shield in place and install the four screws (previously removed) into the boards.
- Page 18 General Information E444xAU Option H37 Installation Procedure 9. Install the new Option H37 front panel shield (E4440-00067) using the 11 screws that were removed in step 2. Start with the screw in the upper right corner (#1) and then the upper left corner (#2) and continue inserting the remaining screws.
-
Page 19: For Older Instruments Only (E4440A, E4443A And E4445A)
E444xAU Option H37 General Information Installation Procedure For Older Instruments Only (E4440A, E4443A and E4445A) Instruments that have been built recently will have the cables listed below. 10. Remove the three semi-rigid cables on the RF step attenuators (33360-60003 and (33321-60058) and add the following new cables. -
Page 20: Characteristics
General Information E444xAU Option H37 Characteristics Characteristics The E444xxAU Option H37 reduces the level of residuals in the 37 KHz range. Option H37 provides a kit to reduce the level of residuals in the 37 kHz range by 10 dB. Refer to... - Page 21 E444xAU Option H37 General Information Performance Tests and Adjustments Figure 12 Residuals (before) Figure 13 Residuals (after) Installation Guide...
-
Page 22: Safety And Regulatory Information
(grounded) side of the ac power supply. Shipping Instructions You must always call the Agilent Technologies Instrument Support Center to initiate service before retuning your instrument to a service office. See “Contacting Agilent” on page 18. -
Page 23: Warnings
Do not proceed beyond a WARNING notice until the indicated conditions are fully understood and met. Warnings applicable to this instrument are: To prevent electrical shock, disconnect the Agilent Technologies WARNING model 70429A K16 from mains before cleaning. Use a dry cloth or one slightly dampened with water to clean the external case parts. -
Page 24: Cautions
General Information E444xAU Option H37 Safety and Regulatory Information WARNING If this product is not used as specified, the protection provided by the equipment could be impaired. This product must be used in a normal condition (in which all means for protection are intact) only. -
Page 25: Instrument Markings
E444xAU Option H37 General Information Instrument Markings Instrument Markings When you see this symbol on your instrument, you should refer to the instrument’s instruction manual for important information. This symbol indicates hazardous voltages. The laser radiation symbol is marked on products that have a laser output. -
Page 26: Contacting Agilent
General Information E444xAU Option H37 Contacting Agilent Contacting Agilent By internet, phone, or fax, get assistance with all your test and measurement needs. This information supersedes all prior HP contact information. Online assistance: www.agilent.com/find/assist Americas Brazil Canada Mexico United States...