Table of Contents
Advertisement
Owner's manual & Installation manual
Mode d'emploi et manuel d'installation
Manual de instrucciones y de instalación
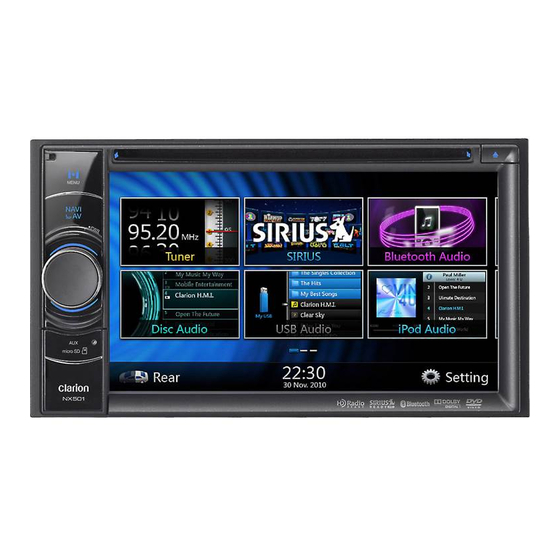
NX501
NZ501
2-DIN DVD MULTIMEDIA STATION WITH
BUILT-IN NAVIGATION & 6.2" TOUCH PANEL CONTROL
STATION MULTIMÉDIA DVD 2-DIN AVEC COMMANDE
ÉCRAN TACTILE DE 6,2 pouces
ESTACIÓN DVD MULTIMEDIA DOBLE DIN CON PANEL
DE CONTROL TÁCTIL DE 6,2 pulgadas
DVD MULTIMEDIA STATION WITH BUILT-IN NAVIGATION &
7" TOUCH PANEL CONTROL
STATION MULTIMÉDIA DVD AVEC COMMANDE
ÉCRAN TACTILE DE 7 pouces
ESTACIÓN DVD MULTIMEDIA CON PANEL DE CONTROL
TÁCTIL DE 7 pulgadas
Advertisement
Chapters
Table of Contents


Need help?
Do you have a question about the NX501 and is the answer not in the manual?
Questions and answers
hello i have a problem with my nx501 about the touch calibration. how can i fix it?
The Clarion NX501 touch screen requires a firmer touch than usual. To fix touch calibration issues, press more firmly until you get used to the required pressure. There is no mention of a specific calibration setting, so adjustment relies on adapting your touch.
This answer is automatically generated