Advertisement
Quick Links
Quick Installation Guide
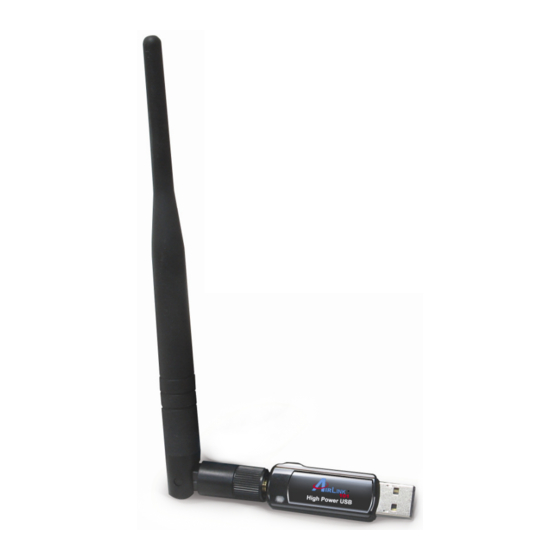
Wireless N 150 High Power USB Adapter
With 5dBi High Gain Antenna
Section 1
Install the Wireless USB Adapter
This Quick Installation Guide only provides the basic installation instructions.
For detailed instructions of other advanced features, please refer to the User's
Manual that can be found on the provided CD.
For Macintosh users, please install the driver before plugging in the USB
adapter. You can find the drivers and installation instruction for MAC 10.4, 10.5,
10.6 under the MAC folder on the provided CD.
Step 1.1
Fasten the provided 5dBi antenna to the USB adapter.
Model # AWLL5166HP
Package Contents:
• Wireless N 150 High Power
USB Adapter
• 5dBi High Gain Antenna
• Driver & Utility CD
• Quick Installation Guide
Ver. 1.0
Advertisement

Related Manuals for Airlink101 AWLL5166HP


Summary of Contents for Airlink101 AWLL5166HP
-
Page 1: Quick Installation Guide
Quick Installation Guide Wireless N 150 High Power USB Adapter With 5dBi High Gain Antenna Model # AWLL5166HP Section 1 Install the Wireless USB Adapter This Quick Installation Guide only provides the basic installation instructions. For detailed instructions of other advanced features, please refer to the User’s Manual that can be found on the provided CD. - Page 2 Step 1.2 Insert the USB adapter into an available USB port of your computer. Step 1.3 Click Cancel when you see the Found New Hardware Wizard. Windows XP/2000 Users: Windows Vista Users:...
- Page 3 Step 1.4 Insert the Installation CD in the CD drive. The Autorun screen will pop up. Select Install Utility and Driver from the menu. Note: to My If the Autorun screen doesn’t appear automatically, go to Computer → Explore the CD Drive → go to Utility folder, then run Setup.exe. Windows 7/Vista Users: When you get warning message(s), make sure that you give permission to continue with the installation of the driver software.
- Page 4 Step 1.6 Please wait when Windows is installing the driver for Airlink101 Wireless Adapter. Step 1.7 Windows XP Users: click on Continue Anyway. Windows 7/Vista Users: click on Install this driver software anyway.
-
Page 5: Connect To Wireless Network
Step 1.8 Select Yes, I will restart my computer now. Click Finish to complete the installation. The driver and utility have been installed. Please continue to Section 2. Section 2 Connect to Wireless Network Step 2.1 Open the Airlink101 Wireless Monitor utility by double clicking on the icon in the system tray at the bottom right-hand corner of your screen. - Page 6 The Airlink101 Wireless Monitor will come up: Step 2.2 (Optional) The Easy Setup Button (Wi-Fi Protected Setup) is a new and easy way to configure the encryption for your wireless network clients. In order to use it, you need to have a router that supports this feature. Note: If your router doesn’t support Easy Setup Button function (Wi-Fi Protected Setup), please go to Step 2.3.
- Page 7 This window pops up to acknowledge you the wireless adapter is starting to establish a connection with the Router/AP. 2. Within the following 2 minutes, push the Easy Setup Button (WPS Button) on the back of the Router. The picture shows Airlink101 AR570W Wireless N 150 Router.
- Page 8 Step 2.3 Click the Available Network tab of the Wireless Monitor, select the wireless network that you wish to connect to, and click Add to Profile. If the network that you are attempting to connect does not have encryption enabled, you will receive a warning about connecting to an unsecured network. Click OK to complete the connection.
- Page 9 Step 2.4 Enter the wireless security key into the Network Key and Confirm Network Key boxes. Click OK. The wireless adapter will automatically detect the type of Network Authentication and the Data encryption. All you need to do is to enter the Network Key in the appropriate boxes according to the settings of the wireless router and click OK to connect.
- Page 10 Step 2.5 The connection should be now established. Under the utility Airlink101 Wireless Monitor, go to General tab to check the status of the connection. Verify that IP Address, Subnet Mask and Gateway have valid numbers assigned to them (instead of all 0’s). The Status should be Associated, and there should be green bars next to Signal Strength and Link Quality.
-
Page 11: Troubleshooting
Troubleshooting 1. If you cannot open the wireless monitor utility, make sure that the USB adapter is inserted firmly into the USB port. 2. If you cannot connect to the wireless router, you may want to double check the wireless security settings on the router. The network key you entered in Step 2.4 must match with the settings on the wireless router.