Table of Contents
Advertisement
Quick Links
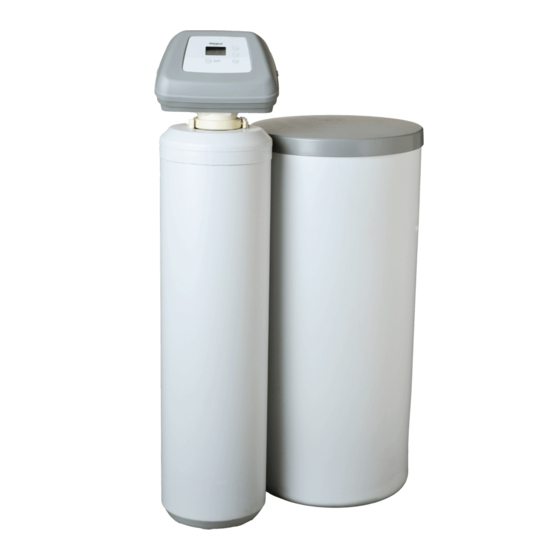
Model WHES3T
How to install, operate
and maintain your Demand
Controlled Water Softener
PRODUCT AND WARRANTY
REGISTRATION
Register your product
online to validate and
extend your warranty.
See warranty page for
details.
www.whirlpoolwatersolutions.com
If you have any questions or concerns when
installing, operating or maintaining your water
softener, call our toll free number:
1-866-986-3223
whirlpoolwatersolutions.com
or visit
When you call, please be prepared to provide
the model and serial number of your product,
found on the rating decal, located on
the back of the controller's top cover.
System tested and certified by NSF International
against NSF/ANSI Standard 44
for hardness reduction and efficiency,
and certified to NSF/ANSI Standard 372.
®
Manufactured and warranted by
Water Channel Partners
1890 Woodlane Drive
Woodbury, MN 55125
7385299 (Rev. B 8/26/20)
Advertisement
Table of Contents

Related Manuals for Whirlpool WHES3T


Summary of Contents for Whirlpool WHES3T
- Page 1 ® Model WHES3T How to install, operate and maintain your Demand Controlled Water Softener PRODUCT AND WARRANTY REGISTRATION Register your product online to validate and extend your warranty. See warranty page for details. www.whirlpoolwatersolutions.com If you have any questions or concerns when...
-
Page 2: Table Of Contents
TABLE OF CONTENTS Page Specifications & Performance Claims ............3 Water Softener Safety . -
Page 3: Specifications & Performance Claims
Operational efficiency is the actual efficiency after the system has been installed. It is typically less than the rated efficiency, due to individual application factors including water hardness, water usage, and other contaminants that reduce a softener's capacity. Model WHES3T Model Code Lt30 11,800 @ 2.3 lbs. -
Page 4: Water Softener Safety
Water Softener Safety Your safety and the safety of others are very important. We have provided many safety messages in this manual and on your appliance. Always read and obey all safety messages. This is the safety alert symbol. This symbol alerts you to potential hazards that can kill or hurt you and others. All safety messages will follow the safety alert symbol and either the word “DANGER”... -
Page 5: Inspect Shipment
Inspect Shipment The parts required to assemble and install the water Remove and discard (or recycle) all packing materials. softener are included with the unit. Thoroughly check To avoid the loss of small parts, we suggest you keep the water softener for possible shipping damage and the small parts in the parts bag until you are ready to parts loss. -
Page 6: Installation Requirements
Installation Requirements LOCATION REQUIREMENTS PLUMBING CODES Consider all of the following when selecting an All plumbing must be completed in accordance with installation location for the water softener. national, state, and local plumbing codes. = Do not locate the water softener where freezing In the state of Massachusetts: The Commonwealth temperatures occur. - Page 7 Installation Requirements VALVE DRAIN REQUIREMENTS 1/4" NPT Thread Barbs for 3/8" Using the flexible drain hose (included), measure and I.D. Tubing cut to the length needed. Flexible drain hose is not Hose Clamp allowed in all localities (check your plumbing codes). If local codes do not allow the use of a flexible drain Drain Hose hose, a rigid valve drain run must be used.
-
Page 8: Installation Instructions
Installation Instructions TYPICAL INSTALLATION Hard Water Conditioned Water To Outside Clips Faucets Pipes Water Softener Valve Outlet 1" NPT Sweat Controller Adaptors (not included) Plug-in Power Valve Drain Supply Elbow Valve Drain Hose* Inlet Single Bypass Valve Overflow Lubricated Drain Elbow O-rings Salt Storage Tank Overflow... - Page 9 Installation Instructions GROUNDING INFORMATION (for Installations on Metal Pipe) The house main incoming water pipe is often used to ground electrical outlets in the home. Grounding protects you from electrical shock. Installing the water softener with a plastic bypass valve will break this Electrical Shock Hazard ground.
- Page 10 Installation Instructions COMPLETE INLET AND OUTLET PLUMBING CONNECT BRINE TUBING Measure, cut, and loosely assemble pipe and fittings Route the brine tubing out, through the largest hole in from the main water pipe to the inlet and outlet ports of the salt storage tank sidewall.
- Page 11 Installation Instructions TEST FOR LEAKS ADD WATER AND SALT TO THE SALT STOR AGE TANK To prevent air pressure in the water softener and plumbing system, complete the following steps in order: 1. Fully open two or more softened cold water faucets Excessive Weight Hazard close to the water softener, located downstream Use two or more people to move and lift salt...
-
Page 12: Programming The Water Softener
DOWN buttons to set the present time. Up moves the display ahead; down sets the time back. Be sure AM or PM is correct. FIG. 17 This is a reminder to use Whirlpool WHE-WSC ® Water Softener Cleanser three times a year. To reset FIG. -
Page 13: Customizing Features / Options
Programming the Customizing Water Softener Features / Options RECHARGE NOW NOTE: If your water supply contains iron, compensate for it by adding to the water hardness number. The RECHARGE button is used to initiate an For example, assume your water is 20 gpg immediate recharge. - Page 14 Customizing Features / Options SALT EFFICIENCY MAXIMUM DAYS BETWEEN REGENERA- TIONS When this feature is ON, the water softener will operate at salt efficiencies of 4000 grains of hardness The water softener automatically controls regeneration per pound of salt or higher (May recharge more often frequency.
-
Page 15: Routine Maintenance
Lift the brinewell cover and pour in the entire 16 oz. regenerate. When electrical power is restored, the bottle of Whirlpool Water Softener Cleanser. Press ® following will occur: the RECHARGE button and hold for three seconds, Reset the present time only if the display is flashing. - Page 16 Routine Maintenance ADDING SALT CLEANING THE NOZZLE & VENTURI Lift the salt lid and check the salt storage level A clean nozzle & venturi (See Figure 29) is a necessity frequently. If the water softener uses all the salt for the water softener to work properly. This small before you refill it, you will experience hard water.
-
Page 17: Troubleshooting
Troubleshooting AUTOMATIC ELECTRONIC DIAGNOSTICS 3. The letter “P” and a dash (or dashes) indicate POSITION switch operation (See Figure 31). If the This water softener has a self-diagnostic function for letter appears, the switch is closed. If the dash the electrical system (except input power and/or water shows, the switch is open. - Page 18 Troubleshooting RESETTING TO FACTORY DEFAULTS 2. After observing fill, press the RECHARGE button to move the softener’s valve into the brine position. A To reset the electronic controller to its factory default slow flow of water to the drain will begin. Verify for all settings (time, hardness, etc.): brine draw from the brine tank by shining a flashlight into the brinewell and observing a...
- Page 19 Notes...
-
Page 20: Exploded View & Parts List
Softener Exploded View Valve Assembly See Pages 22 & 23 for parts... - Page 21 Softener Parts List Part No. Description Part No. Description Repl. Electronic Control Board 7385493 Cap, Shroud 7285847 (PWA) 7385508 Shroud 7351054 Power Supply, 24V DC 7026196 Base 7345663 Salt Cover (order decal below) Tank Neck Clamp Kit – 7331177 7385273 Instruction Decal (includes 2 ea.
- Page 22 Valve Exploded View Wear Strip Seal Cross-section View...
- Page 23 Valve Parts List Part No. Description Part No. Description Motor, Cam & Gear Kit, 3/4" 7082053 Valve Body – 7384683 (includes Key Nos. 50-52) 7081201 Retainer, Nozzle & Venturi Motor 7342649 O-Ring, 1/4" x 3/8", pack of 2 Cam & Gear 1202600 Nut - Ferrule 7224087...
-
Page 24: Warranty
Use one bottle of Whirlpool WHE-WSC Water Softener Cleaner, as directed, every four months from the date of ® purchase of the water softener. Purchase of no more than three (3) bottles of Whirlpool WHE-WSC Water Softener ® Cleaner in a 12 month period may be applied toward compliance with this warranty. Use of any water softener additive other than Whirlpool WHE-WSC will not provide extended warranty coverage.