Whirlpool WHES20 Installation And Operation Manual
Whirlpool water softener installation and operation manual
Hide thumbs
Also See for WHES20:
- Installation and operation manual (40 pages) ,
- Performance data sheet (1 page) ,
- Installation and operation manual (27 pages)
Table of Contents
Advertisement
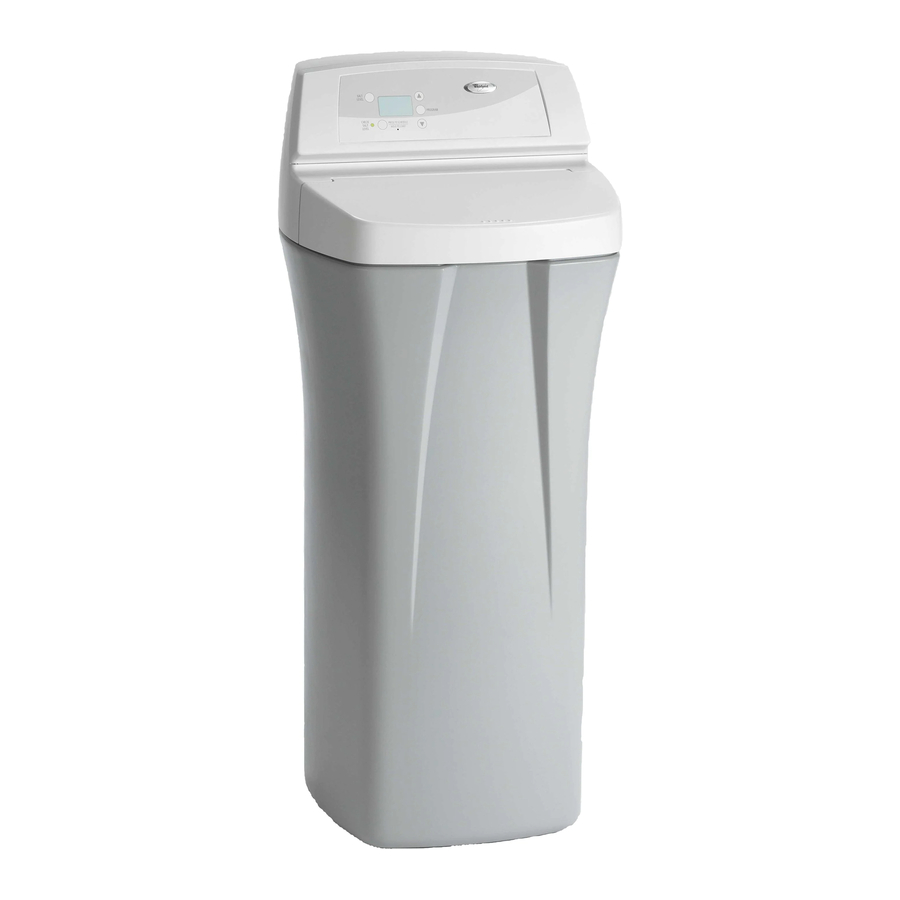
Model WHES20
Model WHES30
How to install, operate and
maintain your Demand
Controlled Water Softener
Do not return water softener to store
If you have questions or concerns when
installing, operating or maintaining your
softener, call our toll free number:
1--866--986--3223
Monday -- Friday, 8 am -- 9 pm EST
System Tested and Certified by
NSF International against NSF/ANSI Standard 44
for softener performance.
7283659 (Rev. B 6/8/06)
Product No. 8562921- -A
Advertisement
Table of Contents

Related Manuals for Whirlpool WHES20


Summary of Contents for Whirlpool WHES20
- Page 1 Model WHES20 Model WHES30 How to install, operate and maintain your Demand Controlled Water Softener Do not return water softener to store If you have questions or concerns when installing, operating or maintaining your softener, call our toll free number:...
-
Page 2: Table Of Contents
Sanitize the Softener/Sanitize After Service Plug in Water Softener Program the Water Softener --- Model WHES20 Set Time of Day ................ -
Page 3: Water Softener Safety
............... . . Automatic Electronic Diagnostics Manual Advance Diagnostics---Model WHES20 Manual Advance Regeneration Check ---Model WHES20 Manual Advance Diagnostics---Model WHES30 Manual Advance Regeneration Check ---Model WHES30 Wiring Schematic . -
Page 4: Inspect Shipment
The water softener requires a minimum water flow of 3 gallons per minute at the inlet. Maximum allowable inlet water pressure is 125 psi. If daytime pressure is over 80 psi, nighttime pressure may exceed the maximum. Use a pressure reducing valve if necessary. (Adding a pressure reducing valve may reduce the flow.) If your home is equipped with a back flow preventer, an expansion tank must be installed in accordance with local codes and laws. -
Page 5: Water Softener Dimensions
** Kits are available at retail hardware stores for testing water hardness and iron content. Some retail stores will also test your water for a fee. Water Softener Dimensions 3---3/8” IN --- OUT MODEL NOMINAL RESIN TANK SIZE WHES20 8” DIA. X 35” WHES30 9” DIA. X 35” Serial No. Installation date **Iron content on shipping carton 19”... -
Page 6: Water Conditioning Information
How a Water Softener Works Softening Cycle When the water softener is providing soft water, it is called “service” or the “softening cycle”. During this cycle, hard water flows from the main water pipe in the household into the water softener. Inside the resin tank is a bed made up of thousands of tiny, plastic resin beads. - Page 7 Factor into your diet the amount of sodium or potassium shown below, based on your water hardness and consumption. Sodium Added to Water from Cation Exchange Softening Initial Water Hardness Exchange Softening of Water* Grains per Gallon *If your water supply is 15 grains hard and you drank 3 quarts of softened water you would consume 335 milligrams of sodium.
-
Page 8: Installation Requirements
Ferric (red water), and bacterial and organically bound irons are insoluble. This water softener will not remove ferric or bacterial iron. This iron is visible immediately when drawn from a faucet because it has oxidized before reaching the home. It appears as small cloudy yellow, orange, or reddish suspended particles. -
Page 9: Location Requirements
Location Requirements Consider all of the following when selecting an installation location for the water softener. Do not locate the water softener where freezing temperatures occur. Do not attempt to • treat water over 120_F. Freezing, or hot water damage voids the warranty. To condition all water in the home, install the water softener close to the water supply •... -
Page 10: Valve Drain Requirements
Valve Drain Requirements Use the flexible drain hose, that is included, measure and cut to the length needed. Flexible drain hose is not allowed in all localities (check your plumbing codes). If local codes do not allow use of a flexible drain hose, a rigid valve drain run must be used. -
Page 11: Planning Installation
Plan the Installation Inlet --- Outlet Plumbing Options Always install either a single bypass valve (provided) or, if desired, parts for a 3 valve bypass system (not included) can be purchased and assembled, as shown in Figure 4. Bypass valves allow you to turn off water to the softener for maintenance if needed, but still have water in house pipes. -
Page 12: Installation
Installation Turn Off Water Supply 1. Close the main water supply valve, near the well pump or water meter. 2. Open all faucets to drain all water from the house pipes. NOTE: Install the Brine Tank Overflow Elbow Install the brine tank overflow grommet and elbow in the 13/16” diameter hole in the back of the salt storage tank sidewall. -
Page 13: Move The Water Softener Into Place
Move the Water Softener into Place 1. Move the water softener into installation position. Set it on a level surface. If needed, place the water softener on a section of plywood, a minimum of 3/4” thick. Then, shim under the plywood to level the water softener, see Figure 7. -
Page 14: Assemble Inlet And Outlet Plumbing
Assemble Inlet and Outlet Plumbing Measure, cut, and loosely assemble pipe and fittings from the main water pipe to the inlet and outlet ports of the water softener valve. Be sure to keep fittings fully together, and pipes squared and straight. Be sure hard water supply pipe goes to the water softener valve inlet side. -
Page 15: Install Valve Drain Hose
Threaded pipe 1. Apply pipe joint compound or Teflon 2. Tighten all threaded joints and make all solder connections. IMPORTANT: Secure ground clamp to metal pipes. CPVC plastic pipe 1. Clean, prime and cement all joints, following the manufacturer’s instructions supplied with the plastic pipe and fittings. -
Page 16: Add Water And Salt To The Salt Storage Tank
Add Water and Salt to the Salt Storage Tank 1. Using a container, add about three gallons of clean water into the salt storage tank. 2. Add salt to the storage tank. Use nugget, pellet or coarse solar salts with less than 1% impurities. NOTE: See “Routine Maintenance Section”... -
Page 17: Program The Water Softener -- Model Whes20
Program the Water Softener -- Model WHES20 Display RECHARGE RECHARGE button Figure 10 If you have questions about installation, programming, operating and routine maintenance... When the transformer is plugged into the electrical outlet, a model code and a test number (example: s3.0), begin to flash in the faceplate display. -
Page 18: Set Water Hardness Number
Set Water Hardness Number 1. Press the 2. Press the NOTE: Set Recharge (Regeneration) Time 1. Press the “RECHARGE TIME”. This is a good time for the recharge to start in most households because water is not in use. If you want to change the recharge start time, press the desired starting time shows. -
Page 19: Program The Water Softener -- Model Whes30
Program the Water Softener -- Model WHES30 Display SET SALT LEVEL button SALT LEVEL CHECK SALT LEVEL RECHARGE RECHARGE button Figure 11 If you have questions about installation, programming, operating and routine maintenance... When the transformer is plugged into the electrical outlet, a model code and a test number (example: s3.0), begin to flash in the faceplate display. -
Page 20: Set Water Hardness Number
Set Water Hardness Number 1. Press the 2. Press the NOTE: Set Recharge (Regeneration) Time 1. Press the “RECHARGE TIME”. This is a good time for the recharge to start in most households because water is not in use. If you want to change the recharge start time, press the desired starting time shows. -
Page 21: Customizing Features/Options -- Model Whes20
Customizing Features/Options -- Model WHES20 Recharge Recharge button is used to initiate an immediate recharge. Press and hold the • in the display, and the softener enters the fill cycle of regeneration right away. “RECHARGE NOW” will flash during the regeneration. When over, full water conditioning capacity is restored. -
Page 22: Salt Efficiency
Salt Efficiency When this feature is ON, the water softener will operate at salt efficiencies of 4000 grains of hardness per pound of salt or higher. (May recharge more often using smaller salt dosage and less water). The softener is shipped in the OFF setting. 1. -
Page 23: Customizing Features/Options-- Model Whes30
Customizing Features/Options-- Model WHES30 Recharge Recharge button is used to initiate an immediate recharge. Press and hold the • and “FILL” flash in the display, and the softener enters the fill cycle of regeneration right away. The word “RECHARGE” will flash during the regeneration. When over, full water conditioning capacity is restored. -
Page 24: Electronic Control / ''Power
‘‘Power---Outage Memory’’ If electrical power to the water softener is lost, ‘‘memory’’ built into the timer circuitry will keep all settings for up to eight hours. While the power is out, the display is blank and the water softener will not regenerate. -
Page 25: Clean / Clear Water Iron Removal
Clean / Clear Water Iron Removal This feature is beneficial on water supplies containing iron and/or high amounts of sediments (sand, silt, dirt, etc.). When set to “ON”, an additional backwash and fast rinse cycle will occur first, preceeding the normal regeneration sequence. This provides extra cleaning of the resin bed before it is regenerated with the salt brine. -
Page 26: Maximum Days Between Regenerations
Maximum Days Between Regenerations The water softener automatically controls regeneration frequency. This provides the greatest operating efficiency, and under most conditions, this feature should be left in this mode. However, modify this feature if you want to force a regeneration every set number of days. For example, if your water supply contains iron and you want the softener to regenerate at least once every few days to keep the resin bed clean, set the display as shown below. -
Page 27: Routine Maintenance
Routine Maintenance Refilling With Salt Lift the salt hole cover and check the salt storage level frequently. If the conditioner uses all the salt before you refill it, you will get hard water. Until you have established a refilling routine, check the salt every two or three weeks. -
Page 28: Cleaning The Nozzle And Venturi
Cleaning the Nozzle and Venturi A clean nozzle and venturi (see Figure 13) is a must for the conditioner to work properly. This small water softener creates the suction to move brine from the brine tank, into the resin tank. If it should become plugged with sand, silt, dirt, etc., the conditioner will not work, and you will get hard water. -
Page 29: Troubleshooting Guide
Troubleshooting Guide Need help troubleshooting? Call 1- - 866- - 986- - 3223, Monday - - Friday, 8 am to 9 pm, EST. Tools Needed For Most Repairs: 5/16 Hex Driver, Phillips Screwdriver, Needle ---nose Pliers PROBLEM No Soft Water 1. -
Page 30: Automatic Electronic Diagnostics
PROGRAM remains operational so the service person can perform the Manual Advance Diagnostics, see below, to further isolate the problem. Manual Advance Diagnostics --- Model WHES20 Use the following procedures to advance the water softener through the regeneration cycles to check operation. - Page 31 8. To change SR number — Press the Then, press the Manual Advance Regeneration Check --- Model WHES20 This check verifies proper operation of the valve motor, brine tank fill, brine draw, regeneration flow rates, and other controller functions. Always make the initial checks, and the manual initiated diagnostics.
- Page 32 4. Press the flow. Allow the softener to rinse for a few minutes to flush out any brine that may remain in the resin tank from the brining cycle test. 5. To return the softener to service, press the Manual Advance Diagnostics --- Model WHES30 Use the following procedures to advance the water softener through the regeneration cycles to check operation.
- Page 33 Press • control since the LE code number was entered. 6. Press and hold the This code identifies the softener model. If the wrong number shows, the softener will operate on incorrect programming. 7. Return the present time display — Press the 8.
-
Page 34: Product Specifications
4. Press the flow. Allow the softener to rinse for a few minutes to flush out any brine that may remain in the resin tank from the brining cycle test. 5. To return the softener to service, press the Product Specifications Rated Service Flow Rate (gpm) Amount of High Capacity Resin (cu ft) Pressure Drop at Rated Service Flow (psig) -
Page 35: Wiring Schematic
This warranty gives you specific legal rights, and you may have other rights which vary from state to state. This warranty applies to consumer- -owned installations only. Registered trademark/TM Trademark of Whirlpool, USA, used under license. 2004 Whirlpool Corporation. All rights reserved. -
Page 36: Softener Components
Softener Components... - Page 37 Bottom Seal Retainer 0516211 Seal 7170288 O- - Ring, 15/16 x 1- - 3/16 7092278 Guide Cap 7093216 Float Rod & Stem, Model WHES20 7220627 Float Rod & Stem, Model WHES30 0516947 Float Seal 7097202 Float (includes Key No. 21) 0513860...
- Page 38 Softener Components wear- - strip seal cross- - section view...
- Page 39 Softener Components Part Description 7224087 Screw, #8-32 x 1” (2 req.) 7286039 Motor (incl. 2 ea. of Key No. 1) 0900857 Screw, #6-20 x 3/8 (2 req.) 7231385 Motor Plate 0503288 Bearing 7284964 Cam and Gear 7142942 Clip (Drain) 7024160 Drain Hose Adaptor 0900431 Tubing Clamp 7170327 O-Ring, 5/8 x 13/16 0501228 Flow Plug...