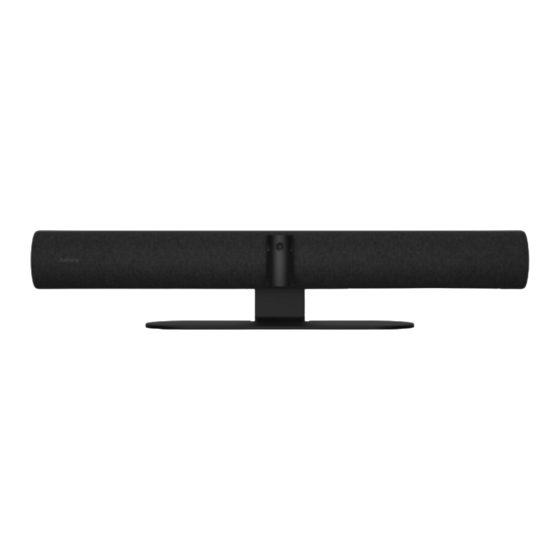
Jabra PanaCast 50 Manual
Wall mount
Hide thumbs
Also See for PanaCast 50:
- Administrator's manual (73 pages) ,
- User manual (44 pages) ,
- Installation manual (38 pages)

Related Manuals for Jabra PanaCast 50


Summary of Contents for Jabra PanaCast 50
- Page 1 PanaCast 50 Wall Mount Install below screen Start from page 1 Install above screen Start from page 6...
-
Page 2: Items Included
Items included Wall Mount M5x12 Screws (2 pcs) Tools needed (not supplied in the pack) 4mm hex key Drill Wall screws Level... - Page 3 Measure 8cm below the screen for Wall Mount placement. The top of the Wall Mount will align with the 8cm. Screw the Wall Mount to the wall using a drill (screws not supplied).
- Page 4 Route all relevant cables through the Wall Mount and to the right. Tilt the hinge on the PanaCast 50 for easy access to the screw holes.
- Page 5 Mount and screw the PanaCast 50 to the Wall Mount using the supplied M5x12 screws and a 4mm hex key. M5x12 Attach the relevant cables to the PanaCast 50. POWER POWER RESET AUXIN AUXIN RESET ETHERNET ETHERNET USB C USB C...
- Page 6 If the PanaCast 50 is not level, adjust the angle by loosening the right screw, levelling and re-tightening the screw. Rotate the PanaCast 50 into its final position and angle the camera to point at eye-level.
- Page 8 Measure 8cm above the screen for Wall Mount placement. The bottom of the Wall Mount will align with the 8cm. Screw the Wall Mount to the wall using a drill (screws not supplied).
- Page 9 Route all relevant cables through the Wall Mount and to the right. Tilt the hinge on the PanaCast 50 for easy access to the screw holes.
- Page 10 Attach the relevant cables to the PanaCast 50 before mounting and screwing to the Wall Mount. POWER POWER AUXIN RESET RESET AUXIN ETHERNET ETHERNET USB C USB C Mount and screw the PanaCast 50 to the Wall Mount using the supplied M5x12 screws and a 4mm hex key.
- Page 11 If the PanaCast 50 is not level, adjust the angle by loosening the right screw, levelling and re-tightening the screw. Rotate the PanaCast 50 into its final position and angle the camera to point at eye-level.