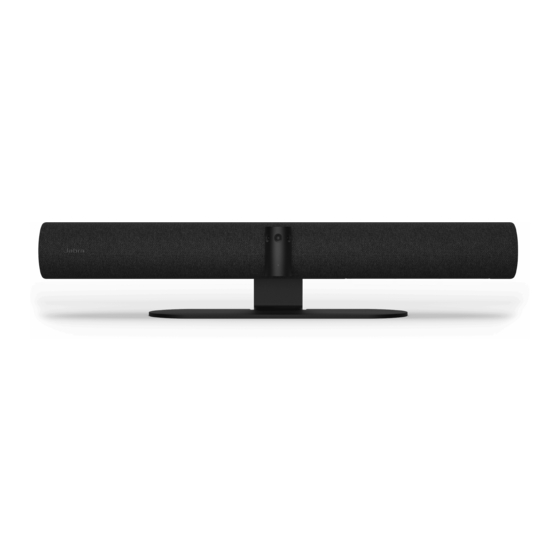
Jabra PanaCast 50 Manual
Screen mount
Hide thumbs
Also See for PanaCast 50:
- Administrator's manual (73 pages) ,
- User manual (44 pages) ,
- Installation manual (38 pages)

Related Manuals for Jabra PanaCast 50


Summary of Contents for Jabra PanaCast 50
- Page 1 PanaCast 50 Screen Mount Install below screen Start from page 1 Install above screen Start from page 7...
- Page 2 Screws Screen Mount horizontal section M6x30 M6x40 M6x50 (4 pcs) (4 pcs) (4 pcs) Screen Mount vertical section M8x30 M8x40 M8x50 (4 pcs) (4 pcs) (4 pcs) M5x8 M5x12 (2 pcs) (2 pcs) Spacers Washers 2 mm 5 mm 12 mm 22 mm 32 mm (2 pcs)
- Page 3 If the screen is already wall-mounted, remove it from the wall. Detach the existing VESA mount from your screen.
- Page 4 Measure the distance between the VESA mount hole and the bottom of the screen. This distance is X. Assemble the Screen Mount and ensure that the distance illustrated is approx X +10 cm or X +4 inches.
- Page 5 Screw the horizontal and vertical sections together using the supplied M5x8 screws and a 4 mm hex key. M5x8 M5x12 Stick the adhesive protective pads to the back of the Screen Mount.
- Page 6 Select the screws, washers and spacers that best fit the contours of your screen. Screws Spacers 2 mm 5 mm 12 mm 22 mm 32 mm (2 pcs) (4 pcs) (2 pcs) (4 pcs) (4 pcs) M6x30 M6x40 M6x50 Washers (4 pcs) (4 pcs) (4 pcs)
- Page 7 Tilt the hinge on the PanaCast 50 for easy access to the screw holes. Mount the PanaCast 50 to the Screen Mount using the supplied M5x12 screws and a 4 mm hex key. M5x12...
- Page 8 Rotate the PanaCast 50 into its final position and angle the camera to point at eye-level.
- Page 9 If the screen is already wall-mounted, remove it from the wall. Detach the existing VESA mount from your screen.
- Page 10 Measure the distance between the VESA mount hole and the top of the screen. This distance is X. Assemble the Screen Mount and ensure that the distance illustrated is approx X +10 cm or X +4 inches.
- Page 11 Screw the horizontal and vertical sections together using the supplied M5x8 screws and a 4 mm hex key. M5x8 M5x12 Stick the adhesive protective pads to the back of the Screen Mount.
- Page 12 Select the screws, washers and spacers that best fit the contours of your screen. Screws Spacers 2 mm 5 mm 12 mm 22 mm 32 mm (2 pcs) (4 pcs) (2 pcs) (4 pcs) (4 pcs) M6x30 M6x40 M6x50 Washers (4 pcs) (4 pcs) (4 pcs)
- Page 13 Tilt the hinge on the PanaCast 50 for easy access to the screw holes. Mount the PanaCast 50 to the Screen Mount using the supplied M5x12 screws and a 4 mm hex key. M5x12...
- Page 14 Rotate the PanaCast 50 into its final position and angle the camera to point at eye-level.