Avaya CU360 Quick Manual
Hide thumbs
Also See for CU360:
- Installing and administering (145 pages) ,
- Release notes (141 pages) ,
- Manual (98 pages)
Table of Contents
Advertisement
Quick Links
Advertisement
Table of Contents

Related Manuals for Avaya CU360


Summary of Contents for Avaya CU360
- Page 1 QUICK GUIDE CU360 AVAYA COLLABORATION UNIT...
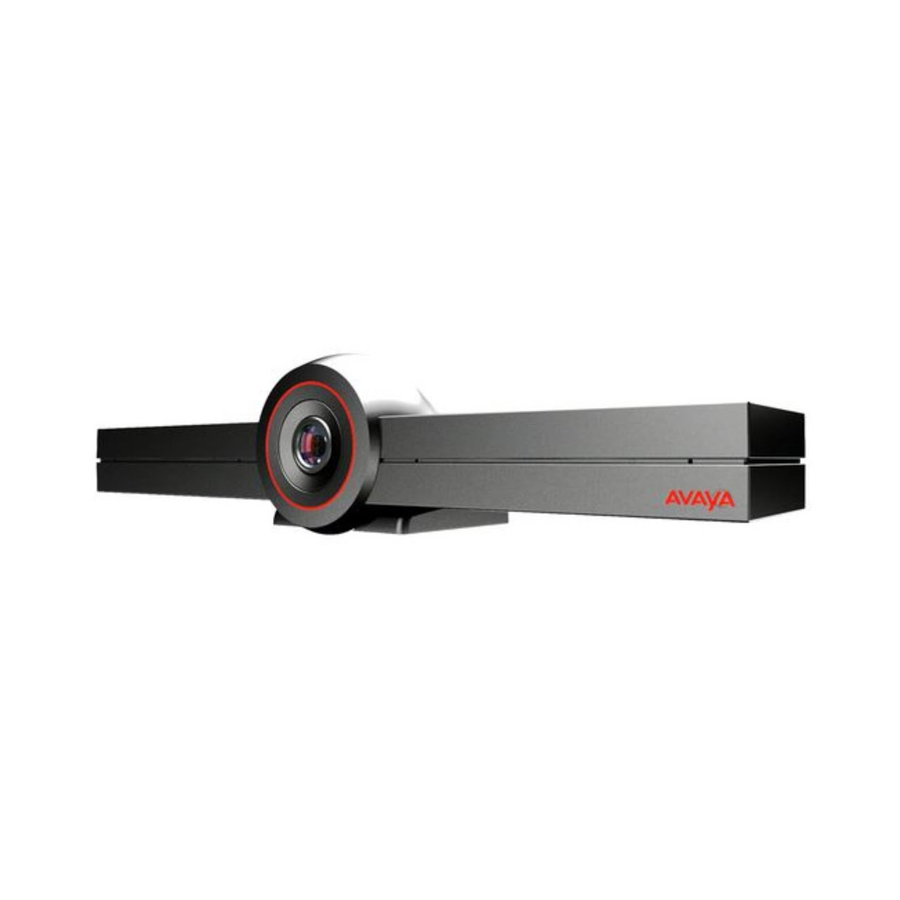
- Page 2 GOOD CHOICE... Congratulations on purchasing your Avaya Collaboration Unit CU360. The CU360 uses unique Avaya next-generation technology to give fluid, on-the-go access to cloud applications and video capability—to ensure collaboration is more meaningful and effective than ever before.
- Page 3 WHAT’S IN WHAT’S IN THE BOX THE BOX Power Adapter Avaya CU360 Collaboration Unit 220V and 110V with regional converters Rubber Cap HDMI Cable 90 degree HDMI adapter...
- Page 4 WHAT’S IN WHAT’S IN THE BOX Wall mount Remote Control 2 AAA batteries Please dispose used batteries at an appropriate recycling 4 screws 4 *40mm facility or designated drop-off 4 plug 6*40mm site in your community. 1 tripod UNC screw...
- Page 5 CONNECTIONS HDMI Ethernet Micro SD Card Slot USB C USB A Power Supply Kensington Security Slot On / Off Button...
-
Page 6: Video Privacy
Note: if you are not using WiFi, make sure to connect a LAN / Ethernet cable. Note: To connect a second display to CU360, please use a qualified USB-C to HDMI cable. Qualified cables are described in the User Guide and in the Third Party Accessories list that can be downloaded from the Support Website. - Page 7 CONTROLLING THE CU360: USING THE WEB 1. When the CU360 is connected to the TV and your Network, the IP address (X.X.X.X) is displayed in the top left corner of the screen. 2. Using a device connected to the same network, type http://[IP ADDRESS] into the web browser.
-
Page 8: Using The Remote Control
CONTROLLING USING THE REMOTE CONTROL Power Button Decline Call/Disconnect Mouse Back Call/Accept Call OK button Arrow keys Zoom in (Pan, Tilt, or zoom camera & navigate) Zoom out Increase volume Audio mute/unmute Change PiP position Decrease volume Change layout Control far/near camera (and USB bar mode toggle) Start/Stop recording Delete... -
Page 9: Use The Remote Control
CONTROLLING USING THE REMOTE CONTROL Battery cover (push and slide to open) BACK & CAPS ENTER Arrow keys (Pan, Tilt, or Zoom camera and navigate) PG UP SHIFT < > HOME PG DWN “ Function key SPACE (enables/disables yellow digits/symbols) CTRL Use The Remote Control The remote control provided is ready to use. -
Page 10: The Remote Control
PAIRING THE REMOTE CONTROL The remote control included is already-paired with your CU360 unit. If you use a different wireless remote control, or your remote control is not paired, please follow the procedure on the next page. - Page 11 PAIRING THE REMOTE CONTROL 1. Check that there are 2 charged AAA batteries inside the remote control. 2. Unplug the codec unit from power. 3. Press the “Back” key and the “OK” key together until the small blue LED on top of the remote quickly flashes a few times.
-
Page 12: Power Over Ethernet
POWER OVER ETHERNET If PoE is needed to power the device, please order a CU360 PoE splitter (700514935) and follow the instructions in the quick setup guide: (https://downloads.avaya.com/css/P8/documents/101059640) - Page 13 QR CODE Note: You can find further information about the CU360 on the Avaya Support Site using the following link. Quick Tips Guide: https://downloads.avaya.com/css/P8/documents/101075443...
- Page 14 QR CODE User Guide: https://downloads.avaya.com/css/P8/documents/101075445 ACO Guide: https://downloads.avaya.com/css/P8/documents/101076025...
- Page 15 MONITOR SETTINGS In case the device output image does not fit with the Monitor screen check the OS menu. You can activate the Standard Android (OS) Menu bar by moving the mouse pointer at the bottom of the screen. Note: The mouse pointer can be activated by pressing the Mouse button on the remote-control. 1.
- Page 16 MONITOR SETTINGS 2. Swipe-up the little white arrow under Apps Provider icon 3. Click on the Settings icon 4. Browse into Settings > Display > Advanced > HDMI > Main Screen > Screen Zoom and calibrate the device output image within the Monitor screen Note: If an additional monitor is connected, you can calibrate also it.
- Page 17 B109 SETUP To add the optional Avaya B109 as a Bluetooth microphone for the Avaya CU360, please follow these steps: 1. On your Avaya CU360 screen, select - Enable Configure > General > Show Advanced Settings = Yes - Select Configure > Advanced (default PIN is 1234) - Select Configure >...
- Page 18 After 60 seconds in pairing mode, the B109 returns to normal mode even if pairing is unsuccessful. Note: It can take some time for your CU360 to find the B109 device. If the pairing is successful, the icon is displayed on the B109, and it is listed as “Connected” under the CU360 Bluetooth Paired Devices.
-
Page 19: Important Notice
IMPORTANT NOTICE Read all safety, installation, and user documentation before installing or operating this product. To view and download safety, installation, and user documentation, go to Avaya support website at support.avaya.com. Check this site frequently for any updates. - Page 20 Avaya.com...