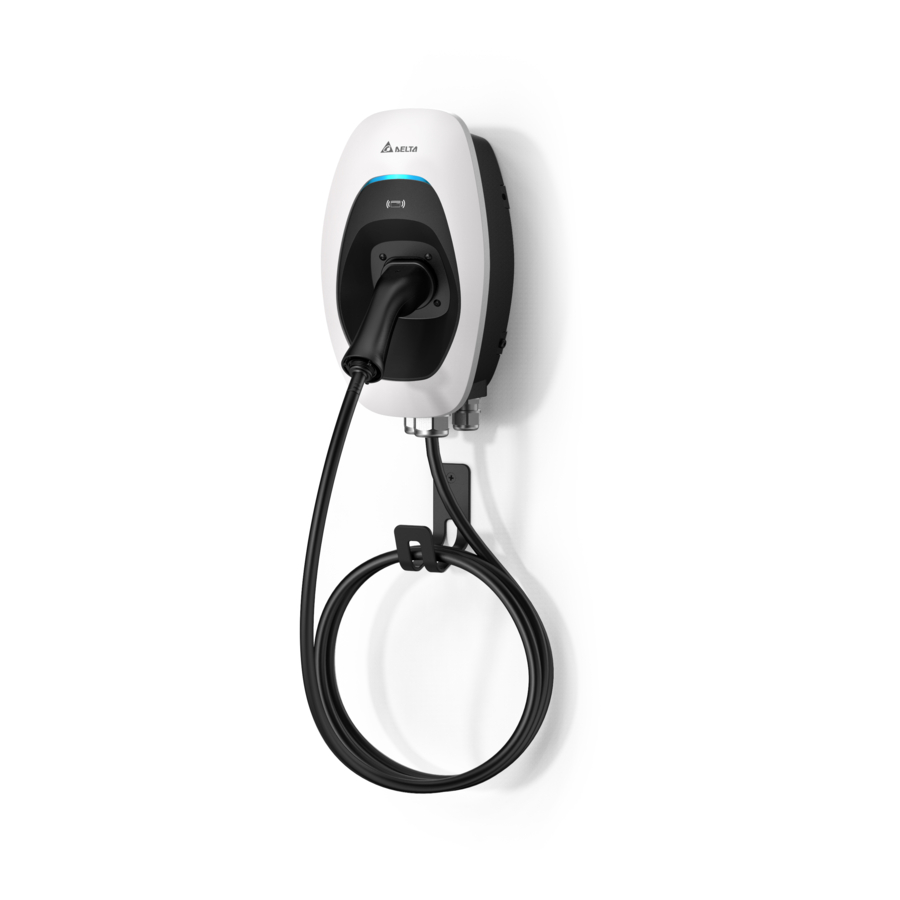
Delta AC MAX Installation And Operation Manual
Hide thumbs
Also See for AC MAX:
- Installation and operation manual (35 pages) ,
- Installation and operation manual (34 pages) ,
- Installation and operation manual (26 pages)
Table of Contents
Advertisement
Quick Links
Advertisement
Table of Contents

Summary of Contents for Delta AC MAX
- Page 1 AC MAX Charger Installation and Operation Manual Version: 1.0.0...
- Page 2 Installation and Operation Manual...
-
Page 3: Table Of Contents
ABLE OF ONTENTS About the Product ......... . 1 Model Series . - Page 4 Conventions General Conventions The following conventions are used in this manual: Note: Indicates additional information that is relevant to the current process or procedure. WARNING! Warning information appears before the text it references to emphasize that the content may prevent damage to the device or equipment. CAUTION! AUTIONS APPEAR BEFORE THE TEXT IT REFERENCES CAUTIONS APPEAR IN CAPITAL LETTERS TO...
- Page 5 Delta Electronics, Inc. (“Delta”). The Manual can only be applied to operation or use of the product. Any dis- position, duplication, dissemination, reproduction, modification, translation, extraction or any other usage to the Manual is prohibited without obtaining Delta’s prior written permission.
-
Page 6: About The Product
About the Product Model Series About the Product Model Series The following describes the segmentation used to describe the basic features of each available model. EVAAE 223 B 5 C N A 6th segment 5th segment 4th segment 3rd segment 2nd segment 1st segment Figure 1. -
Page 7: Product Overview
About the Product Product Overview Note: Availability of features is subject to the model. Figure 2. Overview Table 2: Overview Item Item Key switch Front cover LED indicator Middle cover Charging Connector Mounting holes Socket or Socket with shutter Installation and Operation Manual... -
Page 8: Component List
About the Product Component List Component List Mounting bracket x 1 Mounting template x 1 User manual x 1 No. 8 wood screws x 2 Torx T30 mounting bolts x 4 1/4 inch expansion bolts x 2 Cable holder x 1 Key for key switch x 2 (For charging connector version) Recommended Tools and Accessories... -
Page 9: Installation Environment And Safety Instructions
Before you start, please read the following instructions: Installation Site Selection AC MAX can be installed in both indoor and outdoor environments. It is necessary to consider the installation conditions and protection at the site: Follow local electrical regulation and installation standards. - Page 10 About the Product Installation Environment and Safety Instructions Safety Instructions Disconnect all electrical power prior to installing the product. Failure to do so may result in elec- tric shock, physical injury or damage to the electrical system and charging unit. The product can only be installed by licensed contractors, or licensed electricians in accordance ...
-
Page 11: Installation And Operating Instructions
Installation and Operating Instructions Installation and Operating Instructions Preparations before Starting Recommended Installation Positions When considering installation positions, make sure EV can be easily connected with charger and have enough space for maintenance. Figure 3. Recommended Installation Locations Table 4: Recommended Installation Locations Item Recommended position Alternative position... -
Page 12: Installation Steps
Installation and Operating Instructions Installation Steps Installation Steps Mark Drill Holes The product is a stationary wall-mounted equipment. It includes a wall mounting template to mark the screw locations for the mounting bracket and cable holder (optional). Figure 5. Template for Marking Drill Holes Secure Mounting Bracket 1. - Page 13 Installation and Operating Instructions 2. Align the product with the screw holes on the mounting bracket. 3. Secure the product on the mounting bracket with the supplied Torx T30 screws. Torque: 1.5 N·m (13 lb·in) Figure 7. Installing a Charger Remove Front and Middle Covers 1.
- Page 14 Installation and Operating Instructions Installation Steps 3. Remove the screw located at the middle cover by using a Torx T20 screwdriver. 4. Remove the middle cover. Figure 9. Removing Middle Cover Configure Dip Switches Configure the dip switches for authorization mode, grounding system, and maximum current setting.
- Page 15 Installation and Operating Instructions 3. Maximum current ratings: Choose the pin 4-6 to configure the maximum output current ratings. Table 7: Max Current Ratings Configuration Max. Current Ratings Configuration Max. Current Ratings 6A (Default) Connect Input Wire 1. Install the copper wire as described. Insert the corresponding input wire into the terminal. Copper wire type: 10 mm , 70ºC.
- Page 16 Installation and Operating Instructions Installation Steps 2. Terminal block instructions. Make sure the terminal block is secured correctly. Wrong Wrong Wrong Figure 12. Securing a Terminal Block Secure Middle and Front Covers 1. Recover the middle cover on the charger. 2.
-
Page 17: Operating Instructions
Installation and Operating Instructions Operating Instructions Basic Version o ff The key switch is located on the side of the product. Charger is powered on when the key switch is in the On position. o ff Figure 15. Enabling the Charging Function Status Indicator Status Description... -
Page 18: Troubleshooting
Troubleshooting Status Indicator Troubleshooting Contact Customer Support if the product appears to malfunction or if the LED indicators display a fault event. DO NOT open the product, touch or remove the circuit protective devices or any other compo- nent. Situation Action 1. -
Page 19: Specifications
Specifications Specifications Model Basic Charging mode Mode 3 IEC 62196-2: Type 1 plug, Type 2 plug, Type 2 socket, and Type 2 socket Charging interface with shutter 208-240 Vac, single-phase, 32 A max., 50 Hz Input/Output rating 380-415 Vac, three-phase, 32 A max., 50 Hz ... -
Page 20: Cleaning
Defects or damage caused by not using the product as specified in the Installation and Opera- tion Manual. Costs and damage caused by repair work which is not provided by Delta approved authorized specialist or electrician. Disposal The charger is an electronic device and must be disposed of separately from normal house wastes.


