
Related Manuals for FujiFilm CX 3240


Summary of Contents for FujiFilm CX 3240
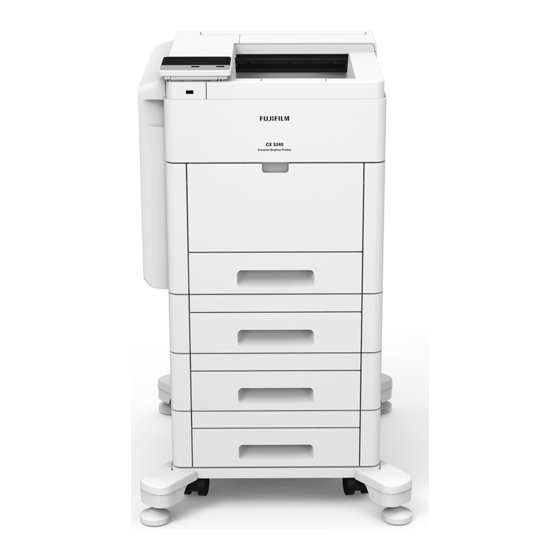
- Page 1 CX 3240 Quick Reference Guide CREATIVE DUPLEX E A S Y A C C E S S T O F R E Q U E N T T A S K S PRINTER GETTING STARTED...
- Page 2 GETTING STARTED FUJIFILM CX 3240 QUICK REFERENCE GUIDE Touch Screen User directions for output are entered here* Output Tray This is where print output can be found after it is finished printing Front Door Provides access to toner for periodic replacement...
- Page 3 TOUCH SCREEN BASIC OPERATIONS ON THE TOUCH SCREEN MOVING, ADDING OR REMOVING THE TILES You can operate the touch screen the same way as a smart Touch [Customize] to change the tile layout. phone or tablet. To move the tiles To select an item on the screen, touch the screen.
- Page 4 For optimum conditioning and performance slightly. Now you can remove the tray surface to avoid paper jams and mis-feeds. from the CX 3240, follow these guidelines from the printer. for proper paper storage. Note: Do not fan the paper over the trays or...
- Page 5 Load paper into the tray with the print Adjust the paper guides to align the Insert the tray into the printer. If [Tray Mode] is set to side face up. If loading folded card edges of the paper loaded. [Fully Adjustable], set the paper stock, load with the fold peak facing up.
- Page 6 LOADING PAPER IN BYPASS TRAY FUJIFILM CX 3240 QUICK REFERENCE GUIDE Open the Bypass Tray. If the Bypass Pull out the extension tray for larger Move the paper guides toward the Fan the paper well, and align the Tray is loaded with paper already, sizes.
- Page 7 Load the paper in the tray. For 1-sided printing, load paper face up For 2-sided printing, load paper face Adjust the paper guides to align the with the top edge going into the printer. down with the top edge going into edges of the paper loaded.
- Page 8 REPLACING A TONER CARTRIDGE FUJIFILM CX 3240 QUICK REFERENCE GUIDE Make sure that the printer is not operating, and open the front door. WARNING CAUTION Use a broom or a wet cloth to wipe off spilled Keep drum cartridges (or drum if not a If toner spills onto your skin or clothing, toner.
- Page 9 Hold the handle and pull out the Take the new toner cartridge out of the Push the cartridge in Close the front door. toner cartridge slowly. box, and shake the cartridge up and slowly until it stops. down and left and right five or six times. WASTE CARTRIDGE REPLACEMENT...
- Page 10 REPLACING A WASTE CARTRIDGE FUJIFILM CX 3240 QUICK REFERENCE GUIDE Make sure that the printer is not operating, and open the right side door. WARNING CAUTION Use a broom or a wet cloth to wipe off spilled Keep drum cartridges (or drum if not a If toner spills onto your skin or clothing, toner.
- Page 11 To remove the waste cartridge, pinch To prevent toner spills, keep the To reinsert the new waste cartridge, Close the right-side door. the latch and then lower the top of the openings facing up. lower the bottom of the cartridge Note: If the right-side door is not cartridge and lift it away from the printer.
- Page 12 REPLACING A DRUM CARTRIDGE FUJIFILM CX 3240 QUICK REFERENCE GUIDE Make sure that the printer is not operating, and open the right side door. WARNING CAUTION Use a broom or a wet cloth to wipe off spilled Keep drum cartridges (or drum if not a If toner spills onto your skin or clothing, toner.
- Page 13 First, remove the waste cartridge by To prevent toner spills, keep the Pull down the release lever of the Slide the drum cartridge gently while pinching the latch and then lower the openings facing up. drum cartridge Y, M, C, or K. holding its bottom, and pull it out top of the cartridge and lift it away from from the printer.
- Page 14 Take the new drum cartridge out of Insert the new drum cartridge straight Remove the cleaning rod from inside Insert the cleaning rod into one of the the box, and insert the used drum in the housing until it clicks into place. the printer.
- Page 15 Repeat the procedure for the holes in Return the cleaning rod to its original To reinsert the waste cartridge, lower Close the right-side door. the other three slots. location. the bottom of the cartridge into Note: If the right-side door is not position.
- Page 16 REPLACING THE TRANSFER ROLLER FUJIFILM CX 3240 QUICK REFERENCE GUIDE Power off the printer. Open the rear door. Grasp the Transfer Roller unit at each Clean the area indicated in the end as indicated by the beige dots illustration below with the cleaning and pull straight out of the printer.
- Page 17 Slide out the filter and replace it with Grasp the new transfer Roller Unit at Close the rear door. Power the printer on. the new filter assembly included in each end, as indicated by the beige the package. dots and slide it into place. Note: Do not touch the main part of the unit with your hands.
- Page 18 REPLACING THE FUSING UNIT FUJIFILM CX 3240 QUICK REFERENCE GUIDE Power off the printer. Open rear door, and wait for 30 minutes Locate the spring loaded squeeze IF YOU REMOVE THE FUSING until the Fusing Unit cools down. latch on each end of the Fusing Unit.
- Page 19 If the item is not displayed, login to the system administration mode. FUJIFILM and LANDSCAPE are trademarks of FUJIFILM Corporation and its affiliates. © 2019 FUJIFILM North America Corporation and its affiliates. All rights reserved.