Table of Contents
Advertisement
Quick Links
Advertisement
Table of Contents

Related Manuals for ADJ POCKET PRO


Summary of Contents for ADJ POCKET PRO
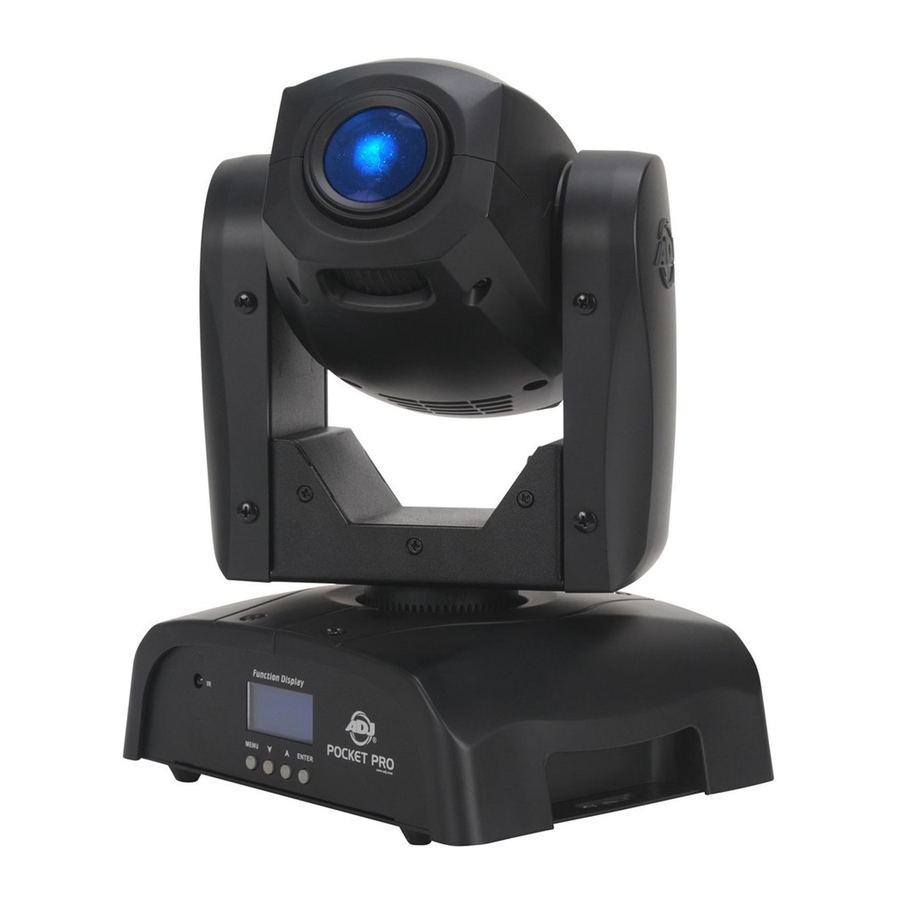
- Page 1 POCKET PRO User Manual...
- Page 2 Products, LLC brands and product names are trademarks or registered trademarks of their respective companies. ADJ Products, LLC and all affiliated companies hereby disclaim any and all liabilities for property, equipment, building, and electrical damages, injuries to any persons, and direct or indirect economic...
-
Page 3: General Information
Please do not return this unit to your dealer without contacting customer support first. Introduction: The Pocket Pro is a DMX intelligent, moving head, mini LED fixture. The Pocket Pro can operate as a stand alone fixture or in a Primary/Secondary configuration. The Pocket Pro has three operating modes;... -
Page 4: General Instructions
Pocket Pro Warranty Registration The Pocket Pro carries a 2 year (730 days) limited warranty. Please fill out the enclosed warranty card to validate your purchase and warranty. You may also register your product online at www.adj.com. All returned service items whether under warranty or not, must be freight pre-paid and accompany a return authorization (R.A.) number. -
Page 5: Safety Precautions
B. The fixture has been exposed to rain or water. C. The fixture does not appear to operate normally or exhibits a marked change in performance. D. The fixture has fallen and/or subjected to extreme handling. ADJ Products, LLC - www.adj.com - Pocket Pro User Manual Page 5... - Page 6 INDIVIDUALS SUFFERING FROM A RANGE OF EYE CONDITIONS, SUNLIGHT EXPOSURE DISORDERS, OR INDIVIDUALS USING PHOTO-SENSITIVE MEDICATION, MAY RECEIVE DISCOMFORT IF EXPOSED TO THE ULTRAVIOLET (UV) LIGHT EMITTED FROM THIS FIXTURE. ADJ Products, LLC - www.adj.com - Pocket Pro User Manual Page 6...
- Page 7 The installaiton should be checked by a skilled person once a year. The Pocket Pro is fully operational in three different mounting posi-tions, hanging upside-down from a ceiling, mounted sideways on trussing, or set on a flat level surface. Be sure this fixture is kept at least 0.5m away from any flammable materials (decoration etc.).
- Page 8 Screw one clamp via a M12 screw and nut to the included bracket. Attach the bracket using the in- cluded screws to the bottom of the Pocket Pro. Pull the safety-cable through the side holes located underneath the handles. Run the safety cable over the trussing system or a safe fixation spot. Insert the end in the carabine and tighten the safety screw.
- Page 9 Pocket Pro DMX Set Up Power Supply: The ADJ Pocket Pro contains a automatic voltage switch, which will auto sense the voltage when it is plugged into the power source. With this switch there is no need to worry about the correct power voltage, this unit can be plugged in anywhere.
- Page 10 XLR connector of the last unit in your daisy chain to terminate the line. Using a cable terminator (ADJ part number Z-DMX/T) will decrease the possibilities of erratic behavior. 5-Pin XLR DMX Connectors. Some manufactures use 5-pin XLR connectors for DATA transmission in place of 3-pin.
- Page 11 Pocket Pro System Menu ADJ Products, LLC - www.adj.com - Pocket Pro User Manual Page 11...
-
Page 12: System Menu
• Mode 4 - 270° - 540° • Mode 0 - Random Mode 2. Press the UP or DOWN buttons to find your desired Target mode. 3. Press ENTER to confirm. ADJ Products, LLC - www.adj.com - Pocket Pro User Manual Page 12... - Page 13 2. To activate the tilt inversion press the UP or DOWN buttons until “Yes” is displayed, press ENTER to confim. To deactivate tilt inversion, select “No” and press Enter. ADJ Products, LLC - www.adj.com - Pocket Pro User Manual Page 13...
- Page 14 Enter. Reset - Use this function to reset the unit. 1. Press the MENU button until “Reset” is displayed, press ENTER. 2. The fixture will now reset. ADJ Products, LLC - www.adj.com - Pocket Pro User Manual Page 14...
- Page 15 “Gobo Offset” is displayed, press ENTER. 2. Use the UP and DOWN buttons to make your adjustments, and then press ENTER to confirm. Press the MENU button for one second to exit. ADJ Products, LLC - www.adj.com - Pocket Pro User Manual Page 15...
-
Page 16: Operation
1. The Pocket Pro has 2 DMX channel modes; 11 channel mode or 13 channel mode. 2. To control your fixture in DMX mode, follow the set-up procedures on pages 8-10 as well as the set-up specifications that are included with your DMX controller. -
Page 17: Primary-Secondary Set Up
The focus can manually focused using the focus wheel located on the bottom front of the moving head. Rotate the focus wheel back and forth until you get your perfect focus. ADJ Products, LLC - www.adj.com - Pocket Pro User Manual Page 17... -
Page 18: Remote Operation
SOUND ON & OFF - These buttons activate and deactivate the sound active mode. SHOW 0 - Press this button to activate show mode. Use buttons 1-9 to find your desired show. ADJ Products, LLC - www.adj.com - Pocket Pro User Manual Page 18... -
Page 19: Channel Mode
107 - 116 UV & Light Blue 117 - 127 Light Blue & Pink 128 - 189 Color Scroll, Fast to Slow 190 - 193 Stop 194 - 255 Color Scroll, Slow to Fast ADJ Products, LLC - www.adj.com - Pocket Pro User Manual Page 19... - Page 20 190 - 231 Shutter: Fast Open, Slow Close 232 - 239 Shutter Open 240 - 247 Random Strobe 248 - 255 Shutter Open 000 - 255 Dimmer, 0 to 100% ADJ Products, LLC - www.adj.com - Pocket Pro User Manual Page 20...
- Page 21 208 - 215 Macro 26 216 - 223 Macro 27 224 - 231 Macro 28 232 - 239 Macro 29 240 - 247 Macro 30 248 - 255 Macro 31 ADJ Products, LLC - www.adj.com - Pocket Pro User Manual Page 21...
- Page 22 110 - 119 Target Mode 3 (180 deg to 360 deg) 120 - 129 Target Mode 4 (270 deg to 540 deg) 130 - 199 No Function 200 - 209 Reset All 210 - 255 No Function ADJ Products, LLC - www.adj.com - Pocket Pro User Manual Page 22...
- Page 23 107 - 116 UV & Light Blue 117 - 127 Light Blue & Pink 128 - 189 Color Scroll, Fast to Slow 190 - 193 Stop 194 - 255 Color Scroll, Slow to Fast ADJ Products, LLC - www.adj.com - Pocket Pro User Manual Page 23...
- Page 24 190 - 231 Shutter: Fast Open, Slow Close 232 - 239 Shutter Open 240 - 247 Random Strobe 248 - 255 Shutter Open 000 - 255 Dimmer, 0 to 100% ADJ Products, LLC - www.adj.com - Pocket Pro User Manual Page 24...
- Page 25 208 - 215 Macro 26 216 - 223 Macro 27 224 - 231 Macro 28 232 - 239 Macro 29 240 - 247 Macro 30 248 - 255 Macro 31 ADJ Products, LLC - www.adj.com - Pocket Pro User Manual Page 25...
-
Page 26: Dimensional Drawings
120 - 129 Target Mode 4 (270 deg to 540 deg) 130 - 199 No Function 200 - 209 Reset All 210 - 255 No Function Pocket Pro Dimensional Drawings ADJ Products, LLC - www.adj.com - Pocket Pro User Manual Page 26... - Page 27 Pocket Pro Dimmer Curve Chart Pocket Pro Included Gobos ADJ Products, LLC - www.adj.com - Pocket Pro User Manual Page 27...
-
Page 28: Gobo Replacement
See picture below for visual aid. 4. Gently and carefully slide the gobo up and out of its holder. 5. Carefully slide your gobo back into the housing slot. 6. Reassemble the unit. ADJ Products, LLC - www.adj.com - Pocket Pro User Manual Page 28... - Page 29 Flip the top cover back. Unscrew the 4 screws located on the other side. Remove the head casing. Reinstall the head casing by reversing this process described above. ADJ Products, LLC - www.adj.com - Pocket Pro User Manual Page 29...
-
Page 30: Troubleshooting
Unit does not respond to sound: 1. Low frequencies (bass) should cause the unit to react to sound. Tapping on the microphone, quiet or high pitched sounds may not activate the unit. ADJ Products, LLC - www.adj.com - Pocket Pro User Manual Page 30... -
Page 31: Warranty
No accessories should be shipped with the product. If any accessories are shipped with the product, ADJ Products, LLC shall have no liability whatsoever for loss of or damage to any such accessories, nor for the safe return thereof. -
Page 32: Specifications
Web: www.adj.com / Email: info@adj.com A.D.J. Supply Europe B.V. Junostraat 2 6468 EW Kerkrade Netherlands service@adjgroup.eu / www.adj.eu Tel: +31 45 546 85 00 / Fax: +31 45 546 85 99 ADJ Products, LLC - www.adj.com - Pocket Pro User Manual Page 32...