Epson Artisan 835 Setup
Hide thumbs
Also See for Artisan 835:
- Quick manual (68 pages) ,
- Start here (4 pages) ,
- Specifications (2 pages)
Advertisement
Quick Links
Home Epson Printer
Epson Ar san 835 Setup
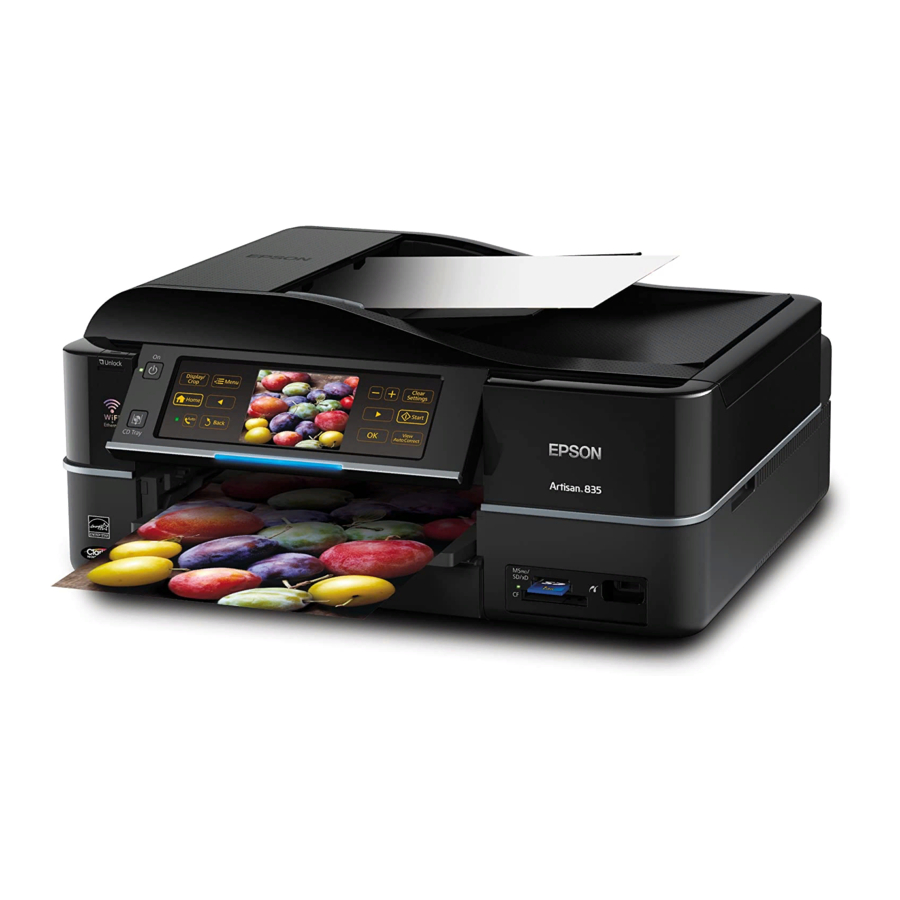
The all-in-one printer, Epson Artisan 835, is a revolutionary device preferred by most small-business users. The printer is built with a compact 7.8" touch panel.
It has a print speed of 9.5 pages per minute for black and 9 pages per minute for color. Other features include automatic 2-sided printing and a 50-page auto
The Epson Artisan 835 printer
Installation CD
User Guide
Phone cord
Unpack the printer from the carton.
Place the printer on a flat surface and place it near the computer.
Raise the scanning unit, remove the transportation lock, and lower the
scanning unit.
Select your language from the control panel and set the date and time.
Press the OK button when done.
Lift the scanner unit.
Home Brother Printers Canon Printers Epson Printers HP Printers About Us Contact Us
Epson
835
document feeder.
Contents in the box:
Power cord
Ink Cartridges
User and Installation guide
Control Panel sticker
Hardware Setup:
Connect the power cord to the power source and to the back of the
printer.
Press the Power button and raise the control panel.
Unpack the ink cartridges from the carton and remove them from the
packages.
Remove the protective yellow tape from the bottom of each cartridge.
Artisan
Setup
Advertisement

Related Manuals for Epson Artisan 835


Summary of Contents for Epson Artisan 835
- Page 1 Epson Ar san 835 Setup The all-in-one printer, Epson Artisan 835, is a revolutionary device preferred by most small-business users. The printer is built with a compact 7.8” touch panel. It has a print speed of 9.5 pages per minute for black and 9 pages per minute for color. Other features include automatic 2-sided printing and a 50-page auto document feeder.
- Page 2 Lower the tray cover and slide the paper cassette tray into the printer. phone wall jack and to the LINE port of the printer. Software Setup: Do not connect the Epson Artisan 835 printer to the computer now. Place the installation CD into the CD/DVD drive of your computer. ...
- Page 3 for reference purpose. Any action that you take by referring to the guidelines on this site is at your own risk. Our services are payment-based and are rendered only upon the request placed by the users. About Us | Contact Us | Privacy Policy | Refund Policy | Terms and Condi ons | Disclaimer | Sitemap Copyright ©...