Crestron 4 Series Quick Start Manual
Hide thumbs
Also See for 4 Series:
- Product manual (74 pages) ,
- Quick start manual (12 pages) ,
- Quick start (5 pages)
Advertisement
Quick Links
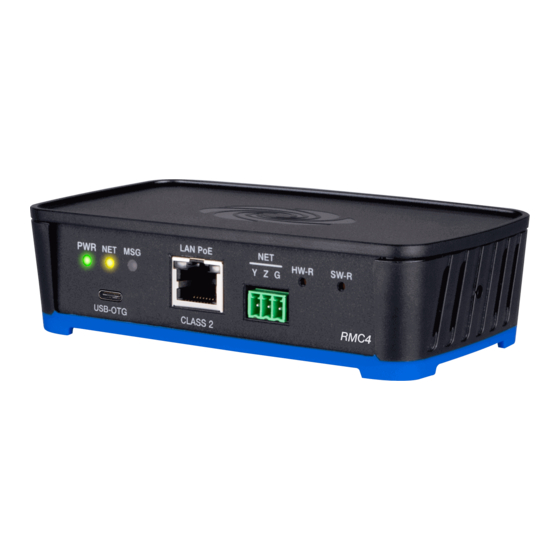
RMC4
4-Series™ Control System
The Crestron®
RMC4
provides a secure, high performance, cost-effective
4-Series™ control processor and interface for controlling and monitoring
a single display device, a small AV system, lighting and shading, climate
control, security, energy management, and many other specialized
applications. A small form factor allows the RMC4 to be placed just about
anywhere, with the option to attach it to a flat surface or DIN rail using
the included mounting bracket.
In the Box
1
RMC4, 4-Series Control System
Additional Items
1
Bracket, Mounting, Integrated DIN Rail Clip (4519035)
2
Screw, 6-32 x 3/8 in., Phillips (2007225)
2
Connector, 3-Pin (2003575)
2
Connector, 4-Pin (2003576)
1
Connector, 5-Pin (2003577)
Mount the Control System
The RMC4 can be mounted onto a flat surface or a standard DIN rail
using the included mounting bracket.
CAUTION: To prevent overheating, do not operate the RMC4 in an area
that exceeds the environmental temperature range (32 to 104 °F or
0 to 40 °C) for this device.
Optional rack mount and pole mount kits (not included) are also available
for use with the RMC4. For more information, refer to the
Installation Guide (Doc. 7627)
and the
(Doc.
7615).
Surface Mounting
1. Detach the RMC4 from the mounting bracket by pulling the left and
right flanges of the bracket outward to release the tabs that hold the
RMC4 in place.
2. Attach the mounting bracket to the surface by using four appropriate
mounting screws (not included) through the four mounting holes on
the bottom of the bracket.
3. Align the slots on the bottom of the RMC4 with the tabs on the
mounting bracket.
4. Press the RMC4 into the bracket until it snaps into place.
Quick Start
RMK-IFE-1U
PLMK-IFE-101 Installation Guide
1
Advertisement

Related Manuals for Crestron 4 Series


Summary of Contents for Crestron 4 Series
- Page 1 Quick Start RMC4 4-Series™ Control System The Crestron® RMC4 provides a secure, high performance, cost-effective 4-Series™ control processor and interface for controlling and monitoring Mount the Control System a single display device, a small AV system, lighting and shading, climate control, security, energy management, and many other specialized The RMC4 can be mounted onto a flat surface or a standard DIN rail applications.
-
Page 2: Din Rail Mounting
Quick Start RMC4 4-Series™ Control System DIN Rail Mounting 5. (Optional) Secure the RMC4 to the bracket using the two included 6-32 x 3/8 in. screws as shown in the following illustration. 1. Detach the RMC4 from the mounting bracket by pulling the left and right flanges of the bracket outward to release the tabs that hold the RMC4 in place. - Page 3 Front Panel Connections Observe the following when connecting the RMC4: Power is provided to the RMC4 by a single Ethernet cable. A Crestron PoE (Power over Ethernet) power supply, such as the PWE-4803RU, or a PoE-capable network switch is recommended (both not included).
- Page 4 2. A ground terminal connection is recommended but not required. the Cloud Services tab in Crestron Toolbox software (Functions > Device Info > Cloud Services). For details, refer to the Crestron Toolbox help file. To access the web configuration interface using the Crestron XiO Cloud...
-
Page 5: Set The Time Zone
A similar message correct time settings are pushed to controlled devices. is displayed when connecting to the device in Crestron Toolbox software if To set the time zone: an admin account has not already been created. - Page 6 Crestron disclaims any proprietary interest in the marks and names of others. Crestron is not responsible for errors in typography or photography.