Table of Contents
Advertisement
Quick Links
How to Set Up Your JATP700 Appliance
Overview
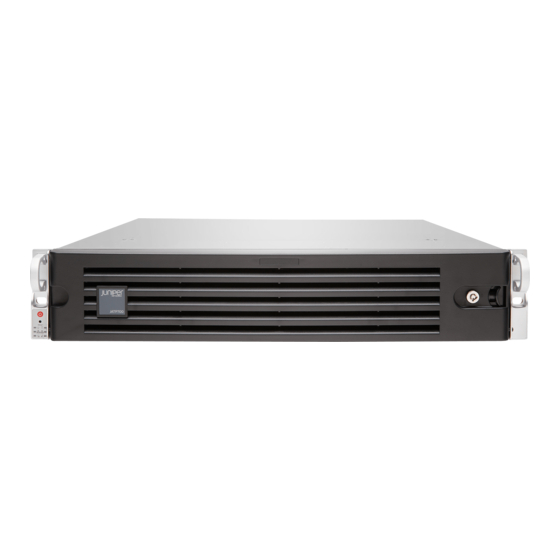
Juniper Networks Advanced Threat Prevention 700 (JATP700) appliance is an advanced threat prevention platform that is
designed to identify and prevent targeted attacks across multiple threat vectors. The appliance can be deployed as a core device,
as a Web collector, or as an All-In-One device.
The JATP700 appliance is a 2-rack-unit (2-U), rack-mountable chassis with dual AC power supplies (or optional DC power
supplies), eight hard drives, 128-GB memory, two 10-Gigabit Ethernet SFP+ interfaces, and four 1-Gigabit Ethernet interfaces.
Package Contents
Verify that you have the following parts available:
JATP700 appliance
End User License Agreement
Product registration information
RoHS and Warranty Card
Quick Start Guide
Ethernet cable, 7 feet
DB-9 to RJ-45 adapter
Rail kit
Screws bag
Front bezel
Advertisement
Table of Contents

Related Manuals for Juniper JATP700


Summary of Contents for Juniper JATP700
- Page 1 Web collector, or as an All-In-One device. The JATP700 appliance is a 2-rack-unit (2-U), rack-mountable chassis with dual AC power supplies (or optional DC power supplies), eight hard drives, 128-GB memory, two 10-Gigabit Ethernet SFP+ interfaces, and four 1-Gigabit Ethernet interfaces.
-
Page 2: Front Panel
How to Set Up Your JATP700 Appliance Front Panel Front bezel Lock Power button Hard drive 0 - Hard drive 15 Reset button LEDs Back Panel Power Dedicated 1-GB Alternate 10-GbE supplies IPMI LAN port ports exhaust SFP+ ports interface... -
Page 3: Step 1: Powering On The Appliance
How to Set Up Your JATP700 Appliance Initial Configuration Process Connecting the Configuring a Powering On Verifying the Management JATP700 the Device Settings Device Appliance Step 1: Powering On the Appliance CAUTION: Before connecting the appliance to the power supply, attach an ESD strap to an ESD point and place the other end of the strap around your bare wrist. - Page 4 This is not a panic condition. Step 2: Connecting the Management Device You can connect external devices to the JATP700 appliance using the ports on the back panel. To connect a keyboard and monitor to the JATP700 appliance: Connect the end of the keyboard cable to any of the USB ports on the back panel of the appliance.
- Page 5 Reenter the new password and then press Enter. Juniper Networks Advanced Threat Prevention window appears. NOTE: By default, the JATP700 appliance is shipped with the All-In-One configuration. You can change the configuration to your desired form factor by following the instructions from Step to Step 10.
- Page 6 Type Yes to create a new SSL certificate for the JATP Appliance Server Web UI. NOTE: If you decline the self-signed certificate by entering No, the JATP700 appliance will continue to use the existing certificates. These certificates might contain an incorrect hostname or fully qualified domain name (FQDN).
- Page 7 How to Set Up Your JATP700 Appliance Configuring the Alternate Exhaust Interface To configure the alternate exhaust interface: (Optional) Type No to not to use the alternate exhaust interface for the analysis engine exhaust traffic. Use the alternate exhaust interface for external connectivity in threat detection.
-
Page 8: Step 4: Verifying The Settings
Address> Where <IP Address> is the IP address of the JATP appliance. Enter the default username admin and the default password juniper. Ensure to change the default password after the login. The password must be at least eight characters long. -
Page 9: Powering Off The Appliance
How to Set Up Your JATP700 Appliance Click Log In With this step, you have successfully completed the configuration, and your JATP700 appliance is ready for use. Powering Off the Appliance You can power off the appliance in one of the following ways: Graceful shutdown—Press and immediately release the Power button. - Page 10 Juniper Networks, the Juniper Networks logo, Juniper, and Junos are registered trademarks of Juniper Networks, Inc. in the United States and other countries. All other trademarks, service marks, registered marks, or registered service marks are the property of their respective owners. Juniper Networks assumes no responsibility for any inaccuracies in this document.