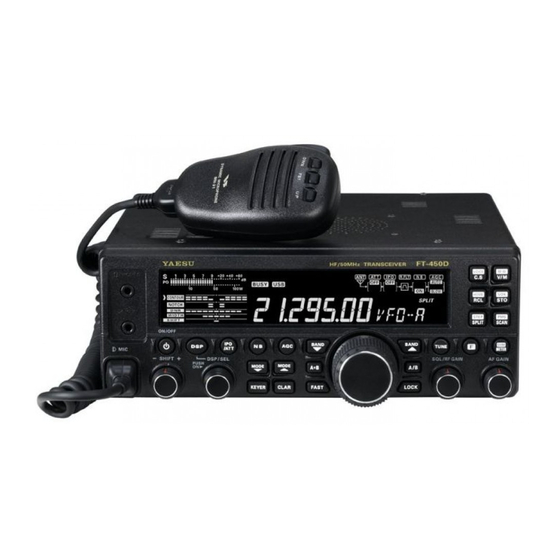
Yaesu FT-450D Manual
Hide thumbs
Also See for FT-450D:
- Operation manual (104 pages) ,
- Technical supplement (98 pages) ,
- Reference book (18 pages)
Advertisement
Quick Links
8/23/16
This procedure is used to update the flash programming for
the
FT-450D
transceiver.
Verify your radio is the FT-450D by the logo on the right side of the transceiver front panel.
Do not install this firmware to your FT-450 or FT-450AT. The firmware is not compatible
and will not operate at all.
The update firmware is available from our website at http://www.yaesu.com.
Ver. 0244 implements improvements:
Improved and optimized.
•
The firmware updates will work with all versions (AF, AS, EU, NA, OC, SA or all Countries)
of the FT-450D.
1. Down load the FT-450D data file [FT-450D_V0244_w_FSW006_20160823.zip] from the
following website:
http://www.yaesu.com/indexVS.cfm?cmd=DisplayProducts&ProdCatID=102&encProdID=8
70B3CA7CFCB61E6A599B0EFEA2217E4&DivisionID=65&isArchived=0
2. Save the FT-450D data file [FT-450D_V0244_w_FSW006_20160823.zip] to a temporary
folder on your hard drive.
3. Unzip and Extract the contents of "FT-450D_V0244_w_FSW006_20160823.zip" to a
desktop or local disk C:\temp of your computer.
4. Two files named [FSW006_V203.exe] and [Ah024_v0244.sfl] will be found in a desktop or
local disk C:\temp.
*You will need a serial cable RS-232C, DB9F to DB9F straight cable to connect the FT-450D
*Don't forget to write down any menu settings you have changed from the default
CAUTION
PART 1
Install the data file to PC
PART 2
RS-232C, DB9F to DB9F straight cable
transceiver to your computer.
before you start.
Advertisement

Summary of Contents for Yaesu FT-450D
- Page 1 CAUTION Verify your radio is the FT-450D by the logo on the right side of the transceiver front panel. Do not install this firmware to your FT-450 or FT-450AT. The firmware is not compatible and will not operate at all.
- Page 2 DB-9 (RS-232C) and do the firmware update with a DB-9 straight cable as described in steps #1 to #3. 4. Leave the FT-450D turned OFF and connect the DC power cable. 5. Now go to the desktop or local disk C:\temp and find the FSW006 as shown below.
- Page 3 10. Thru the access hole on the bottom of the radio, move the program switch to the left, operate position. 11. Reconnect the DC power. 12. Press and hold the Home/Recall button, and press the Power button to turn the FT-450D on to reset the defaults. The FT-450D will show 7.000.00 MHz. The updating process is now complete.


