Table of Contents
Advertisement
Advertisement
Table of Contents

Related Manuals for Ariston PRO1 ECO Series


Summary of Contents for Ariston PRO1 ECO Series
- Page 1 UNVENTED WATER HEATER...
- Page 2 GENERAL SAFETY INSTRUCTIONS 1. Read the instructions and warnings in this manual carefully, they contain important information regarding safe installation, use and maintenance. This manual is an integral part of the product. Hand it on to the next user/owner in case of change of property. 2.
- Page 3 11. It is normal that water drips from the overpressure safety device when the appliance is heating. For this reason, the drain must be connected, always left open to the atmosphere, with a drainage pipe installed in a continuous downward slope and in a place free of ice.
- Page 4 LEGIONELLA BACTERIA FUNCTION Legionella are small rod shaped bacteria which are a natural constituent of all fresh waters. Legionaries’ disease is a pneumonia infection caused by inhaling of Legionella species. Long periods of water stagnation should be avoided; it means the water heater should be used or flushed at least weekly. The European standard CEN/TR 16355 gives recommendations for good practice concerning the prevention of Le- gionella growth in drinking water installations but existing national regulations remain in force.
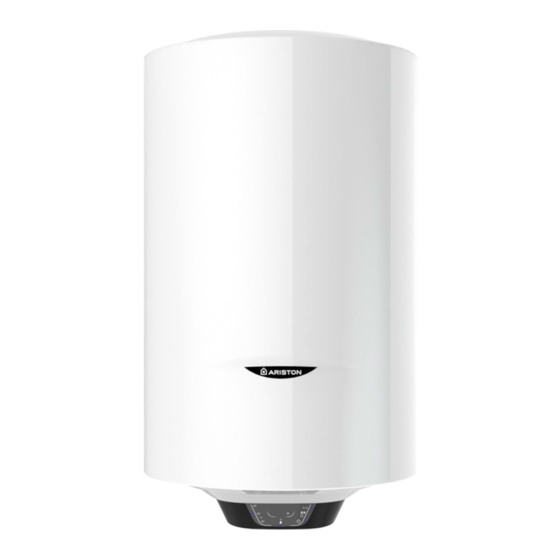
- Page 5 TECHNICAL CHARACTERISTICS For the technical specifications, refer to the nameplate (the nameplate is located next to the water intake/outlet pipes). Table 1 - Product information Product range Weight when empty (kg) Weight when full (kg) Installation Vertical Vertical Vertical Model Refer to the nameplate SMART Qelec (kWh)
- Page 6 Water Regulations and Byelaws These regulations and byelaws ensure a good supply of wholesome water, and that only approved materials, pipes and fittings are used to convey water. Building Regulations These are a statutory document and take priority over all other regulations and recommendations. The installation of an unvented hot water system of over 15 litres is classified as a “Controlled Service”...
- Page 7 - Frost: do not install the appliance in areas where the temperature may drop critically and there may be a risk that ice may form. - Sunlight: do not expose the appliance to direct sunrays, even in the presence of windows. - Dust/vapours/gas: do not install the appliance in the presence of particularly dangerous substances such as acidic vapours, dust or those saturated with gas.
- Page 8 Do not fit any stop cocks or isolating valves within the distance required for expansion. If a pressure reducing valve is needed, due to a mains pressure of over 3.5 bar, an expansion control kit must be fitted regardless of expansion pipe- work installed.
- Page 9 straight pipe 9 m long. i.e. Discharge pipes between 9 m and 18 m equivalent resistance length should be at least 2 sizes larger than the nominal outlet size of the safety device. Between 18 m and 27 m at least 3 times larger, and so on. cated with the cylinder.
- Page 10 If unvented hot water storage systems are installed where discharges from safety devices may not be apparent i.e. in dwellings occupied by the blind, infirm or disabled people, consideration should be given to the installation of an electronically operated device to warn when discharge takes place. Note: The discharge will consist of scalding water and steam.
- Page 11 ELECTRICAL WARNING: The appliance must be earthed The electrical installation must be in line with the current I.E.E. wiring regulations. A mains supply of 240 VAC 3 kW (13 amps) is required (Fig. 2) Heat resisting cable, round 3 core 1.5 mm (to BS 6141 table 8) should be used to connect to the electrical supply through either: - a 13 amp socket to BS 1363;...
- Page 12 COMMISSIONING - Check that all the necessary components are supplied and for those not factory fitted, that they are the type recom- mended by the manufacturer for the particular water heater. - Check that the water heater/components are undamaged. - Check that the discharge pipe is plumbed so that it falls continuously and that no taps, valves or other shut-off de- vices are installed in the pipe.
- Page 13 USER INSTRUCTIONS Reset/Diagnostics When one of the malfunctions described above occurs, the appliance will enter its “fault status” and all LEDs on the control panel will flash simultaneously. Reset: to reset the appliance, switch the product off and on again using the button (Ref.
- Page 14 LEDs, with the other LEDs off). Each press of the button increases or decreases the set temperature by 10 degrees. After 5 seconds without any action, the set-point will be confirmed and memorised. STALL STATUS There are two possible stall statuses: The Max function is deactivated even if there is a stall error, if the “OFF”...
- Page 15 80° 70° 60° 50° 40°...
- Page 16 Vertical Model Min. 3 - Max 8mm Schema di installazione - Installation scheme - Schéma d’installation - Esquema de instalac stalacji - Instalační schéma - Installationsschema - Montavimo schema - Instalācijas shēma - Schemat instalacji - Instalacijski dijagram - Schema de instalare - Монтажна схема - - Dijagram instalacije - Instalacijska shema - Орнату...
- Page 17 Installation scheme Ø 470 MODEL Model 100V 100V...
- Page 18 Ariston Thermo S.p.A. Viale Aristide Merloni, 45 60044 Fabriano (AN) Tel. (+39) 0732.6011 ariston.com 420011033100 05/2019...