
Related Manuals for Clarke CDE85


Summary of Contents for Clarke CDE85
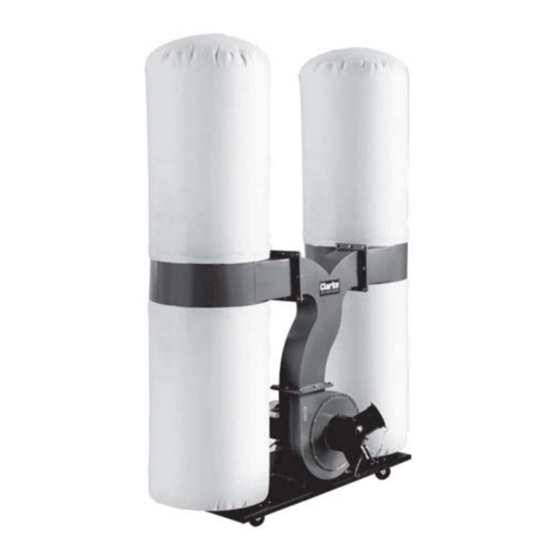
- Page 1 3HP Dust Extractor & Chip Collector Model CDE85 Part No 6471150 OPERATING & MAINTENANCE INSTRUCTIONS 12/08...
-
Page 2: Table Of Contents
GUARANTEE This CLARKE product is guaranteed against faulty manufacture for a period of 12 months from the date of purchase. Please keep your receipt as proof of purchase. -
Page 3: Environmental Protection
) r t r t i l Please note that the details and specifications contained herein, are correct at the time of going to print. However, CLARKE International reserve the right to change specifications at any time without prior notice. ENVIRONMENTAL PROTECTION When disposing of this product, do not dispose of with general waste. -
Page 4: Safety Precautions
SAFETY PRECAUTIONS WORK AREA 1. Keep the work area clean and well lit. Floors should always be kept clear. Cluttered or dark areas invite accidents. 2. ALWAYS keep children away and keep visitors at a safe distance from the work area, especially whilst operating the machine. PERSONAL SAFETY 1. - Page 5 7. Do not drag the machine by it’s electric cable, or yank the cable to disconnect it from the power supply. 8. ALWAYS ensure the switch is off before plugging into mains. Avoid acci- dental starting. 9. Do not use the machine if the ON/OFF switch does not turn it on and off. Any power tool that cannot be controlled with the switch is dangerous and must be repaired.
-
Page 6: Electrical Connections
We recommend that this machine is connected to the mains supply via a Residual Current Device (RCD) If in any doubt, DO NOT attempt any connections or repairs yourself. Consult a qualified electrician, your local Clarke dealer or Clarke Interna- tional on: 0208988 7400 or e-mail:Service@clarkeinternational.com... -
Page 7: Overview
OVERVIEW Base plate Collector body c/w fan motor & switch 2- way connecting duct Side collectors Collector support Upper bag support Dust and filter bags 3-way inlet shutter Packing gaskets Castor Fixings pack Bag clamping straps... -
Page 8: Unpacking & Assembly
UNPACKING & ASSEMBLY IMPORTANT Before commencing please check contents and advise immediately of any shortages. FIGURES IN BRACKETS REFER TO DIAGRAM & PARTS LIST ON PAGES 13 & 14 1 x Motor, Fan & Collector Body Assembly c/w switch assembly 1 x Base Plate (4) 1 x Connecting Duct (19) 2 x Side Collector Bodies (24 &... - Page 9 2. Turn the baseplate the right way up, and with the collector body & fan/ motor assembly in the position shown in Fig 2, secure it to the baseplate using the hex head screws and washers with the 13mm spanner. 3.
- Page 10 6. Fix the upper bag supports in position by bolting through the holes in the lower bag supports to secure both supports to the collector body shown in Fig 6. 7. Hang the two upper dust bags from the support rod arms as shown in Fig 7. 8.
-
Page 11: Using The Dust Collector
Clarke dealer. To switch ON, press the switch cover (see fig 10) down and slide in direction of arrow and... -
Page 12: Troubleshooting
OUT BY AN AUTHORISED SERVICE CENTRE. TROUBLESHOOTING Problem Probable Cause Suggested Remedy Motor will not run. 1. Defective cable, switch 1. Consult your nearest Clarke and / or motor. dealer. Excessive sawdust in the 1. Loose connectors. 1. Tighten connectors. air. -
Page 13: Parts Lists And Diagrams
DUST COLLECTOR PARTS DIAGRAM... - Page 14 IMPORTANT: The use of parts other than CLARKE replacement parts may result in safely hazards, decreased tool performance and will invalidate your warranty. In the event of a situation requiring the dismantling and overhaul of the tool,,...
-
Page 15: Declaration Of Conformity
The CE mark was first applied in: 2001 Product Description: 3hp Dust Collector Model number(s): CDE85 Serial / batch Number: Current Manufacture. Date of Issue: 15/05/2008 Signed A.C. AIKEN Senior Manager Clarke International. Page 1 of 1...