Advertisement
Quick Links
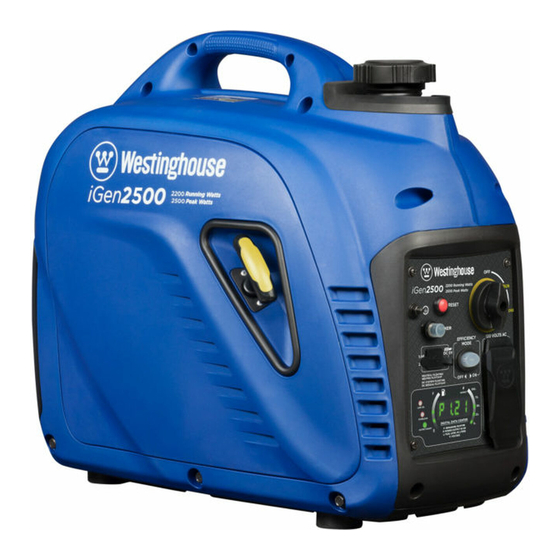
iGen2500 and iPro2500
IGNITION COIL RETROFIT GUIDE
This comprehensive retrofit guide is for replacing the ignition coil on
Westinghouse's iGen2500 and iPro2500 inverter generators. The purpose
of this retrofit is to limit the overspeed of the engine. This will eliminate
overheating issues due to engine overspeed.
Instructional videos for how to properly replace the ignition coil
are available at the links below:
Extended video:
Quick video:
Owners manuals with parts drawings for these inverters are available at
www.wpowereq.com
Tools recommended for this retrofit:
•
Flat head screwdriver
•
Electric drill
•
Screw driver bit extension
•
Phillips screwdriver bit for drill
•
10mm socket for drill
•
8mm socket for drill
Have Questions? Call 855-944-3571 or email info@wpowereq.com
www.wpowereq.com/retrofit-full
www.wpowereq.com/retrofit
Ignition Coil
Advertisement

Related Manuals for Westinghouse iGen2500


Summary of Contents for Westinghouse iGen2500
- Page 1 IGNITION COIL RETROFIT GUIDE This comprehensive retrofit guide is for replacing the ignition coil on Westinghouse’s iGen2500 and iPro2500 inverter generators. The purpose of this retrofit is to limit the overspeed of the engine. This will eliminate overheating issues due to engine overspeed.
- Page 2 Step 1: Using the power drill, remove the top two Phillips head screws on the pull cord side of the generator. It is recommended to use a bit extension to help reach deep set screws. Step 2: Turn the generator to the muffler side and remove the 6 Phillips screws holding the muffler grate in place.
- Page 3 Step 6: On the bottom of the pull cord side of the generator remove the 3 10mm bolts that hold the side cover on. Step 7: Detach the pull cord side cover. Start by pulling the muffler side of the cover and work towards the gas cap side.
- Page 4 IMPORTANT Step 11: Check to see that the connection from the alternator to the inverter board is connected and secure. If it is unplugged make sure to plug it in. This connector is a two wire located behind the inverter module. NOTE: If there are any connections to the control panel or inverter board that are not connected, make sure to connect them.
- Page 5 Step 16: Reattach the pull cord side cover. Start by guiding the top right of the panel around the groove under gas cap. The back side of the rubber fuel collector has a plug that needs to be guided into place before the sides are reconnected.
- Page 6 Step 21: Turn the generator to the non-pull cord side of and screw in the top two Phillips screws. Next, install the spark plug access cover that was removed in step 3. Step 22: Turn the generator to the control panel side and reinstall the control panel assembly by tipping the top forward so that the tabs line up.