Table of Contents
Advertisement
Quick Links
1.1 Preface
This Quick Installation Guide provides instructions and reference material for getting started with the
DLM-3500. The Guide will illustrate how to install the DLM-3500 and configure its basic settings.
1.2 Package Contents
DLM-3500 x 1
CD-ROM x 1
Quick Installation Guide x 1
Console Cable x 1
Ethernet Cable (Crossover) x 1
Switching US Power Adapter x 1
Power Translator (for EU/UK/AU only) x 1
DLM-3500 Quick Installation Guide
1. Introduction
1
Advertisement
Table of Contents

Summary of Contents for D-Link DLM-3500
-
Page 1: Package Contents
1. Introduction 1.1 Preface This Quick Installation Guide provides instructions and reference material for getting started with the DLM-3500. The Guide will illustrate how to install the DLM-3500 and configure its basic settings. 1.2 Package Contents DLM-3500 x 1 CD-ROM x 1... -
Page 2: System Overview
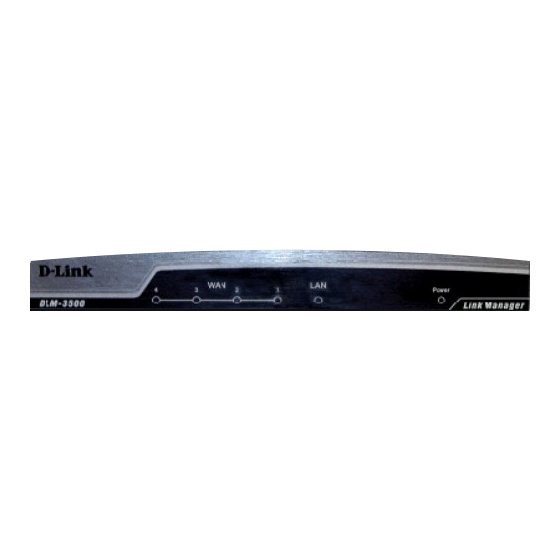
WAN1/WAN2/WAN3/WAN4: The four WAN ports are connected to a network which is not managed by the DLM-3500 system, and this port can be used to connect the ATU-Router of ADSL, the port of Cable Modem, or the Switch or Hub on the LAN of a company. Default WAN1/WAN2/WAN3/WAN4 port IPs are 192.168.1.1, 192.168.2.1, 192.168.3.1 and 192.168.4.1 respectively. -
Page 3: Hardware Installation
Private LAN and the administrator can enter the web management interface to perform configurations via this Private LAN. Connect the other end of the Ethernet cable to a client’s PC. Attention: Usually, a straight RJ-45 can be applied if the DLM-3500 is connected to a hub/computer which supports automatic crossover. -
Page 4: Getting Started
2.1 Preparation Before you get started, there are few things you need to know: 1. The position of the DLM-3500 LAN Port: It has five network interfaces and the last port is LAN Port which is marked on the machine. - Page 5 The Web-based UI enables you to easily perform every configuration task. Follow the steps below to access the Web-based UI. 1. Connect your PC Ethernet LAN interface to LAN port of DLM-3500 with a cross-over cable, which is in standard packing. The default management LAN port of DLM-3500 is LAN port.
- Page 6 2.3 DLM-3500 Web-based UI Overview After logged in, you will be able to start configuring or monitoring DLM-3500 through the Web-based UI. In order to help you to familiar with the basic operations, the explanations are as follows: The Web-based UI tasks are grouped into four categories. The categories are located at the upper left-hand corner of Web-based UI task bar.
- Page 7 2.4 Quick Set up a basic network with DLM-3500 This section describes the operations and arrangement of Web Based UI, the following figure displays the operating menu of DLM-3500 Web-based UI system. 2.4.1 DLM-3500 Operating Menu The task bar of operating menu contains four categories, which are System, Network, Service, Log, each category has these own menu.
-
Page 8: Network Scenario
2.4.2 Network Scenario In this section, we will walk you through a simple example to configure DLM-3500 step by step. The network architecture in this example is illustrated as below. DLM-3500 is running outbound load-balancing on WAN 1 and WAN 2 interface with two last mile connection from ISP 1 and ISP 2. - Page 9 User’s Manual) 6. Fill in your IP Address to WAN1 of DLM-3500 in the ninth field. In this example, it is 211.30.10.11 7. Fill in the gateway’s IP address in the tenth field. In this example, it is 211.30.10.9.
- Page 10 12. Fill in your upstream and downstream bandwidth limits of WAN link 2. 13. Config [Speed/Duplex] as “Auto” and [Wan Link Health Detection] as “Never”. (we assumes you have a healthy WAN and stop monitoring ICMP and TCP packets) DLM-3500 Quick Installation Guide...
- Page 11 14. Press [Apply] to update all the parameters you have just entered. 2.4.4 Configuring Your LAN Interface Default LAN port IP of DLM-3500 is 192.168.0.1. You can see the default configuration of LAN port at [Network] -> [LAN Setting]. According to your current LAN environment, you can configure the LAN setting of DLM-3500.
-
Page 12: Dhcp Settings
4. Press [Apply] to update all the parameters you have just entered. 5. We assume you connect DLM-3500 directly to access the web management interface by a certain IP 192.168.0.X. After applying new LAN setting, you could not access the web management interface since the different subnet. - Page 13 Robin” is employed to do load balancing with WAN 1 and WAN 2. Click on the [Service] -> [Auto Routing] in menu, you could see the [Auto Routing] page and the procedure for configuration is listed below: DLM-3500 Quick Installation Guide...
- Page 14 So far, we have only mentioned the basic operations of the Web-based UI and how to basically integrate DLM-3500 into your present network environment with simple outbound WAN Load-balancing. For further information, please refer to the User’s Manual of DLM-3500...


