Advertisement
Quick Links
Advertisement

Related Manuals for Orion OIC-7002


Summary of Contents for Orion OIC-7002
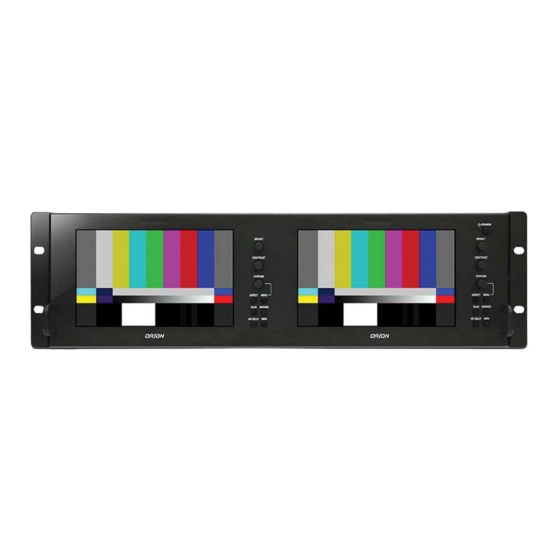
- Page 1 Installation & User’s Guide HIGH PERFORMANCE BROADCAST RACK MOUNT MONITOR OIC-7002 / OIC-5003 http://www.orionimages.com ver. 1-1-6182012 All contents of this document may change without prior notice, and actual product appearance may differ from that depicted herein...
-
Page 2: Safety Instruction
Installation and User’s Guide Installation and User’s Guide All contents of this document may change without prior notice, and actual product appearance may differ from that depicted herein. 1. Safety Instruction Follow this safety instruction to use the monitor properly and prevent the damages. Keep this user’s guide book for later use. - Page 3 Installation and User’s Guide Installation and User’s Guide Cautions Install this monitor some distance from the wall and do not install unless Proper ventilation is provided. Place this product on a stable place. If not, it may fall, causing serious Damages to the monitor and people.
-
Page 4: Table Of Contents
The screen is too light or to dark Features ............... 13 Control the BRIGHTNESS Mechanical Drawing ............ 14 5.1. Dimension[Units :mm] for OIC-7002 ........14 5.2. Dimension[Units :mm] for OIC-5003 ........15 2 Year Limited Warranty ..........16 Troubleshooting ............17... -
Page 5: Installation
6. 2 Year Limited Warranty 2.1. Parts List ORION Images Corporation. carries a limited warranty from ship date against defects in materials and workmanship. ORION Images Corporation. is not liable for improper installation that results in LCD Monitor (1SET), Power Cable (1EA), AC/DC Adaptor (1EA), User Manual (1EA). -
Page 6: How To Install
Installation and User’s Guide Installation and User’s Guide 5.2. Dimension[Units :mm] for OIC-5003 2.2. How to Install First, make sure that the front power button is turned off. If you press button, button is locked and power will be turned on. And then press again the button, button is released and power will be turned off. - Page 7 Installation and User’s Guide Installation and User’s Guide 5. Mechanical Drawing 5.1. Dimension[Units :mm] for OIC-7002 Notes: #5, #6, #7, #8, #10 pins must be connected to GND. ○ 5 Service Port: Port for firmware upgrade with Service Card (Optional).
-
Page 8: Function And Control Key
Installation and User’s Guide Installation and User’s Guide 4. Features Function and Control Key 2.3. OIC-5003 OIC-7002 Tally TFT-LCD(IPS) TFT-LCD Active Area(mm) 108.02x64.8, 5"(Diagonal Wide) 152.4x91.44 7.0"(Diagonally) Resolution 800(H)x480(V) 800(H)x480(V) Pixel Pitch(mm) 0.135(H)x0.135(V) 0.1905(H)x0.1905(V) DISPLAY Color Depth 16.7M, 24bit true color 16.7M, 24bit true color... -
Page 9: Osd Menu.
Installation and User’s Guide Installation and User’s Guide PIN 4 default: G ONLY 2.3.3. CONTRAST PIN 9 default: B ONLY PIN 11 default: MONO Adjust visual color contrast. PIN 12 default: MARKER Press Contrast Knob, CONTRAST OSD will be displayed on the screen. PIN 13 default: ASPECT PIN 14... - Page 10 Installation and User’s Guide Installation and User’s Guide 3. OSD MENU 2.3.8. MARKER Level 1 Level 2 Level 3 Level 4 VIDEO FORMAT Current video format(Display only) Switch the maker of screen. INFORMATION COLOR TEMP Current color temperature(Display only) VERSION Current firmware version(Display only) Whenever Marker button is pressed.